
 Save to Pinterest
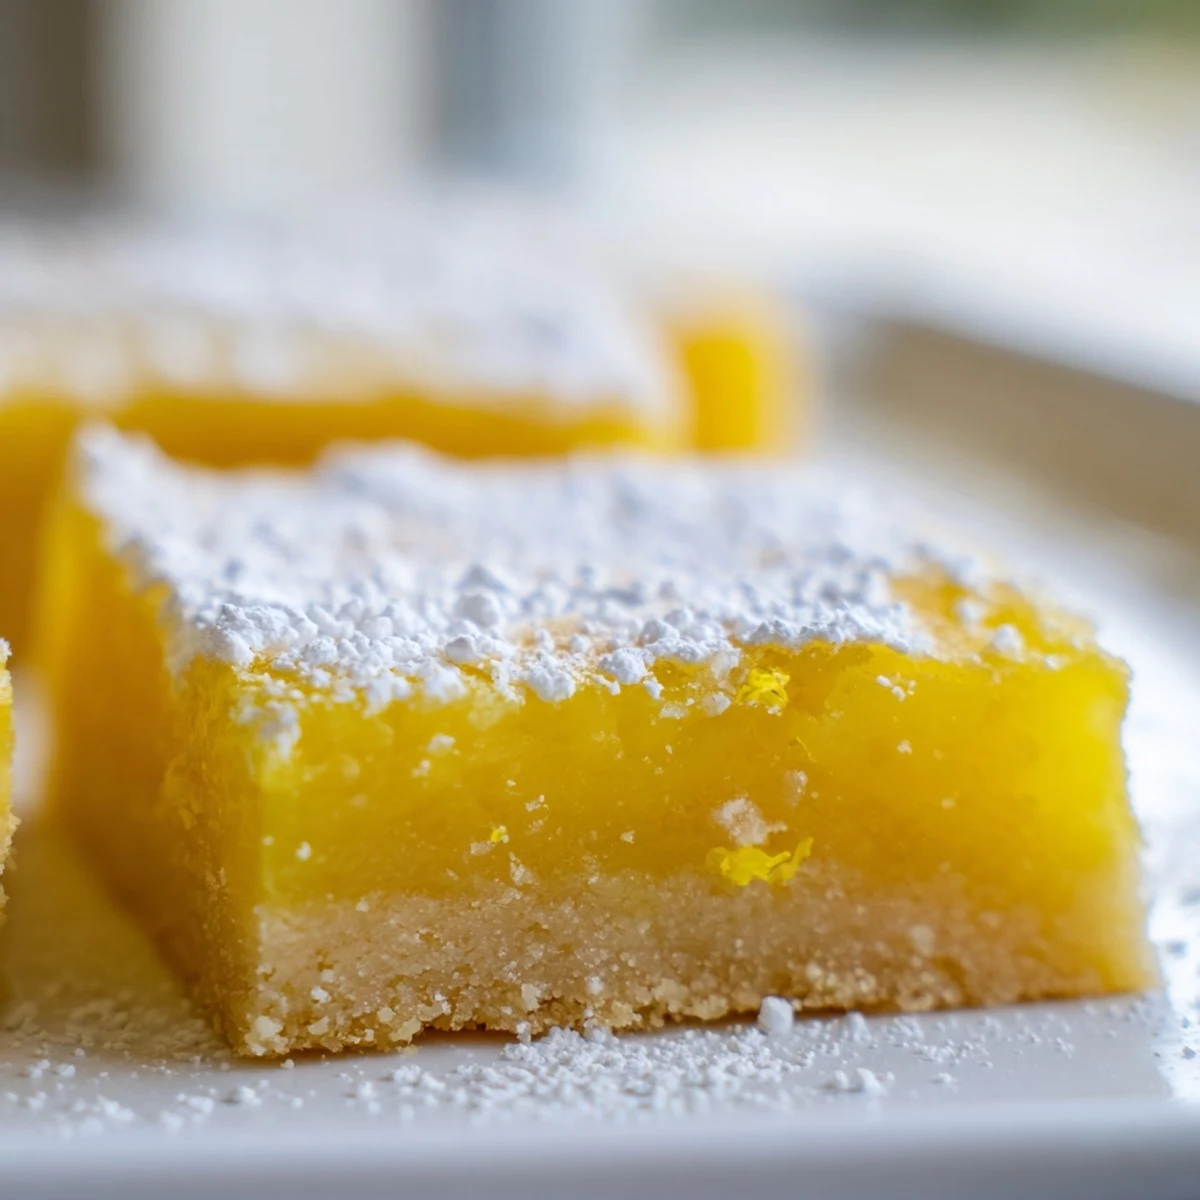
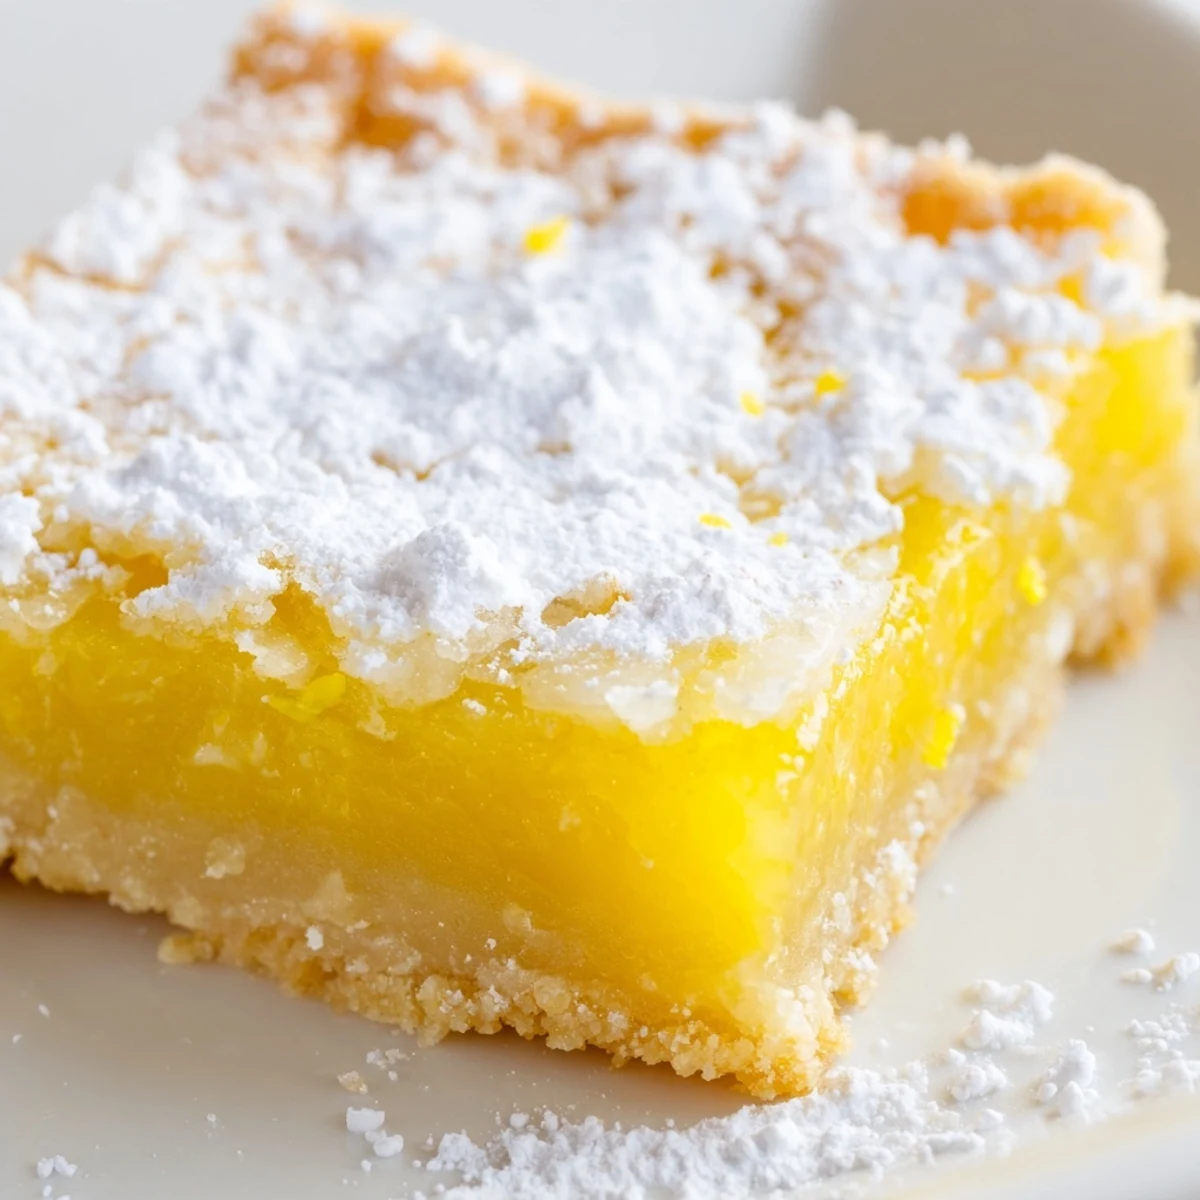
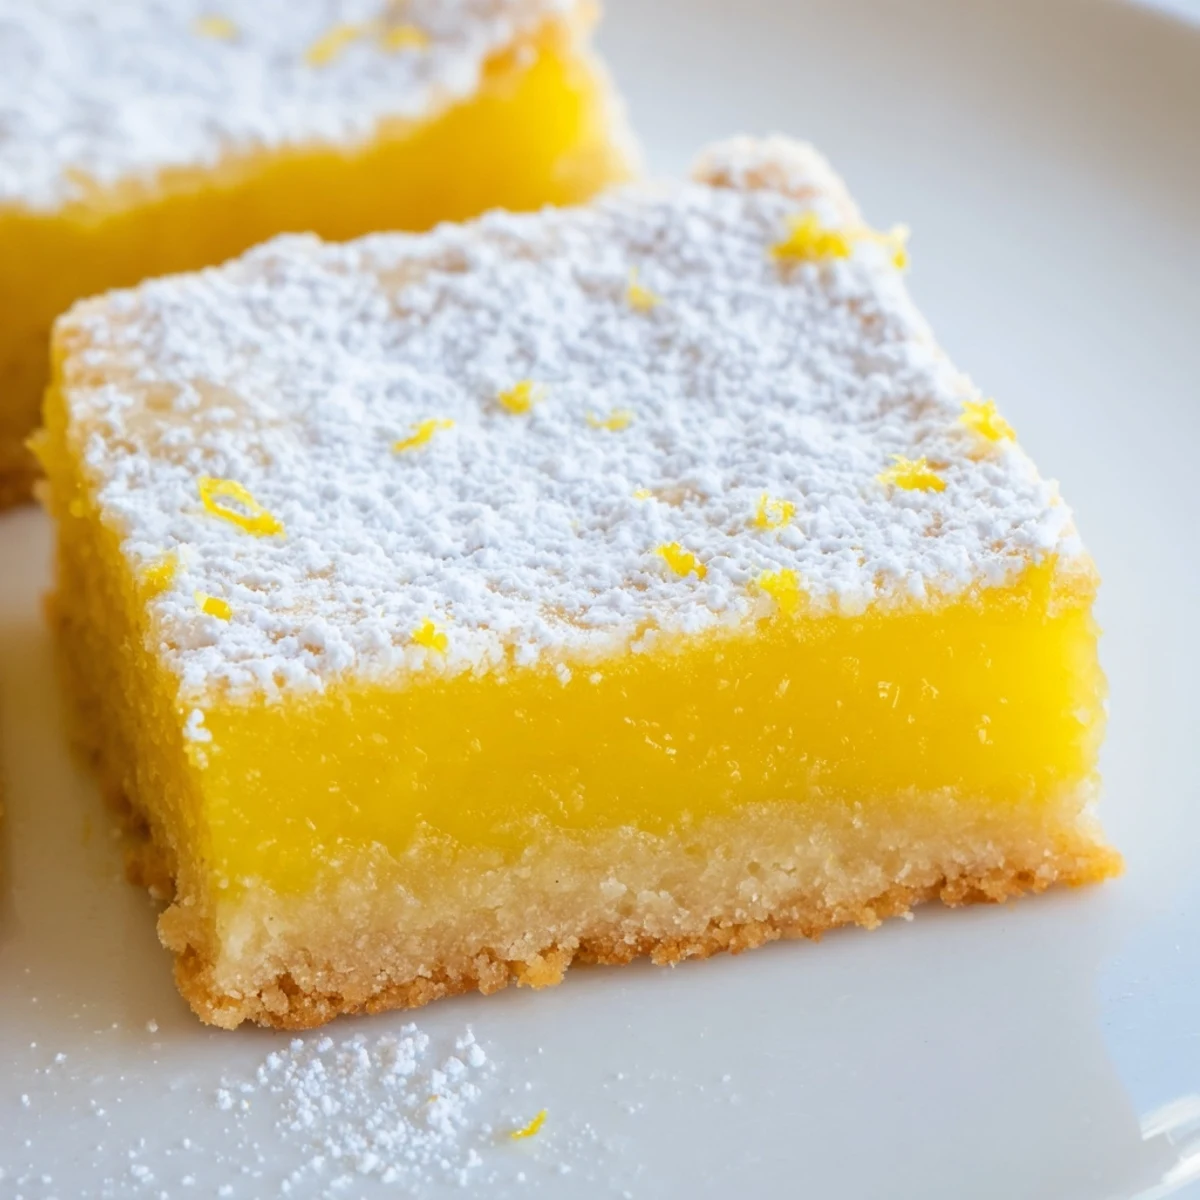
 These bright lemon bars feature a buttery shortbread crust topped with a tangy, velvety lemon filling made from fresh lemon juice and zest. Ready in just 50 minutes, they yield 12 perfectly portioned squares ideal for spring picnics, potlucks, or everyday indulgence.
The crust bakes until lightly golden, then gets topped with a smooth egg-and-sugar mixture infused with citrus. A final bake at a lower temperature sets the filling to a luscious, barely-jiggly consistency. Finish with a dusting of powdered sugar for a classic touch.
The window was open and a warm breeze kept fluttering the recipe card on my counter the afternoon lemon bars became my go to dessert. I had been searching for something bright to bring to a backyard potluck and these golden squares with their sunny tang felt exactly right. The smell of lemons being zested still makes me think of that kitchen, flour dusted and happy.
I brought the first batch to my neighbors picnic and watched a woman I had never met eat three of them standing by the dessert table before asking who made them. That was the moment I knew this recipe was a keeper.
Ingredients
- Unsalted butter (1 cup, softened): Use good butter here because it is the backbone of the entire crust and you will taste the difference.
- Granulated sugar (1/2 cup for crust, 1 1/2 cups for filling): The sugar in the crust keeps it tender while the filling sugar balances the acid of the lemons beautifully.
- All purpose flour (2 cups for crust, 1/4 cup for filling): That small amount in the filling is what sets it into a soft custard rather than a lemon soup.
- Salt (1/4 tsp): Just a pinch in the crust makes the butter taste more like itself.
- Large eggs (4): Room temperature eggs blend smoother into the filling and prevent any streaks.
- Fresh lemon juice (2/3 cup, about 3 to 4 lemons): Please use fresh juice because the bottled kind tastes flat and these bars deserve better.
- Lemon zest (1 tbsp, finely grated): This is where all the floral perfume lives so do not skip it.
- Powdered sugar (for dusting): A snow like coating right before serving makes them look as good as they taste.
Instructions
- Set up your oven and pan:
- Heat your oven to 350 degrees F and line a 9 by 13 inch pan with parchment, letting the edges hang over like handles. This little trick will save you so much frustration later when you need to lift the bars out cleanly.
- Build the shortbread crust:
- Cream the butter and sugar together until the mixture looks pale and fluffy, then work in the flour and salt until it resembles wet sand. Press it firmly and evenly into the bottom of your pan using your palms or the back of a measuring cup.
- Bake the crust until golden:
- Slide it into the oven for 18 to 20 minutes until the edges turn a warm gold and your kitchen smells like baking butter. Keep an eye on it because it goes from perfect to overdone quickly.
- Whisk together the lemon filling:
- While the crust bakes, beat the eggs and sugar until blended, then whisk in the flour until smooth. Stir in the fresh lemon juice and zest and watch as the mixture turns a cloudy, vibrant yellow that promises something wonderful.
- Combine and bake at a lower temperature:
- Pull the hot crust from the oven and reduce the heat to 325 degrees F, then pour the filling directly over it. Return the pan to the oven for another 18 to 20 minutes until the center no longer wobbles when you gently shake the pan.
- Cool, cut, and finish:
- Let the bars cool completely in the pan on a wire rack, then use the parchment overhang to lift the whole slab out at once. Cut into twelve squares and shower them with powdered sugar just before serving for the prettiest presentation.
 Save to Pinterest
 One rainy Tuesday I made these just for myself and ate the first square standing at the counter with rain tapping the window, and it tasted better than any fancy pastry from a bakery case.
Storage That Actually Works
These bars keep beautifully in the fridge for up to four days if you can make them last that long. Cover them loosely with foil or place them in an airtight container with a sheet of parchment between layers to keep the powdered sugar from smudging.
Fun Variations to Try
Once you master the classic version the citrus world opens up to you. Swap the lemon for lime and you have something that tastes like a key lime pie in bar form. Orange zest and juice create a sweeter, more mellow square that kids especially love.
Serving Suggestions
A chilled lemon bar with a cup of Earl Grey tea on a warm afternoon is one of lifes simplest perfect pairings. They also make a stunning addition to any brunch spread nestled next to fruit salad and pastries.
- Dust the sugar on right before serving so it does not melt into the topping.
- A tiny sprig of mint on each bar turns them from casual to dinner party ready.
- Always cut with a sharp knife wiped clean between slices for the neatest edges.
 Save to Pinterest
 Keep this recipe close because once you share these bars someone will always ask you to bring them again. That is simply what lemon bars do.
Recipe Questions
- → How do I know when the lemon filling is fully set?
-
The center should no longer jiggle when you gently shake the pan. It will continue to firm up as it cools, so a slight wobble right out of the oven is perfectly normal.
- → Can I use bottled lemon juice instead of fresh?
-
Fresh lemon juice delivers the brightest, most vibrant flavor. Bottled juice works in a pinch, but the taste will be noticeably less lively and the zest component cannot be replicated.
- → Why do I need to lower the oven temperature for the second bake?
-
Reducing the heat from 350°F to 325°F prevents the eggs in the filling from curdling or overcooking. A gentler bake ensures a smooth, silky custard-like texture.
- → How should I store leftover lemon bars?
-
Keep them in an airtight container in the refrigerator for up to 4 days. The chilled texture is actually delightful, and the flavors deepen overnight.
- → Can I swap lemon for another citrus fruit?
-
Absolutely. Lime or orange juice and zest make excellent substitutes, giving you a fun citrus twist while keeping the same shortbread base and method.
- → What size pan do I need for this?
-
A standard 9x13-inch baking pan is ideal. Lining it with parchment paper and leaving an overhang makes it easy to lift the entire slab out for clean, even cutting.