 Save to Pinterest
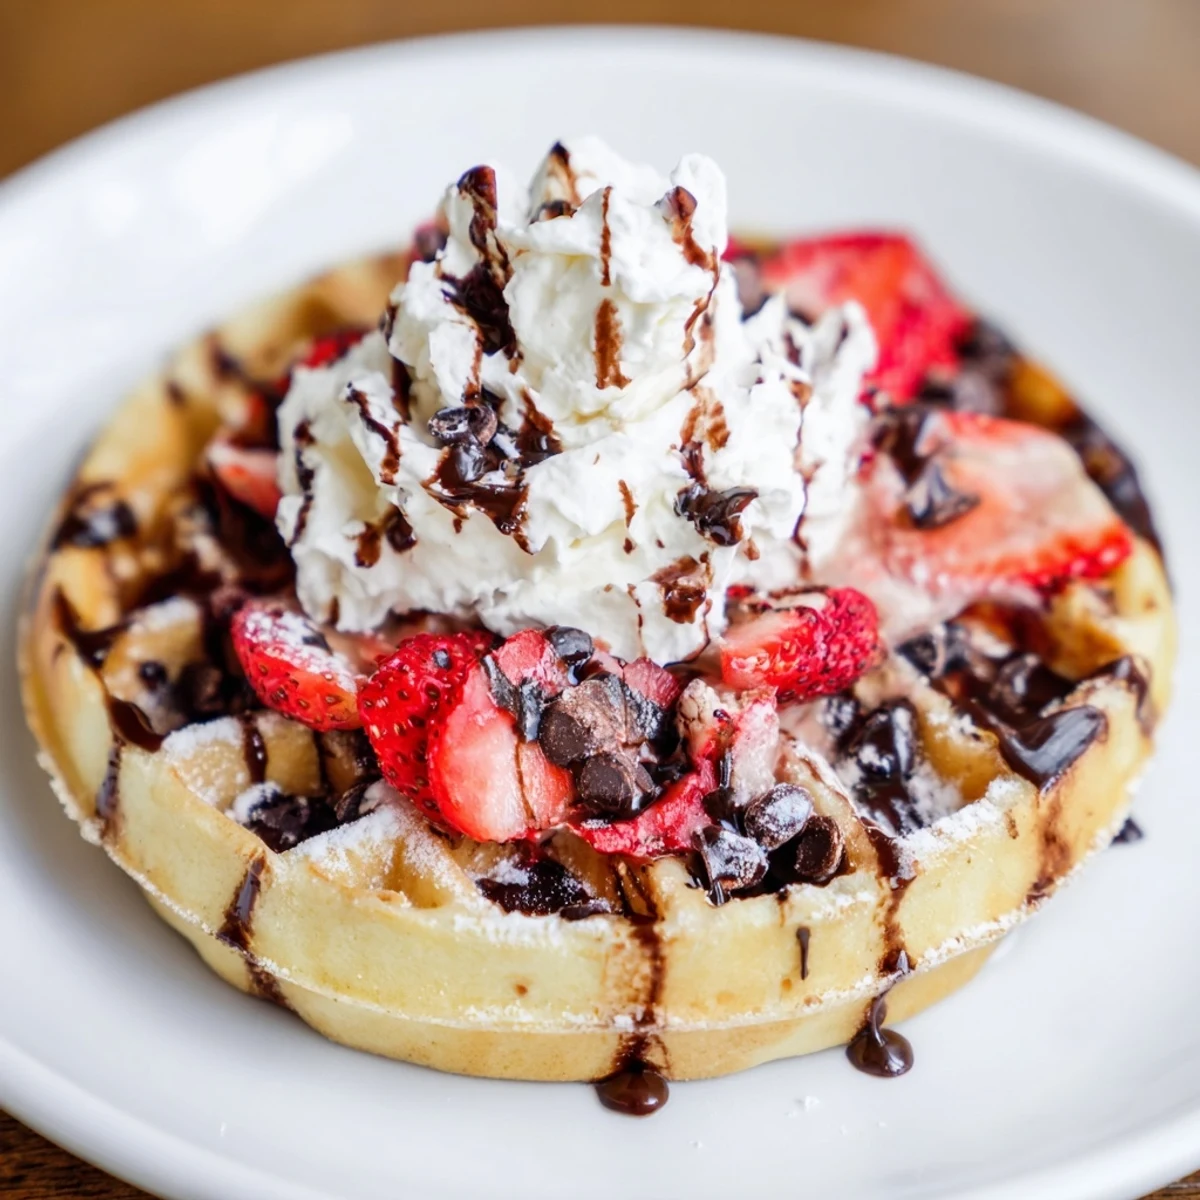
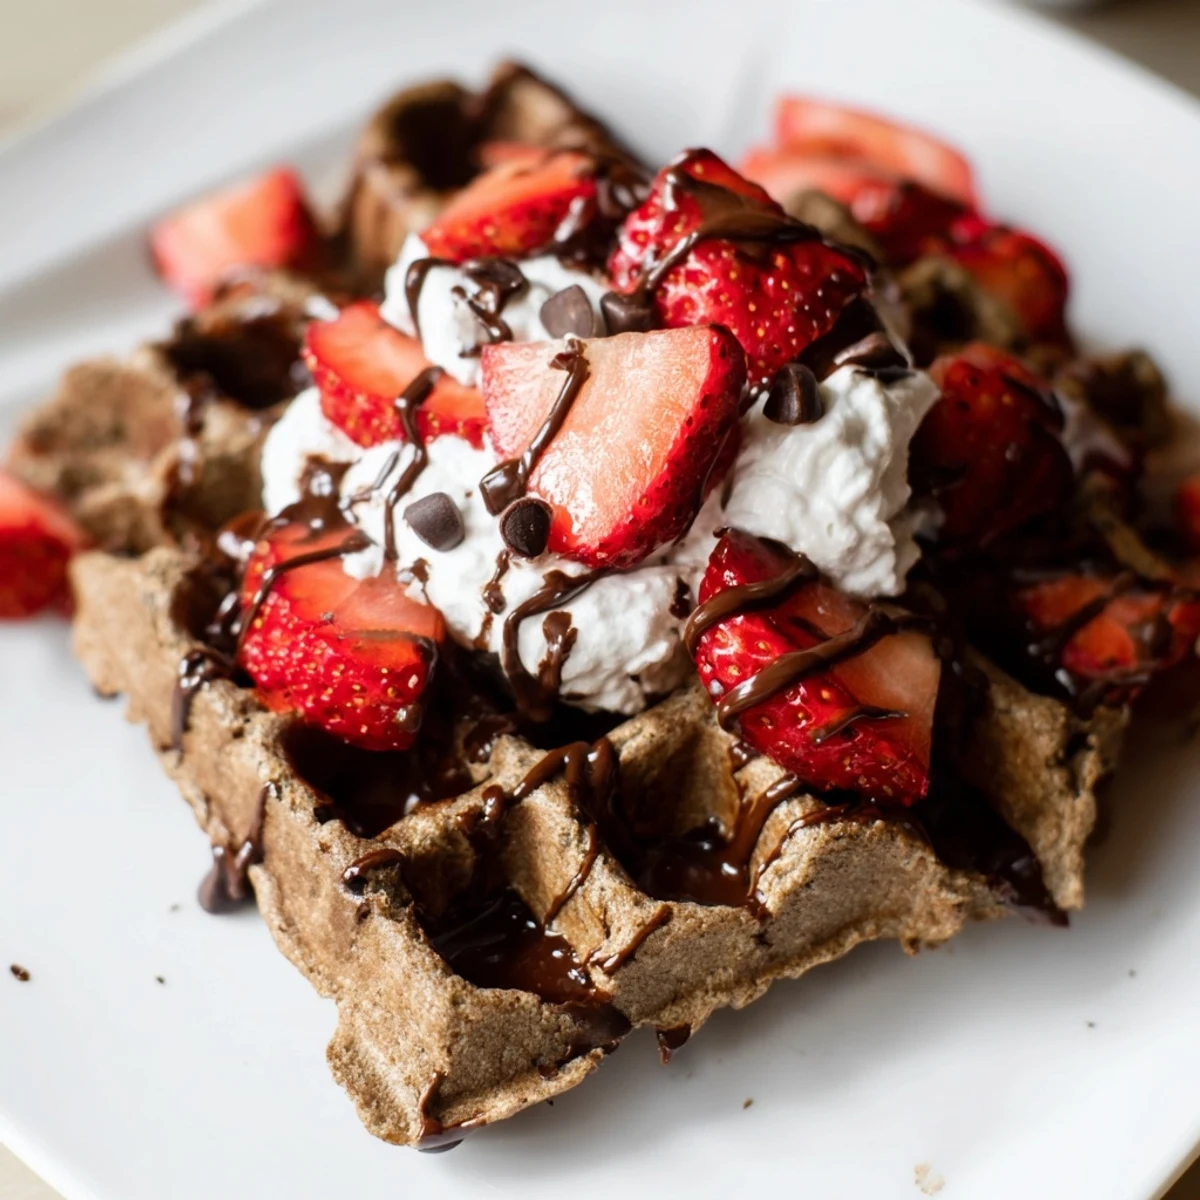
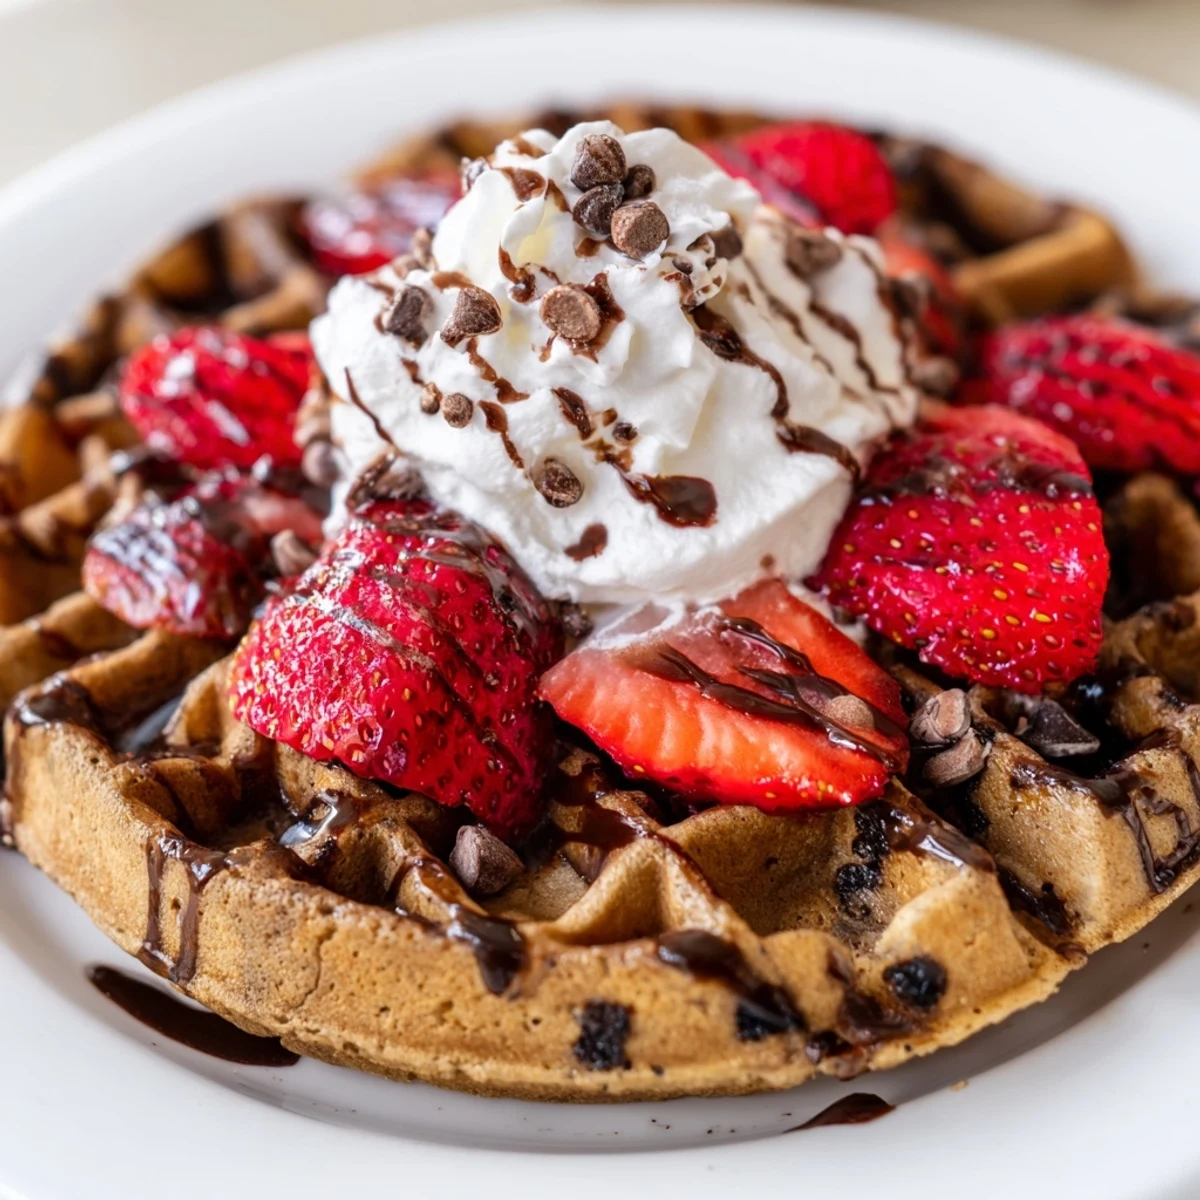
 This chocolate waffle combines rich cocoa powder and semi-sweet chocolate chips for a deeply satisfying brunch treat. The batter balances wet and dry ingredients to ensure a fluffy, tender interior with a crisp outer shell. Served warm, it pairs beautifully with fresh berries, whipped cream, and a drizzle of maple syrup or chocolate sauce. With simple preparation, it offers an easy yet indulgent option to elevate any brunch table.
There's something about Saturday mornings that demands chocolate waffles—the kind where your kitchen smells like a bakery and cocoa powder dusts your apron before you've even poured the first batch. I discovered this recipe by accident, really, trying to rescue a batch of regular waffles that felt too plain for the occasion. What started as a desperate improvisation became the thing my family now requests every brunch, the waffle iron humming while coffee brews and everyone gathers around waiting.
I'll never forget the first time I made these for my partner's parents—I was nervous about getting the waffle iron temperature right, and I may have burnt the first one slightly, but they didn't even notice because they were too busy asking for seconds. That moment when someone closes their eyes while eating your food because they're that focused on savoring it? That's when I knew this recipe was a keeper.
Ingredients
- All-purpose flour (1 1/2 cups): The foundation that keeps things light; measuring by weight is worth it if your scale is handy, but spoon-and-level works fine too.
- Unsweetened cocoa powder (1/3 cup): This is the star—don't reach for the sweetened baking cocoa, it changes everything, and sift it if you have a few clumps.
- Granulated sugar (1/3 cup): Balances the cocoa's bitterness without making the waffle cloying.
- Baking powder and baking soda (2 tsp and 1/2 tsp): The dynamic duo that gives you that fluffy interior; use fresh supplies for best rise.
- Salt (1/4 tsp): A tiny pinch that amplifies the chocolate flavor without tasting salty.
- Large eggs (2): Room temperature eggs incorporate more smoothly into the wet mixture.
- Whole milk (1 1/3 cups): Creates the right consistency; don't skip using whole milk if you can, the fat matters here.
- Unsalted butter (1/3 cup, melted and cooled): Melted and then cooled slightly prevents the eggs from scrambling when you mix everything together.
- Vanilla extract (1 tsp): A small boost that rounds out the chocolate without announcing itself.
- Semi-sweet chocolate chips (1/2 cup, optional): I call them optional but honestly they're essential; they add little pockets of richness throughout.
Instructions
- Heat the waffle iron:
- Plug it in and let it fully preheat—most irons have a light that signals readiness, and waiting that extra minute makes a difference in crispiness.
- Mix the dry ingredients:
- Whisk together flour, cocoa powder, sugar, baking powder, baking soda, and salt in a large bowl, making sure there are no cocoa lumps hiding in the corners.
- Combine the wet ingredients:
- Beat the eggs in a separate bowl, then add milk, cooled melted butter, and vanilla; stir until smooth and well incorporated.
- Bring everything together:
- Pour the wet mixture into the dry ingredients and stir gently with just a few strokes—lumpy batter is your friend here, overmixing leads to tough waffles that feel dense instead of fluffy.
- Fold in the chocolate:
- If you're using them, gently fold in the chocolate chips so they're distributed throughout without breaking them into smaller pieces.
- Prepare the waffle iron:
- Lightly grease it with nonstick spray or a butter brush—this step prevents sticking and ensures those crispy edges.
- Cook each waffle:
- Pour batter to just cover the grid, close the iron, and wait for the steam to slow down and the exterior to turn golden brown, usually about 4 to 5 minutes depending on your machine's heat level.
- Keep them warm:
- As you finish each waffle, place it on a baking sheet in a 200°F oven to stay warm while you cook the rest of the batch.
- Serve with joy:
- Top warm waffles with fresh berries, a dollop of whipped cream, and a generous pour of maple syrup or chocolate sauce.
 Save to Pinterest
 There was this one Sunday when my neighbor stopped by mid-morning, and the smell of chocolate waffles pulled them right into the kitchen without hesitation. We ended up sitting on the porch, plates balanced on our laps, talking about nothing important while these waffles quietly became the highlight of both our mornings—proof that sometimes the simplest gestures of hospitality mean the most.
The Magic of Cocoa Powder
Cocoa powder is deceptive in its simplicity, but it's what transforms ordinary waffles into something that feels indulgent and special. The key is using unsweetened cocoa, which lets you control the sugar level and prevents the waffle from tasting artificially sweet—you want to taste the deep, slightly bitter chocolate notes, not just sugar with cocoa tinted in. I've found that sifting the cocoa powder before mixing prevents those little dark specks that haven't fully hydrated, though honestly, I don't always bother and the waffles still turn out beautifully.
Texture and Crispiness
The contrast between a crispy, golden exterior and a soft, fluffy interior is what separates a memorable waffle from a forgettable one, and it all comes down to batter consistency and waffle iron contact time. Getting enough batter in the iron to fully cover the grid without overflowing is part art, part science—you want coverage without excess that squirts out the sides. The moment you close the iron and hear that gentle sizzle is when the magic starts, and listening for when the steam flow slows down tells you more than watching the clock ever could.
Storage and Serving Ideas
These waffles have a surprising shelf life if you know the tricks, which has saved more than one lazy weekend morning when I didn't want to remake them from scratch. Leftovers freeze beautifully for up to three weeks, and reheating them in a toaster or toaster oven brings back much of that original crispiness without drying them out. Warming finished waffles in a 200°F oven keeps the whole batch at the perfect temperature while you're cooking, which is a game-changer if you're feeding a crowd.
- Pop frozen waffles directly into the toaster for a quick breakfast that tastes freshly made.
- Serve with unexpected toppings like Greek yogurt, fresh mint, or even a drizzle of espresso syrup for variety.
- Make extras on purpose—waffle leftovers are a gift to your future self on busy mornings.
 Save to Pinterest
 Chocolate waffles have a way of turning an ordinary morning into something worth lingering over, something that makes people want to stay at the table a little longer. That's the real magic of this recipe—it's simple enough to make on a whim but impressive enough to feel like a celebration.
