
 Save to Pinterest
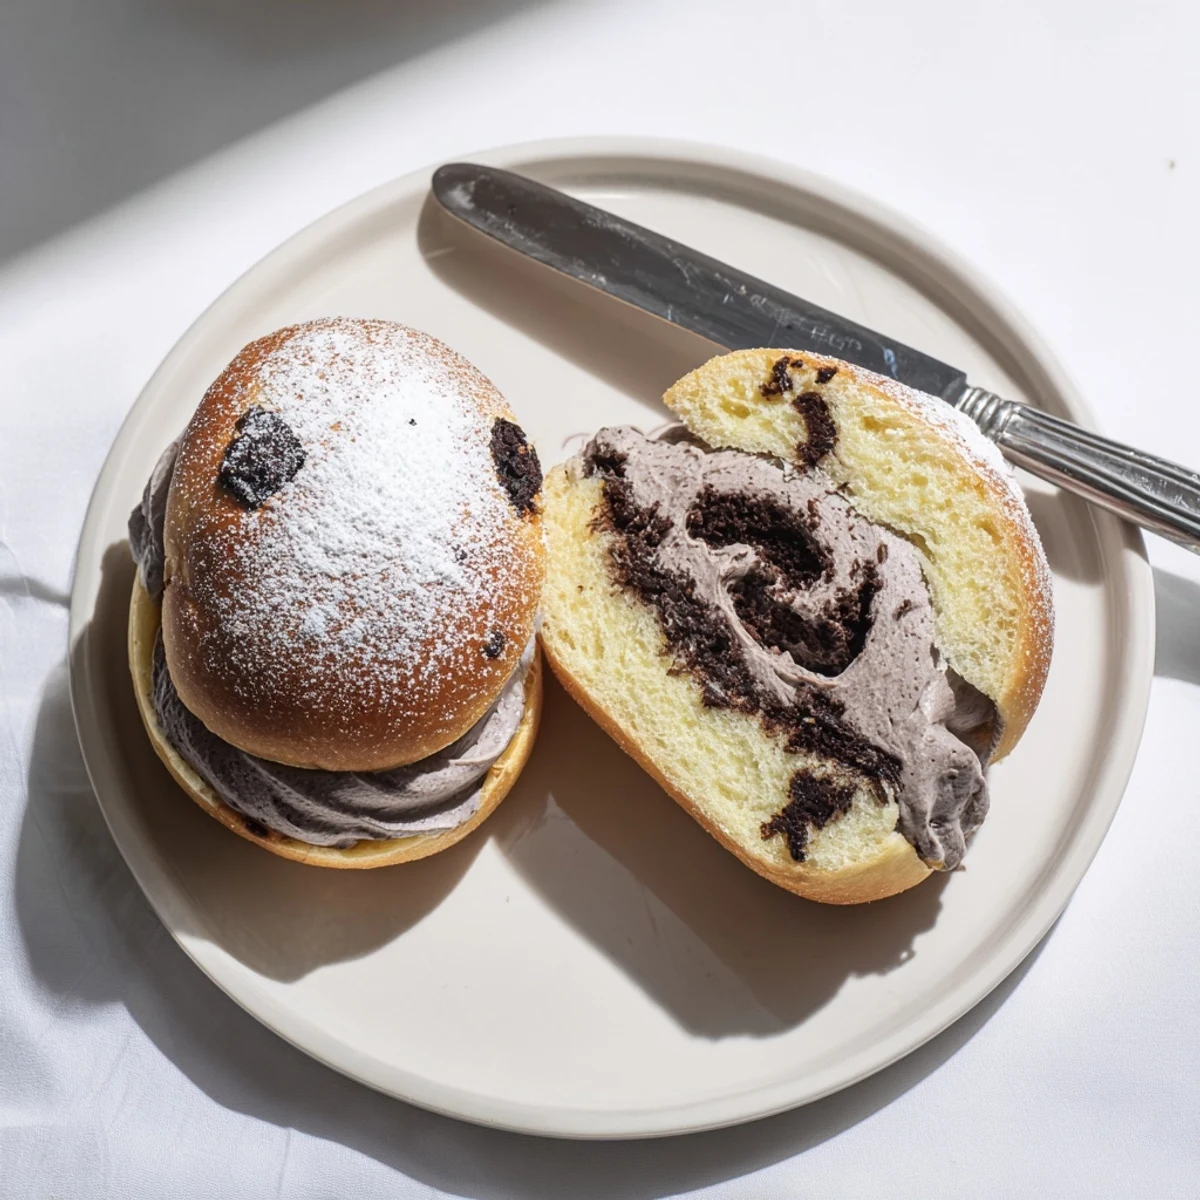
 Maritozzi are beloved Roman sweet buns traditionally enjoyed at breakfast with espresso. This chocolate version enriches a soft, pillowy cocoa dough with chopped dark chocolate, then fills each bun with a generous swirl of chocolate-whipped cream.
The dough comes together with a simple yeast activation, kneading, and two rises — first as a bulk ferment, then shaped into oval buns. A quick egg wash gives them a subtle shine before baking until just firm.
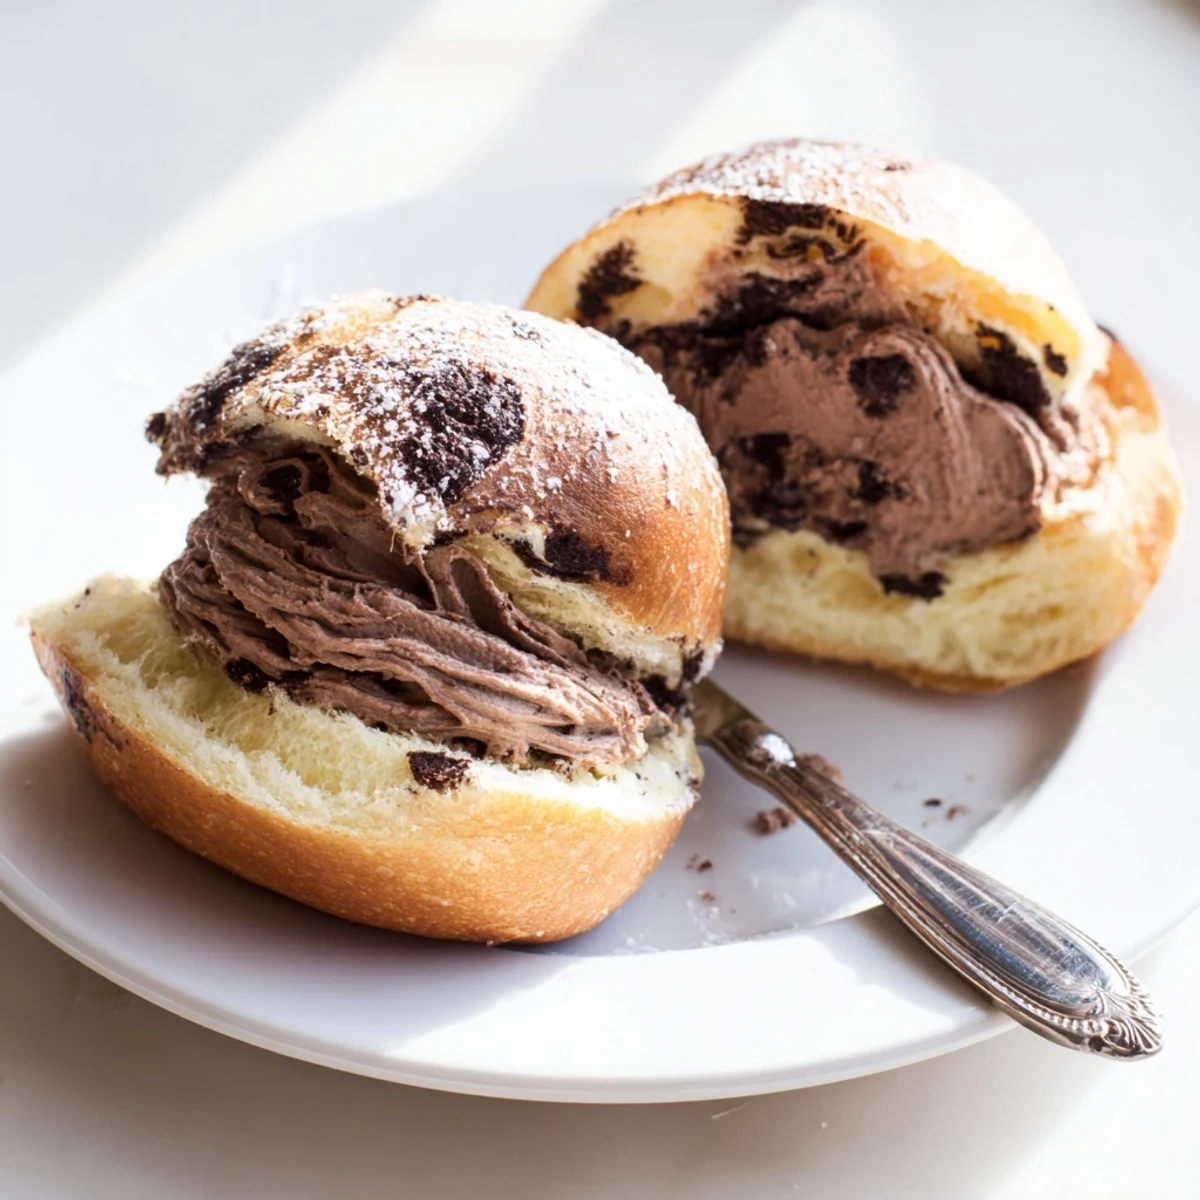
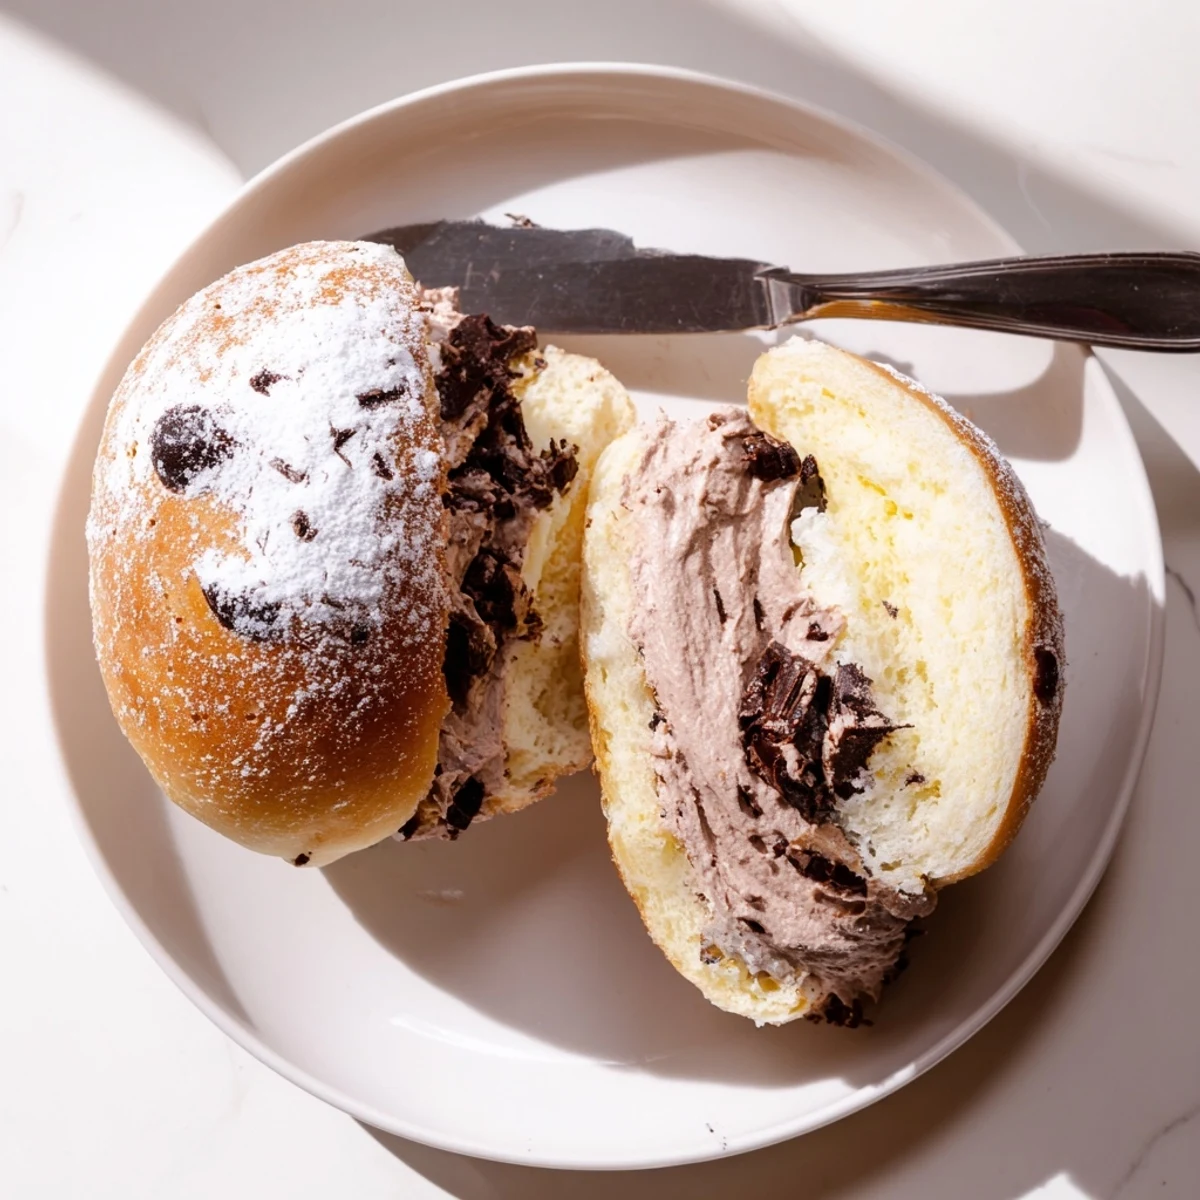
Once cooled, each bun is sliced lengthwise and filled with whipped cream folded with melted dark chocolate. The result is a deeply satisfying pastry that balances a tender, chocolaty crumb with a rich, airy filling.
There is something almost theatrical about maritozzi, the way they sit in Roman pastry cases with their whipped cream tumbling out like clouds escaping a bun shaped cage. I ate my first one standing outside a bar near the Pantheon, jet lagged and clutching an espresso, and the combination of soft enriched dough with sweet cream hit me like a revelation. This chocolate version came later, born from a rainy Sunday when I had dark chocolate in every form scattered across my counter and a stubborn refusal to leave the house. The result is everything I love about the original, just deeper, darker, and a little more dramatic.
I made a double batch of these for my sisters birthday brunch last spring and watched three grown adults forget about mimosas entirely. My brother in law ate four in a row without making eye contact with anyone, which I took as the highest compliment. The kitchen smelled like a chocolate shop for the rest of the afternoon.
Ingredients
Dough
- 350 g all-purpose flour: Bread flour works too but all-purpose gives the tender crumb that makes these feel like a pastry shop treat.
- 40 g unsweetened cocoa powder: Use a good quality one, the flavor really comes through in the finished bun.
- 120 ml whole milk, lukewarm: Think baby bottle warm, not hot, because scalded milk will kill your yeast.
- 60 g granulated sugar: Not too sweet, just enough to balance the bitter cocoa.
- 7 g active dry yeast: One standard packet, check the expiry date because expired yeast has broken my heart before.
- 1 large egg: Room temperature helps it incorporate smoothly into the dough.
- 40 g unsalted butter, softened: Leave it out for an hour, cold butter will tear your dough apart.
- 1/2 tsp vanilla extract: A quiet background note that makes everything rounder.
- 1/2 tsp salt: Essential for depth, never skip it.
- 60 g dark chocolate, chopped: Rough chunks melt into beautiful little pockets during baking.
Filling
- 300 ml heavy whipping cream: Cold is non negotiable here, warm cream will never whip properly.
- 70 g dark chocolate, melted and cooled: Let it come to room temperature so it does not deflate the cream when folded in.
- 30 g powdered sugar: Keeps the filling smooth rather than gritty.
- 1 tsp vanilla extract: Rounds out the chocolate flavor beautifully.
For Brushing
- 1 egg yolk: Gives the buns that glossy bakery style finish.
- 2 tbsp milk: Thins the yolk so it brushes on evenly without tearing the dough.
Instructions
- Wake up the yeast:
- Stir the yeast and one tablespoon of sugar into the lukewarm milk and let it sit for about ten minutes until it bubbles and swells. If nothing happens your yeast is dead and you need to start fresh.
- Build the dry foundation:
- Whisk the flour, cocoa powder, remaining sugar, and salt together in a large bowl until evenly blended. The cocoa tends to clump so take your time here.
- Bring it together:
- Make a well in the center, drop in the egg, vanilla, softened butter, and the foamy yeast mixture, then stir with a wooden spoon until a shaggy dough forms. It will look messy at first and that is perfectly fine.
- Knead with patience:
- Work the dough by hand or with a mixer for eight to ten minutes until it becomes smooth and elastic. Add the chopped chocolate during the last two minutes so the chunks stay intact rather than melting into the dough.
- First rise:
- Transfer the dough to a clean lightly oiled bowl, cover it with a damp towel or plastic wrap, and leave it in a warm spot for one to two hours until it has roughly doubled. I tuck mine into the oven with just the light switched on.
- Shape the buns:
- Divide the dough into eight equal pieces and roll each into a plump oval, slightly elongated like a small football. Set them on a parchment lined baking tray with space between them because they will grow.
- Second rise:
- Cover the tray loosely and let the shaped buns puff up for about forty minutes. They should look noticeably fuller but not necessarily doubled.
- Preheat and glaze:
- Heat your oven to 180 degrees Celsius, then whisk the egg yolk with the milk and gently brush it over each bun. Use a light hand because pressing too hard will deflate them.
- Bake:
- Bake for fifteen to eighteen minutes until the tops are set and the buns sound slightly hollow when tapped underneath. Let them cool completely on a wire rack because warm buns will melt your filling.
- Make the filling:
- Whip the cold cream with powdered sugar and vanilla until it holds firm peaks, then gently fold in the cooled melted chocolate with a spatula. Stop folding as soon as it is combined to keep the cream light and airy.
- Fill and finish:
- Slice each cooled bun lengthwise leaving a hinge at the back, pry it open gently, and pipe or spoon a generous mound of chocolate cream inside. Dust with powdered sugar if you want that classic look and serve right away.
 Save to Pinterest
 One Christmas morning I left a tray of these on the counter and found my niece standing on a step stool at six am, eating one with both hands, cream all over her pajamas. She looked at me like I had caught her committing a crime, and I just handed her a napkin and took one for myself. Some foods become part of your family vocabulary without anyone deciding it should happen.
The Secret to That Bakery Style Softness
The combination of egg, butter, and a proper kneading session is what gives maritozzi their signature pillowy texture. Under kneading is the most common mistake, and you will know you hit the sweet spot when the dough springs back slowly when you poke it with a floured finger. If it tears easily or looks ragged, keep going for another two minutes.
Choosing the Right Chocolate Changes Everything
I use dark chocolate around sixty to seventy percent for both the dough chunks and the filling because it balances the sweetness of the bun and cream. Milk chocolate works in the filling if you prefer sweeter pastries, but skip anything below fifty percent in the dough or the cocoa flavor gets lost entirely.
Storing and Serving the Next Day
Filled buns are best eaten within a few hours but the unfilled buns keep beautifully in an airtight container at room temperature for two days. You can also freeze the baked unfilled buns for up to a month, then thaw and fill whenever the craving hits.
- Wrap unfrozen buns in foil before storing to keep the edges from drying out.
- Make the cream filling right before you plan to serve for maximum fluffiness.
- Always let frozen buns thaw completely at room temperature before slicing and filling.
 Save to Pinterest
 These chocolate maritozzi are worth every minute of waiting, and I promise the moment you pull them from the oven you will understand why Romans have been eating them for breakfast for generations. Make them once and they will become part of your kitchen story too.
Recipe Questions
- → Can I make the dough ahead of time?
-
Yes, you can prepare the dough through the first rise, then refrigerate it covered overnight. Let it come to room temperature for about 30 minutes before shaping and proceeding with the second rise.
- → Why did my chocolate whipped cream deflate?
-
The melted chocolate must be cooled to room temperature before folding it into the whipped cream. If the chocolate is too warm, it will melt the cream and cause deflating. Work gently and fold rather than stir.
- → Can I use instant yeast instead of active dry yeast?
-
Absolutely. Instant yeast can be mixed directly into the dry ingredients without blooming. Use the same quantity — 7 g — and expect slightly faster rising times.
- → How should I store leftover filled maritozzi?
-
Filled maritozzi are best enjoyed the same day. If needed, refrigerate them uncovered for up to 24 hours. The buns themselves can be frozen unfilled for up to one month; thaw and fill fresh when ready to serve.
- → What type of dark chocolate works best?
-
A 60–70% cacao dark chocolate provides a balanced intensity without being overly bitter. For the dough, finely chop a quality bar. For the filling, use the same chocolate melted and cooled before incorporating into the cream.
- → Can I make these without a stand mixer?
-
Yes, the dough can be kneaded entirely by hand for 8–10 minutes on a lightly floured surface until smooth and elastic. It will be slightly sticky at first but will come together with continued kneading.