 Save to Pinterest
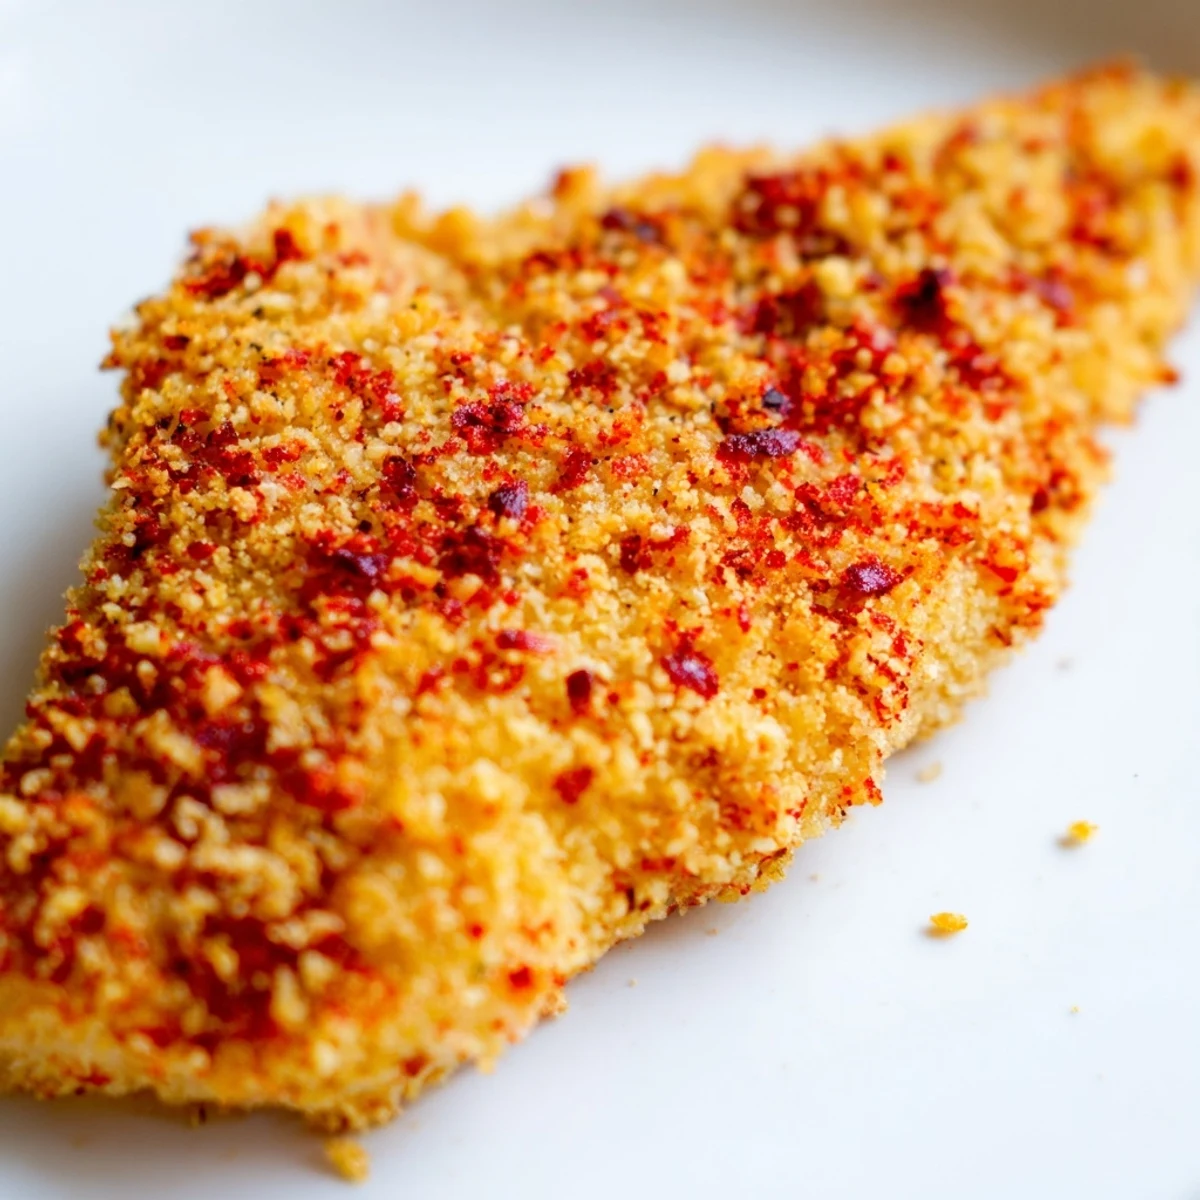
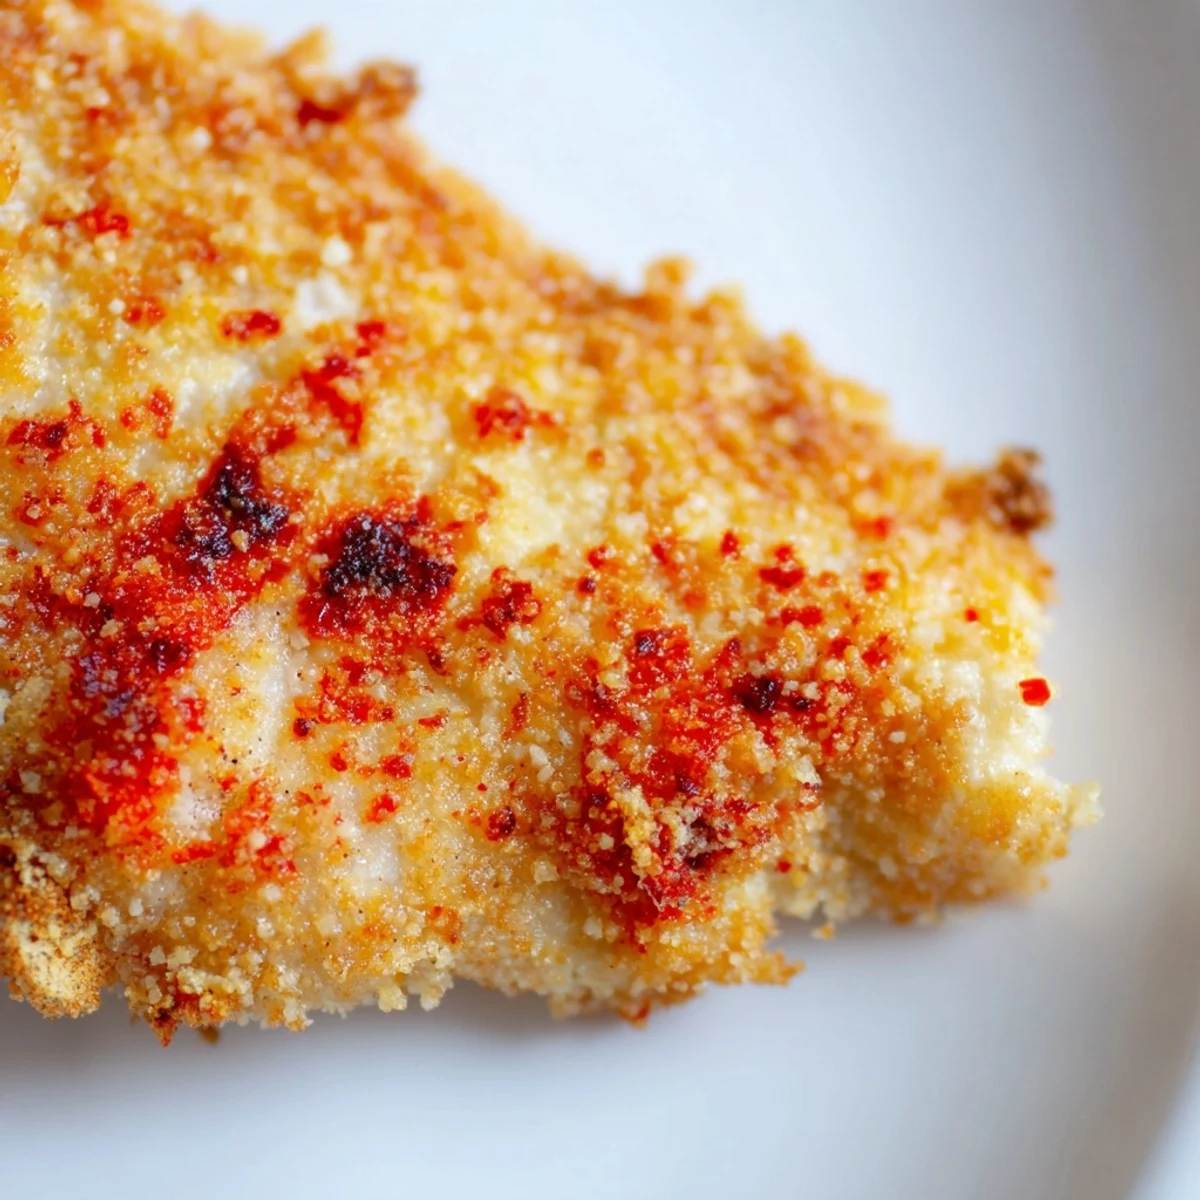
 This golden breadcrumb coating delivers a satisfyingly crispy and flavorful layer to chicken, fish, vegetables, or cheese. The blend of panko breadcrumbs, Parmesan, and spices creates a crunchy texture enhanced by a brief rest in the fridge before cooking. Easy to prepare using simple ingredients like eggs, milk, and flour, it brings a delicious crispness to any dish, whether fried or baked. Variations include adding herbs or gluten-free substitutes to suit dietary needs.
There's something deeply satisfying about the sound of breadcrumbs hitting hot oil, that immediate sizzle and pop that tells you everything is about to turn golden. I learned to make a proper crispy coating years ago when I kept watching my chicken turn out soggy on the inside and pale on the outside, and once I figured out the three-bowl method, it became my secret weapon for making weeknight dinners feel special. Now I can't imagine frying anything without first setting up this simple assembly line, because the difference between a limp coating and one that stays crunchy is honestly just knowing the right order and being patient enough to let it rest.
I remember standing in my kitchen on a random Tuesday, making crispy chicken for my partner who had been stressed all week, and watching their face when they bit into it and that golden crust just crackled between their teeth—that's when I realized this simple coating wasn't just technique, it was comfort. The whole kitchen smelled incredible, toasty and savory, and suddenly I understood why people get excited about food that's actually made with care.
Ingredients
- Panko breadcrumbs, 1 cup: Panko gives you that distinctive audible crunch that regular breadcrumbs can't match, and honestly once you try it you'll never go back.
- Parmesan cheese, 2 tbsp: Adds a savory depth and helps everything brown more evenly if you use it, though it's truly optional.
- Garlic powder, 1 tsp: This is the unsung hero that makes people ask what's in your coating because it smells so good.
- Paprika, 1 tsp: Brings color and a gentle warmth without heat, and it's what makes the coating look professionally done.
- Salt and black pepper: The bare minimum needed to taste right, use what feels good to your hand.
- Eggs, 2 large: The glue that holds everything together, and yes you really do need two.
- Milk, 2 tbsp: Makes the egg wash spreadable and helps the coating stick without creating thick clumps.
- All-purpose flour, ½ cup: The crucial first step that gives the egg wash something to grip before the breadcrumbs go on.
Instructions
- Set up your three-bowl station:
- Line up your shallow bowls with flour first, then the beaten eggs mixed with milk, then the seasoned breadcrumbs on the end—this order matters because you're moving wet to dry, and it keeps everything clean and organized.
- Season the breadcrumbs generously:
- Mix the Parmesan, garlic powder, paprika, salt, and pepper right into the panko and let it sit for a moment so the flavors distribute evenly before you start dredging.
- Dry your protein or vegetables completely:
- Pat everything down with paper towels until it looks almost too dry, because moisture is the enemy of crunch and the one thing that will sabotage your coating if you skip this.
- Dredge in flour first:
- Coat each piece lightly in flour, shake off the excess so you have just a thin dust, then move immediately to the egg bowl—this thin flour layer is what gives the coating something to anchor to.
- Dip into the egg mixture:
- Make sure every surface gets touched by the egg wash and let the excess drip back into the bowl, because over-saturating is what creates thick, gluey spots instead of a crispy shell.
- Press firmly into the breadcrumb mixture:
- Don't just roll it around, press and turn each piece so the breadcrumbs really adhere, and you'll see how much better it sticks when you actually commit to the pressure.
- Rest in the refrigerator:
- Lay everything on a baking sheet and refrigerate for at least 15 minutes, which lets the coating set and stay intact when it hits the heat instead of sliding off.
 Save to Pinterest
 There was a moment last summer when I made these crispy coatings for a backyard gathering, and watching my friends grab seconds and thirds without even realizing they were eating something I'd made myself was one of those small kitchen victories that stick with you. It sounds simple, but mastering one fundamental technique like this opened up so many possibilities, from chicken to fish to vegetables.
The Science of Crunch
The reason this three-step method works is that each layer serves a specific purpose—flour provides grip, egg acts as adhesive, and breadcrumbs become the crispy shell. When you skip steps or rush the process, you're essentially asking the breadcrumbs to stick to a slippery surface with nothing to hold onto, which is why so many home cooks end up disappointed. Understanding this helped me stop blaming myself for failed coatings and start respecting the technique instead.
Customizing Your Coating
The base recipe is flexible enough to adapt to whatever flavors you're craving, whether that's Italian herbs, smoked paprika, or even a hint of cayenne for people who like heat. I've experimented with dried parsley, thyme, and oregano mixed into the breadcrumbs, and each combination creates a completely different dish that still feels fundamentally the same. The technique stays constant while the personality of the dish changes, which is why once you learn this method you can apply it to anything you want to fry or bake.
Troubleshooting Your Coating
If your coating is falling off during cooking, your food probably wasn't dry enough before you started dredging, or you didn't let it rest long enough in the fridge. If it's burning before the inside cooks, your oil or oven temperature is too high, so adjust down and give it more time. If it's turning out soggy, you might be using regular breadcrumbs instead of panko, or you're storing it in a plastic container where steam gets trapped.
- Always pat your protein bone dry with paper towels before any dredging begins.
- Don't skip the resting step in the fridge no matter how hungry you are.
- Use panko for crunch, regular breadcrumbs for a softer texture if you prefer that instead.
 Save to Pinterest
 Once you master this coating, you'll find yourself making it for everything from chicken tenders to zucchini slices to mozzarella sticks, and it becomes the reliable technique you reach for whenever you want something crispy and golden. That confidence in the kitchen, knowing you can make something taste genuinely good without overthinking it, is worth more than any fancy recipe.
Recipe Questions
- → What type of breadcrumbs works best?
-
Panko breadcrumbs are ideal for extra crunch and a lighter texture compared to regular breadcrumbs.
- → Can I make this coating gluten-free?
-
Yes, use gluten-free flour and gluten-free breadcrumbs to adapt the coating for gluten sensitivities.
- → How long should coated items rest before cooking?
-
Refrigerate coated pieces for 15 to 30 minutes to help the coating adhere better during frying or baking.
- → What spices are included in the breadcrumb mix?
-
The mix includes garlic powder, paprika, salt, black pepper, and optionally grated Parmesan cheese for added flavor.
- → Can this coating be used on vegetables and cheese?
-
Yes, it works well on vegetables like zucchini slices and cheese such as mozzarella sticks for a crispy finish.
