 Save to Pinterest
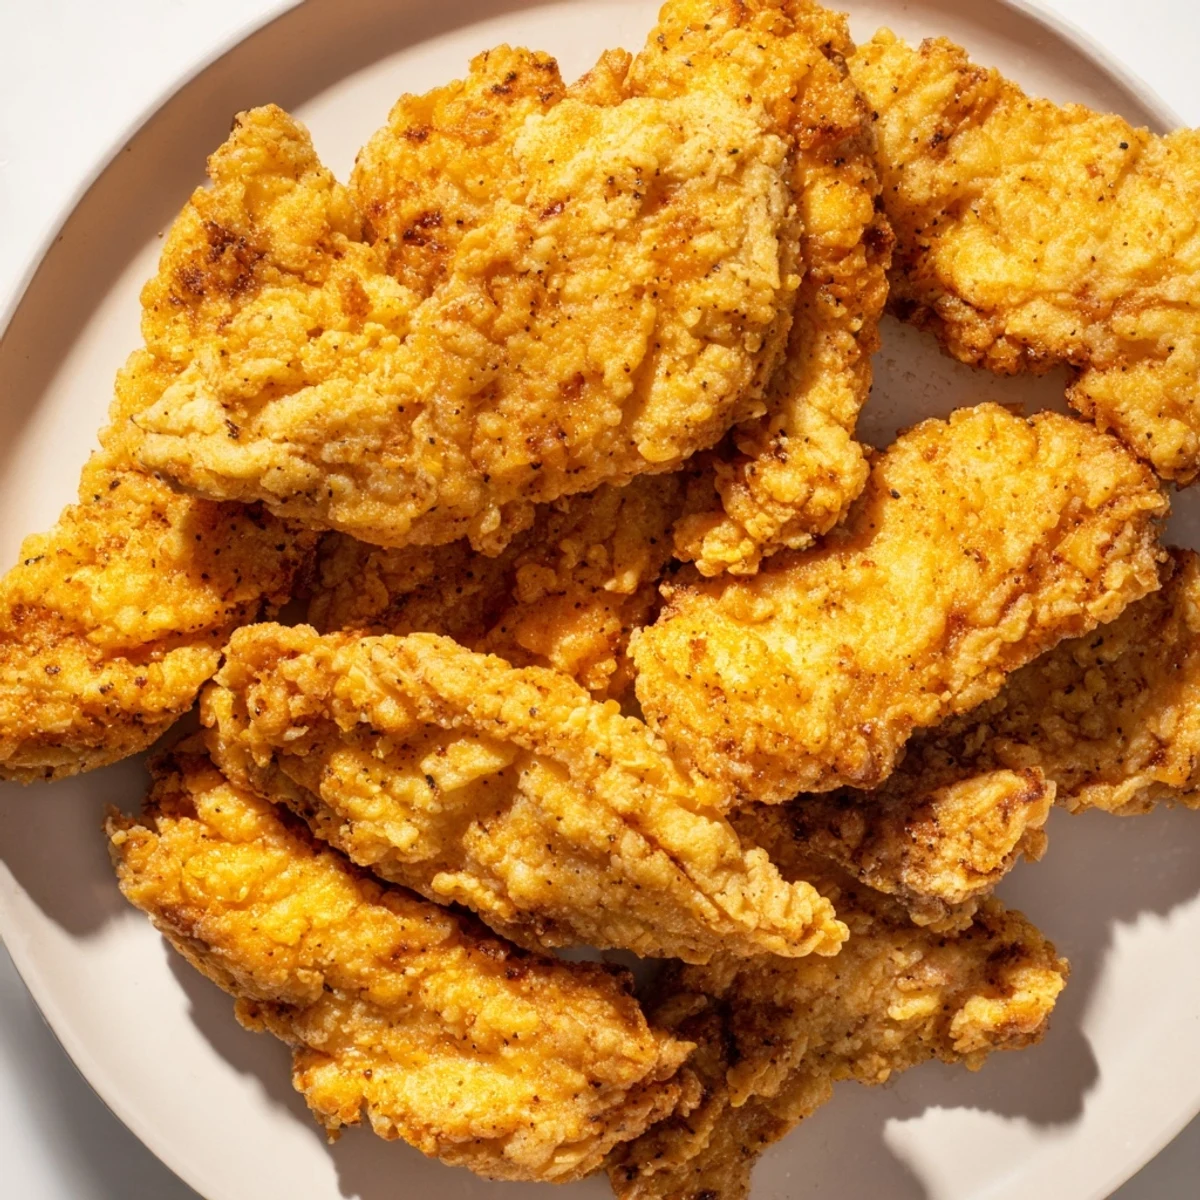
 This coating combines a dry mix of flour, cornstarch, and spices with eggs and cold liquid to create a crispy, golden crust for fried foods. The two-step dredging process ensures an even, crunchy finish that works well with chicken, fish, tofu, and vegetables. Heating oil to 350°F and frying in batches cooks the coating to perfection. Variations with panko or spices can customize texture and flavor.
There's something magical about that first bite of truly crispy fried food, when your teeth crack through the golden shell and everything stays tender inside. I learned to make this coating on a rainy afternoon when a friend showed up unexpectedly, and all I had in my kitchen were eggs, flour, and a stubborn desire to prove that good frying doesn't require fancy ingredients. That day taught me that the secret isn't complexity—it's understanding how a double dredge, a cold egg wash, and the right oil temperature create a crust that actually stays crunchy, not soggy.
I remember making this for my neighbors during a casual backyard dinner, and watching their kids eat their third piece of fried chicken without complaint was worth every minute. My mom later asked why her homemade fried chicken had never turned out this consistently golden, and I realized it was because she'd been skipping the second dredge—that small step changed everything for her kitchen too.
Ingredients
- All-purpose flour: The foundation that gives structure; I learned to measure by weight rather than volume because packed flour throws off the whole balance.
- Cornstarch: This is the ingredient that made the difference for me—it absorbs moisture and creates that shatteringly crisp exterior that stays crisp even after a few minutes.
- Baking powder: A tiny addition that leavens the coating slightly, making it lighter and airier than a flat crust.
- Garlic powder, onion powder, and salt: Season boldly here because the oil won't carry salt deep into the coating the way it does in other cooking methods.
- Ground black pepper and smoked paprika: Pepper adds bite, and smoked paprika brings a subtle depth that makes people ask what you did differently.
- Eggs and cold water: The cold liquid matters more than you'd think—it keeps the batter from getting gummy, and beaten eggs create tiny air bubbles that fry up into crispy pockets.
- Neutral oil: Temperature control is everything, and a high smoke-point oil lets you get the coating golden without burning the exterior before the inside cooks.
Instructions
- Mix your dry base:
- Combine flour, cornstarch, baking powder, garlic powder, onion powder, salt, pepper, and smoked paprika in a large bowl, whisking together until the spices are evenly distributed. This even distribution matters because every piece of chicken gets the same seasoning.
- Prepare the egg wash:
- Crack eggs into a shallow bowl and beat them with cold water or milk until frothy and lightened. The cold temperature prevents the batter from becoming thick and pasty.
- Dry your protein or vegetables:
- Pat whatever you're coating completely dry with paper towels—any surface moisture will turn to steam and prevent crispness. This step feels small but makes a huge difference.
- First dredge:
- Roll each piece in the dry mixture, turning to coat all sides, then shake off excess. Don't be gentle; you want an even, thin layer that won't clump.
- Dip into the egg wash:
- Submerge each piece in the egg mixture, making sure every surface is wet, then lift it out so excess drips back into the bowl. This wet layer acts like glue for the second coating.
- Double dredge:
- Return the egg-coated piece to the dry mix and coat thoroughly again, pressing gently so the coating sticks without compacting. This double layer is what gives you that satisfying crunch.
- Heat your oil:
- Bring oil to exactly 350°F (175°C)—use a thermometer, not guesswork, because oil 20 degrees cooler will make the coating soggy, and oil 20 degrees hotter will burn it. The temperature stays stable if you don't overcrowd the pan.
- Fry in batches:
- Add coated pieces to the hot oil in small batches, letting them fry for 3 to 6 minutes depending on size until golden and crispy, turning once if needed. The sizzle should be vigorous but not violent.
- Drain and serve:
- Remove fried pieces with a slotted spoon and place them on a wire rack or paper towels to drain. Serve immediately while the coating is still at its crispiest.
 Save to Pinterest
 There's a moment right after you pull something from the oil when the coating is still steaming and at peak crunch—that's when the magic actually lives, and it's been worth chasing my whole cooking life. Now when someone says they can't get crispy fried food at home, I know exactly what happened, and I'm always excited to share this technique.
Variations That Work
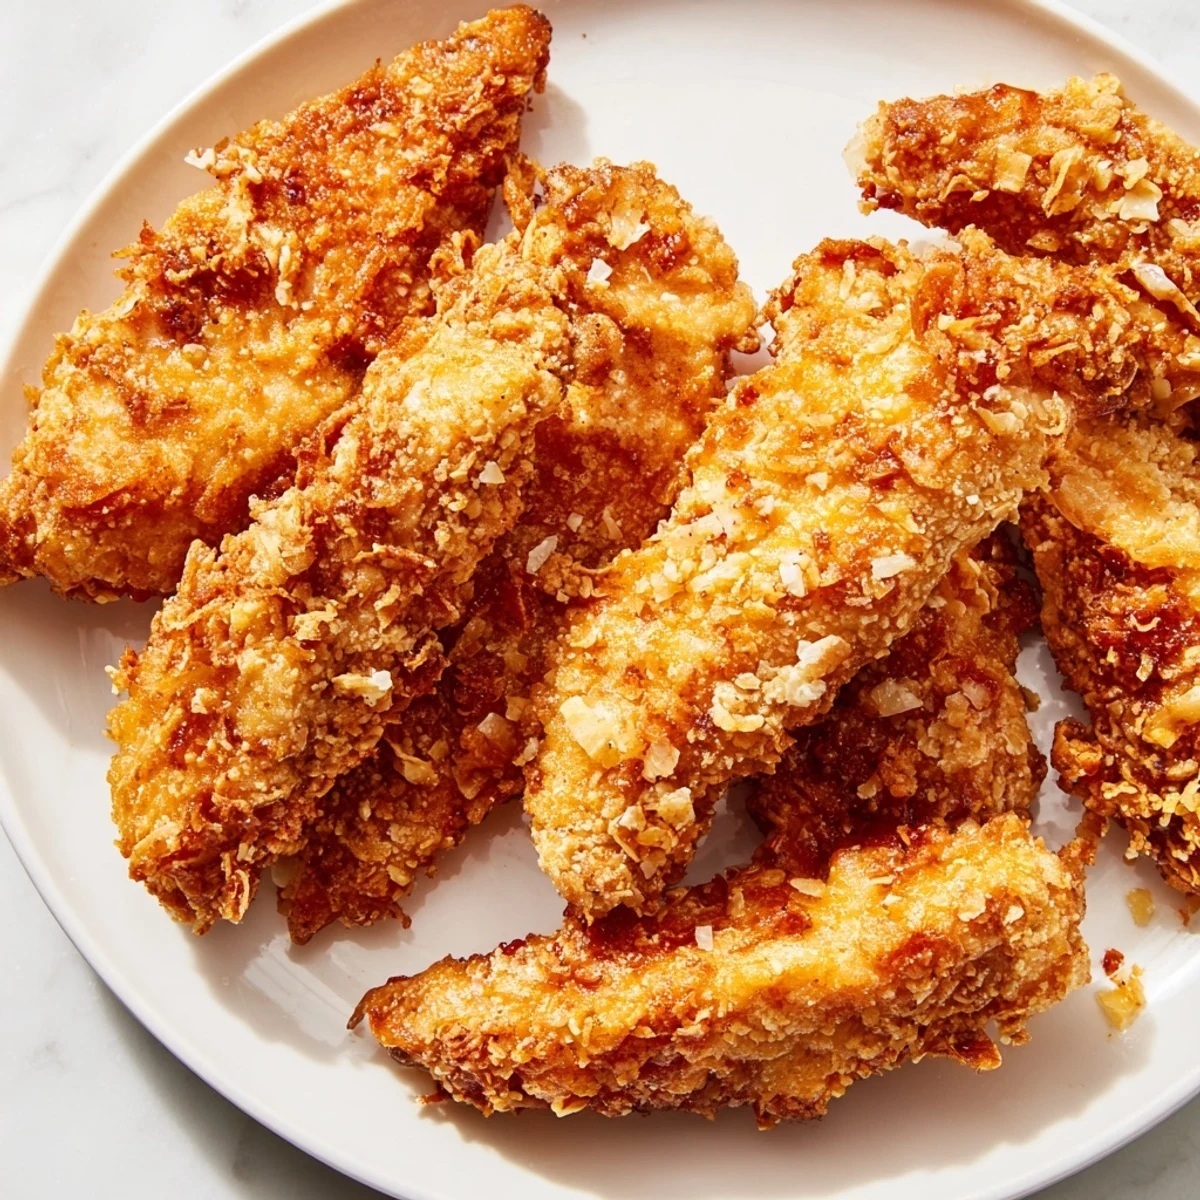
Once you master the basic coating, small changes open up whole new flavors. I've swapped half the flour for panko breadcrumbs when I want extra crunch, and I've added cayenne pepper for guests who like heat without announcing it. Dried herbs like oregano or thyme give you something interesting to talk about, and I've even dusted the finished pieces with a pinch of smoked paprika right after frying for extra depth.
What Works Under This Coating
Chicken tenders are the obvious choice, but the real adventure starts when you try it on fish fillets, thick-sliced vegetables, or even tofu if you press it well and let it chill first. I've fried zucchini coins, thick asparagus spears, and cauliflower florets with this exact coating, and every single one got the same golden, crispy finish. The technique doesn't change; only your confidence grows.
Keeping It Crispy
The enemy of crispy fried food is steam trapping moisture back into the coating, so cooling on a wire rack instead of paper towels keeps air flowing underneath. If you're not serving immediately, keep finished pieces uncovered in a warm oven set to 200°F so they stay warm without getting soggy. I learned these lessons through small mistakes, and they've saved countless dinner nights since.
- Never stack fried pieces while they're still warm—let them cool slightly so the coating can set.
- A wire rack lets air circulate on all sides, which is why it works better than paper towels for anything you're keeping warm.
- Leftover fried food reheats best in a 350°F oven for about 5 minutes, which restores some of that initial crispness.
 Save to Pinterest
 This coating has become my secret weapon in the kitchen because it works every single time once you understand what's happening. Now when someone asks how to get restaurant-quality fried food at home, I know exactly what to share.
Recipe Questions
- → What makes the coating so crispy?
-
The combination of cornstarch with flour and the double dredging technique traps moisture and forms a light, crunchy crust when fried.
- → Can I use this coating for vegetables?
-
Yes, it works well on sliced vegetables, giving them a crisp, golden exterior without sogginess.
- → What oils are best for frying with this coating?
-
Neutral oils with high smoke points, like canola, sunflower, or vegetable oil, are ideal for deep frying.
- → How can I add more flavor to the coating?
-
Adjust spices such as adding cayenne for heat or dried herbs for aroma to customize the taste.
- → Is this coating suitable for dairy-free diets?
-
Yes, using cold water instead of milk keeps the coating dairy-free while maintaining crispiness.
