 Save to Pinterest
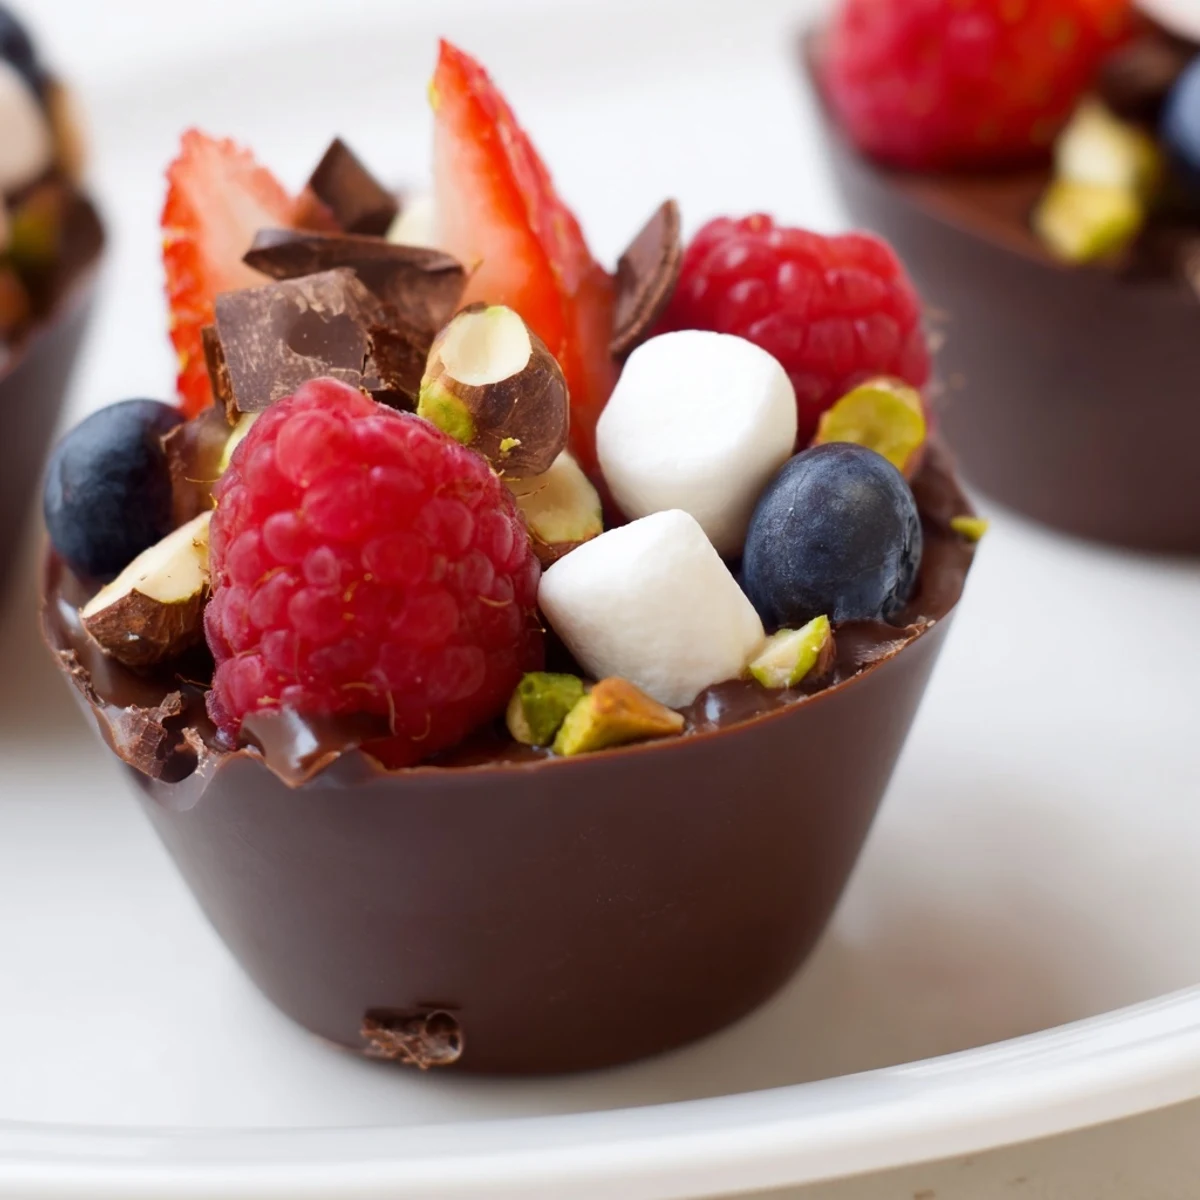
 Create stunning chocolate grazing cups featuring handmade dark chocolate vessels filled with silky chocolate mousse. These elegant individual desserts combine the richness of dark chocolate with the freshness of seasonal berries and the satisfying crunch of toasted nuts and marshmallows.
Perfect for dinner parties, weddings, or special celebrations, these decadent cups offer a sophisticated grazing experience. The combination of velvety mousse, tart berries, and various textures creates an irresistible dessert that guests can customize with their favorite toppings.
The first time I made these chocolate cups was actually by accident. I had extra chocolate after making a cake and decided to experiment with cupcake liners. When they popped out perfectly formed, I knew I needed to fill them with something equally special. Now they are my go-to for dinner parties because they look like something from a fancy patisserie.
I served these at my sisters birthday last year and watched everyone is face light up when they realized the entire cup was edible. My nephew actually asked if I bought them from an expensive bakery. That moment of seeing people genuinely delighted by something handmade in my kitchen is exactly why I keep returning to this recipe.
Ingredients
- 200 g dark chocolate (at least 60% cocoa): Higher cocoa percentage means your cups will hold their shape better at room temperature
- 200 ml heavy cream: Cold cream whips up faster and holds those air bubbles longer
- 100 g dark chocolate: Use the same quality chocolate here as you did for the cups
- 2 tbsp powdered sugar: Powdered sugar dissolves instantly into the cream without leaving grainy texture
- 1 tsp vanilla extract: Pure vanilla makes the chocolate sing rather than just taste sweet
- 1 cup fresh mixed berries: The tartness cuts right through all that rich chocolate
- 2 tbsp chopped nuts: Toast them beforehand for extra fragrance and crunch
- 2 tbsp mini marshmallows: These add playful texture and remind everyone of childhood s'mores
- 2 tbsp chocolate curls or shavings: Use a vegetable peeler on a room temperature chocolate bar for perfect curls
- 1 tbsp edible gold leaf or pearls: Completely optional but makes everything feel like a celebration
Instructions
- Craft the chocolate cups:
- Melt your chocolate in short bursts stirring every 20 seconds until it is glossy and smooth. Paint the inside of your liners with a generous layer making sure to reach all the way up the sides. Chill until they are firm to the touch then carefully peel away the liner starting from the top edge.
- Whip up the mousse:
- Melt the second batch of chocolate and let it cool until it is still liquid but no longer warm. Whip your cold cream with sugar and vanilla until it just holds a soft peak. Fold a dollop of cream into the chocolate to loosen it then gently fold that mixture back into the remaining cream.
- Fill and decorate:
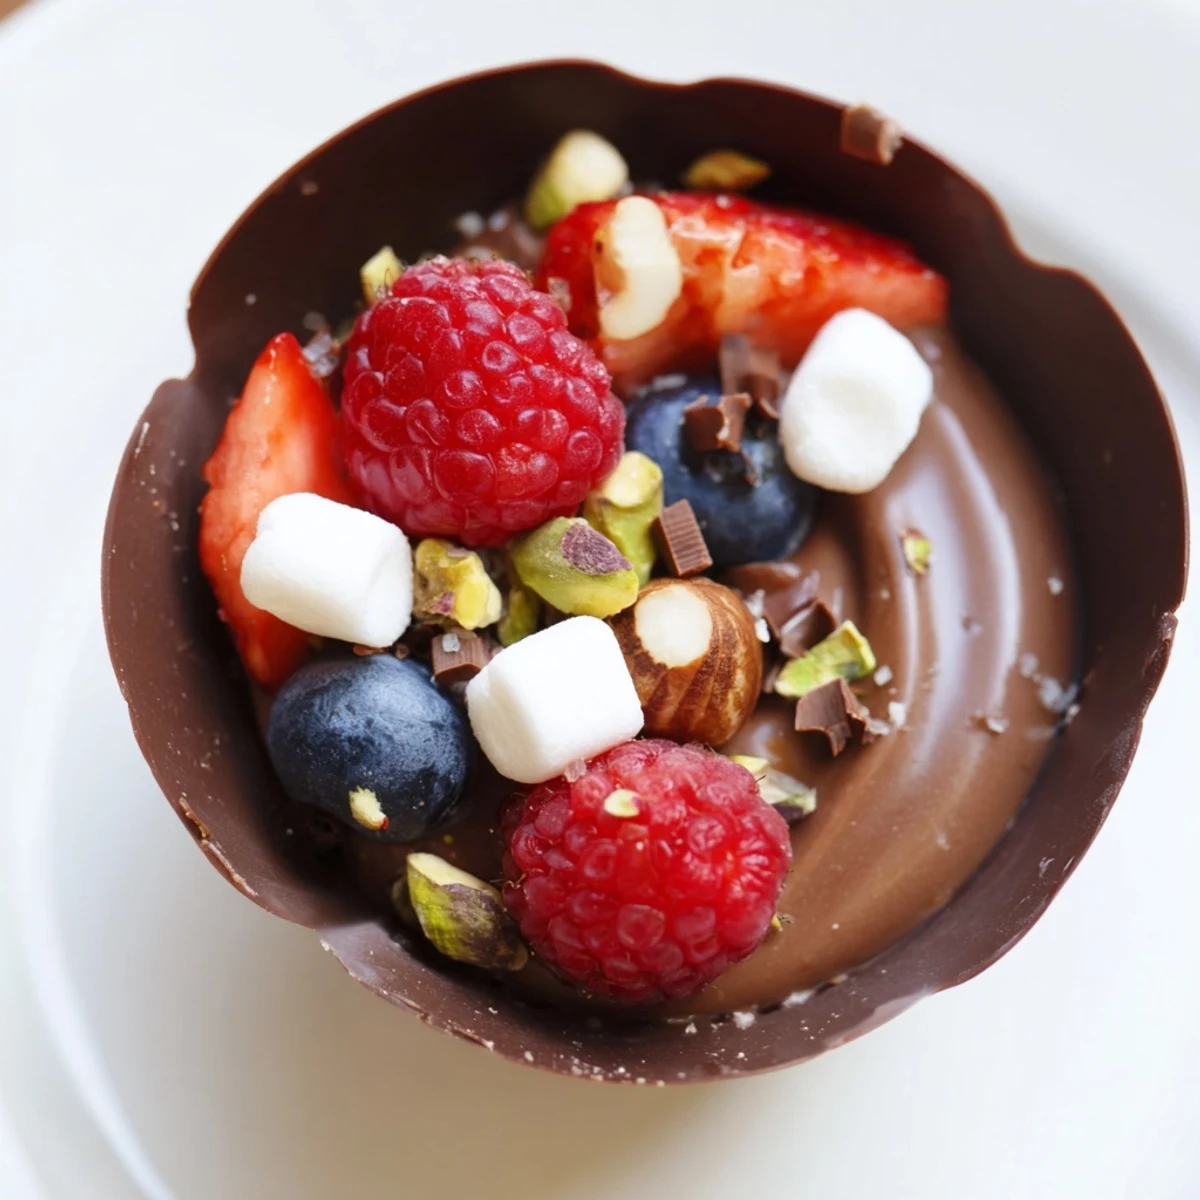
- Spoon or pipe the mousse into your chocolate cups stopping about two thirds from the top. Arrange your toppings in little clusters rather than covering everything at once. Let them chill for another 20 minutes so the mousse sets up completely.
 Save to Pinterest
 Last Valentine Day I made these with white chocolate cups and dark chocolate mousse for a stunning contrast effect. They disappeared faster than any dessert I have ever made. Sometimes the simplest recipes create the most lasting memories.
Making Chocolate Cups That Actually Work
The secret to chocolate cups that release perfectly is temperature. Your chocolate should be warm but not hot and your liners should be at room temperature. If the chocolate is too cool it will streak and if it is too hot it will run right off the liner. I keep a small offset spatula handy for smoothing out any thick spots.
Building Your Mousse Base
Folding whipped cream into melted chocolate seems simple but there is a technique that makes all the difference. Start by whisking about one third of your cream into the chocolate to lighten it up. Then gently fold that mixture back into the remaining cream using a figure eight motion. Over-mixing will knock out all the air and you will end up with dense pudding instead of fluffy mousse.
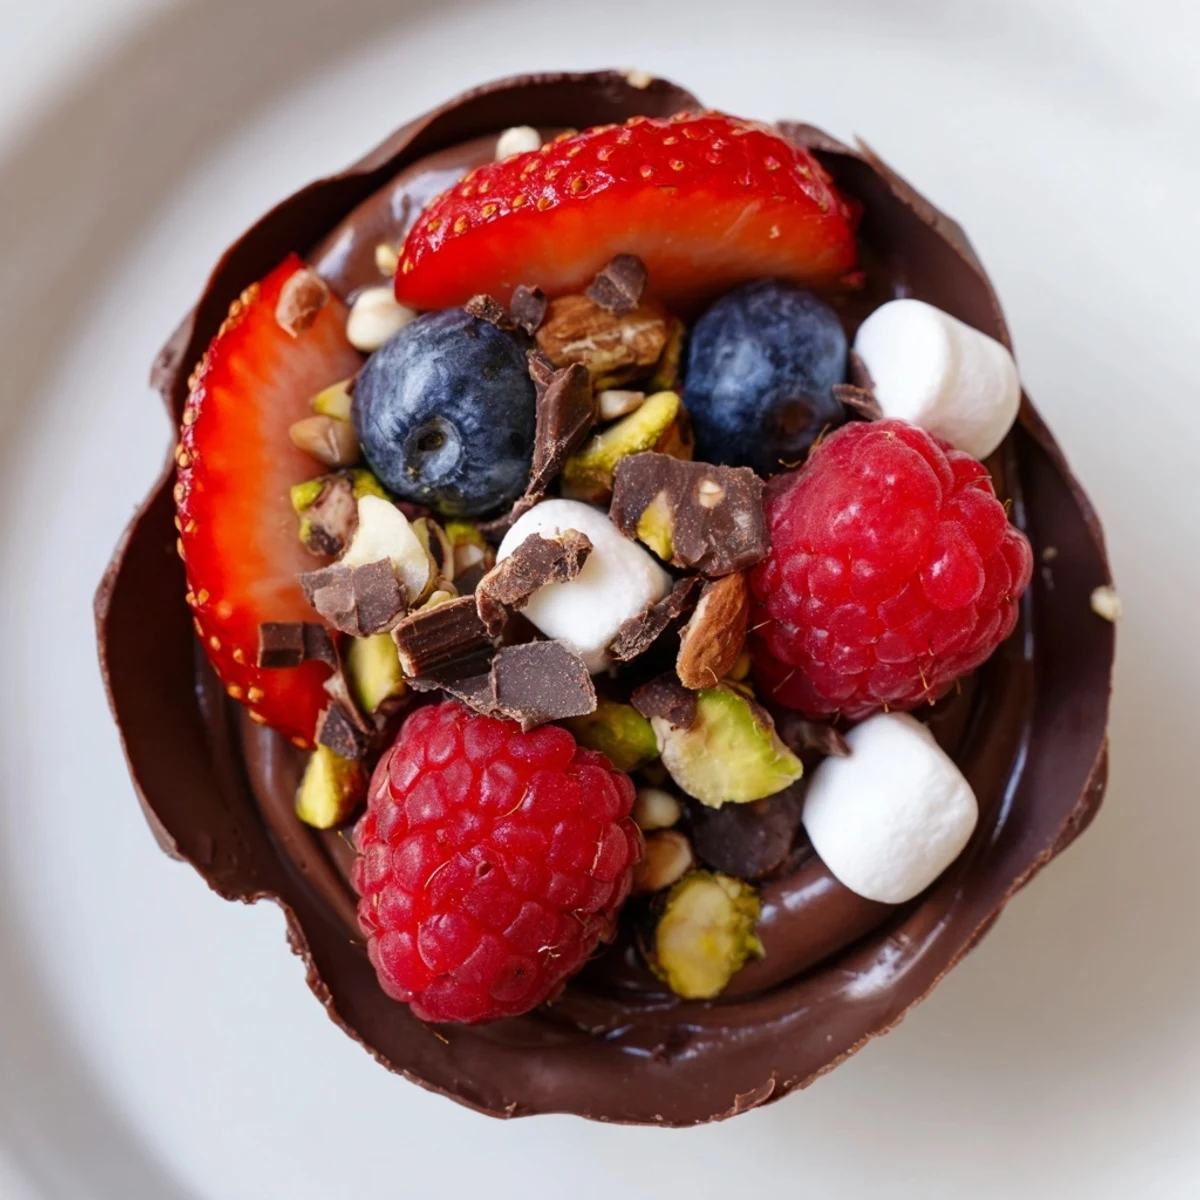
Creative Topping Combinations
The beauty of these cups is that you can change the toppings based on the season or occasion. In summer I pile them high with fresh stone fruits and basil. Winter calls for crushed peppermint candies and a dusting of cocoa powder. Let whatever looks beautiful at the market guide your choices.
- Keep chopped toppings small enough to eat in one bite
- Add fresh herbs like mint or thyme for sophistication
- Consider a pinch of flaky sea salt to enhance the chocolate
 Save to Pinterest
 There is something deeply satisfying about handing someone a dessert they can eat entirely with their fingers. Watch their eyes widen when they realize the cup itself is made of chocolate. That moment of discovery never gets old.
Recipe Questions
- → How far in advance can I make chocolate grazing cups?
-
For optimal texture and freshness, prepare these cups on the day of serving. The chocolate vessels can be made up to 2 days ahead and stored in an airtight container. Fill with mousse and toppings within 4-6 hours of serving to prevent the chocolate from softening and toppings from becoming soggy.
- → What other toppings work well with chocolate mousse cups?
-
Beyond berries and nuts, consider adding crushed cookies, pretzel pieces for salt contrast, fresh mint leaves, citrus zest, whipped cream dollops, caramel drizzle, or candied citrus. Seasonal fruits like pomegranate seeds, sliced figs, or poached pears also complement the rich chocolate beautifully.
- → Can I use milk or white chocolate instead of dark chocolate?
-
Absolutely. Milk chocolate creates a sweeter, creamier profile while white chocolate offers a vanilla-forward experience. Keep in mind that white chocolate has a lower melting point and may require additional chilling time. Adjust sugar in the mousse accordingly when using sweeter chocolate varieties.
- → What's the best way to melt chocolate for the cups?
-
Use a double boiler for the most control—place chopped chocolate in a heatproof bowl over simmering water, ensuring the bowl doesn't touch the water. Stir constantly until just melted. If microwaving, heat in 20-second intervals at 50% power, stirring between each. Avoid overheating as chocolate can seize and become grainy.
- → How do I prevent chocolate cups from cracking when removing liners?
-
Ensure the chocolate is completely set before attempting liner removal—this typically takes at least 20 minutes in the refrigerator. Gently peel the liner starting from the top edge, working slowly around the cup. If resistance is felt, chill for another 10 minutes. Working in a cool room also helps prevent premature softening.
- → Can chocolate grazing cups be frozen for later?
-
Yes, assemble the cups without fresh toppings and freeze in an airtight container for up to 2 weeks. Thaw in the refrigerator for 2-3 hours before serving, then add fresh berries and garnishes. Note that texture may be slightly less creamy than freshly made versions, but they remain delicious.
