 Save to Pinterest
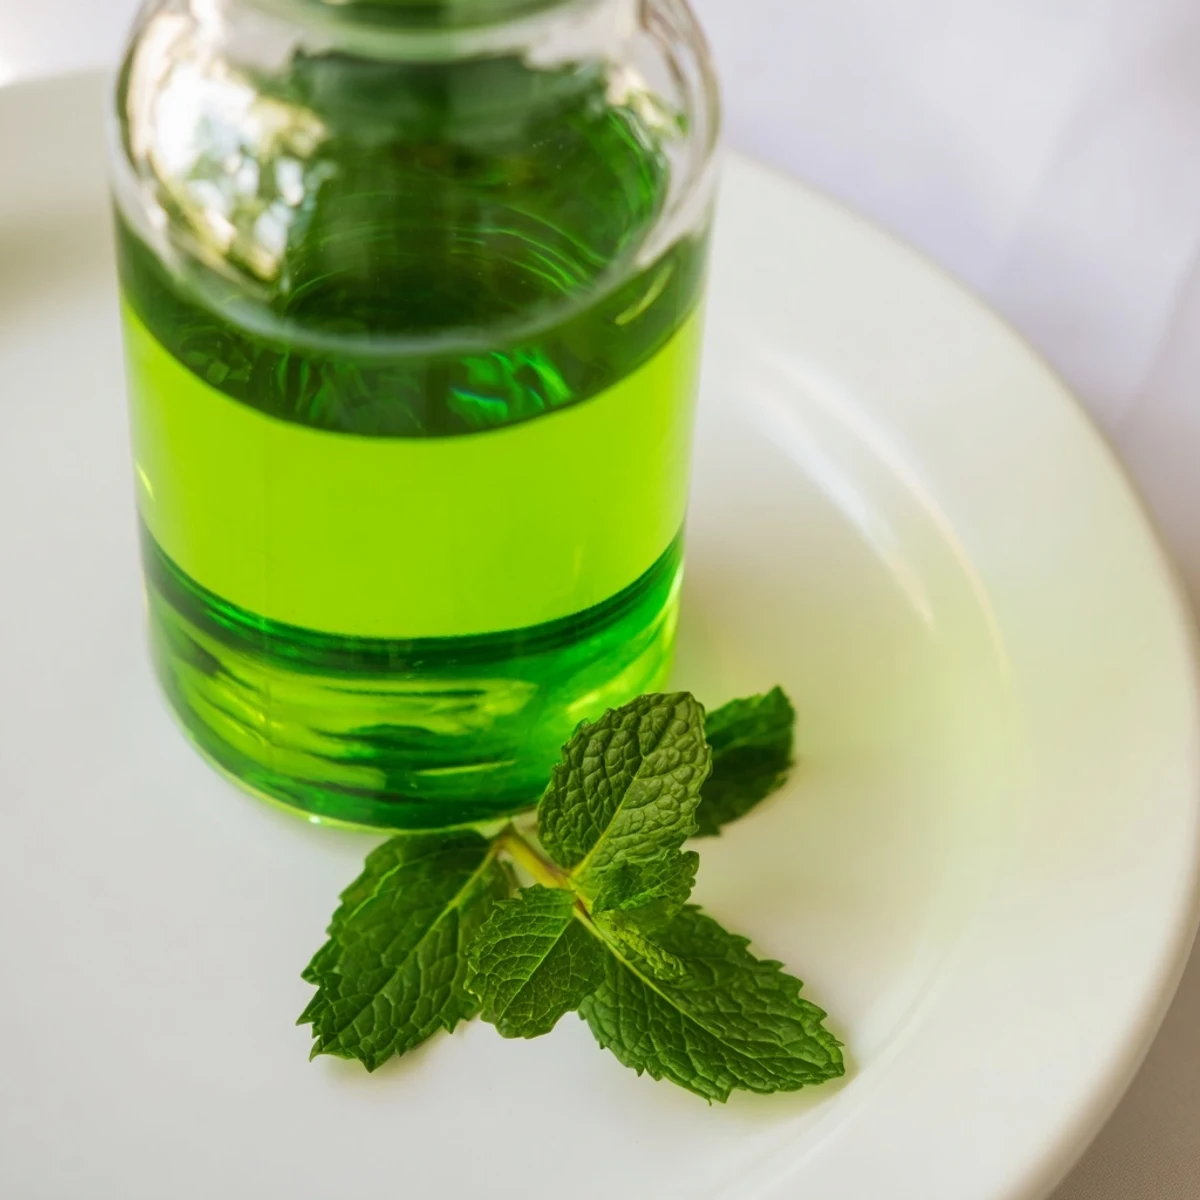
 This easy preparation uses fresh peppermint leaves combined with vegetable glycerin and distilled water to create a bright and natural peppermint flavoring. After chopping the leaves and mixing ingredients in a sealed jar, the infusion rests in a cool dark place for two weeks to develop a rich, refreshing essence. Strain and store to add lively peppermint notes to baked goods, beverages, and confections, all alcohol-free and vegan-friendly.
I started making my own peppermint extract after running out mid-recipe on a Sunday evening. The store-bought bottles always felt too sharp, and I wanted something gentler for my daughter's birthday cake. This glycerin-based version turned out smoother than I expected, with a brightness that didn't burn.
The first time I shook the jar after three days, the kitchen filled with this cool, green scent that made my son ask if we were making toothpaste. We weren't, but I did end up using a few drops in hot chocolate that night. It became our winter ritual.
Ingredients
- Fresh peppermint leaves: Wash and dry them completely so no water dilutes the glycerin, and bruise them slightly when chopping to wake up the oils.
- Food-grade vegetable glycerin: This is the base that pulls the flavor out slowly and keeps the extract smooth and sweet without any alcohol bite.
- Distilled water: Just enough to thin the glycerin so it can move through the leaves, and it keeps the mixture from getting too thick.
Instructions
- Prep the Leaves:
- Chop the peppermint coarsely with a sharp knife, just enough to break the leaves and release their oils. You should smell that cool, minty burst right away.
- Mix the Base:
- Pour the glycerin and distilled water into a clean glass jar and stir until they blend smoothly.
- Submerge the Mint:
- Add the chopped leaves to the jar, pressing them down gently so they sit under the liquid. Seal the jar tightly and give it a few gentle shakes.
- Let It Infuse:
- Tuck the jar into a cool, dark cupboard for two weeks, shaking it softly every day or two. The liquid will turn a pale green and smell stronger each time you open it.
- Strain and Bottle:
- After two weeks, pour the extract through a fine mesh strainer or cheesecloth into a clean bottle, squeezing the leaves gently to get every drop. Label the bottle with the date and store it somewhere cool and dark.
 Save to Pinterest
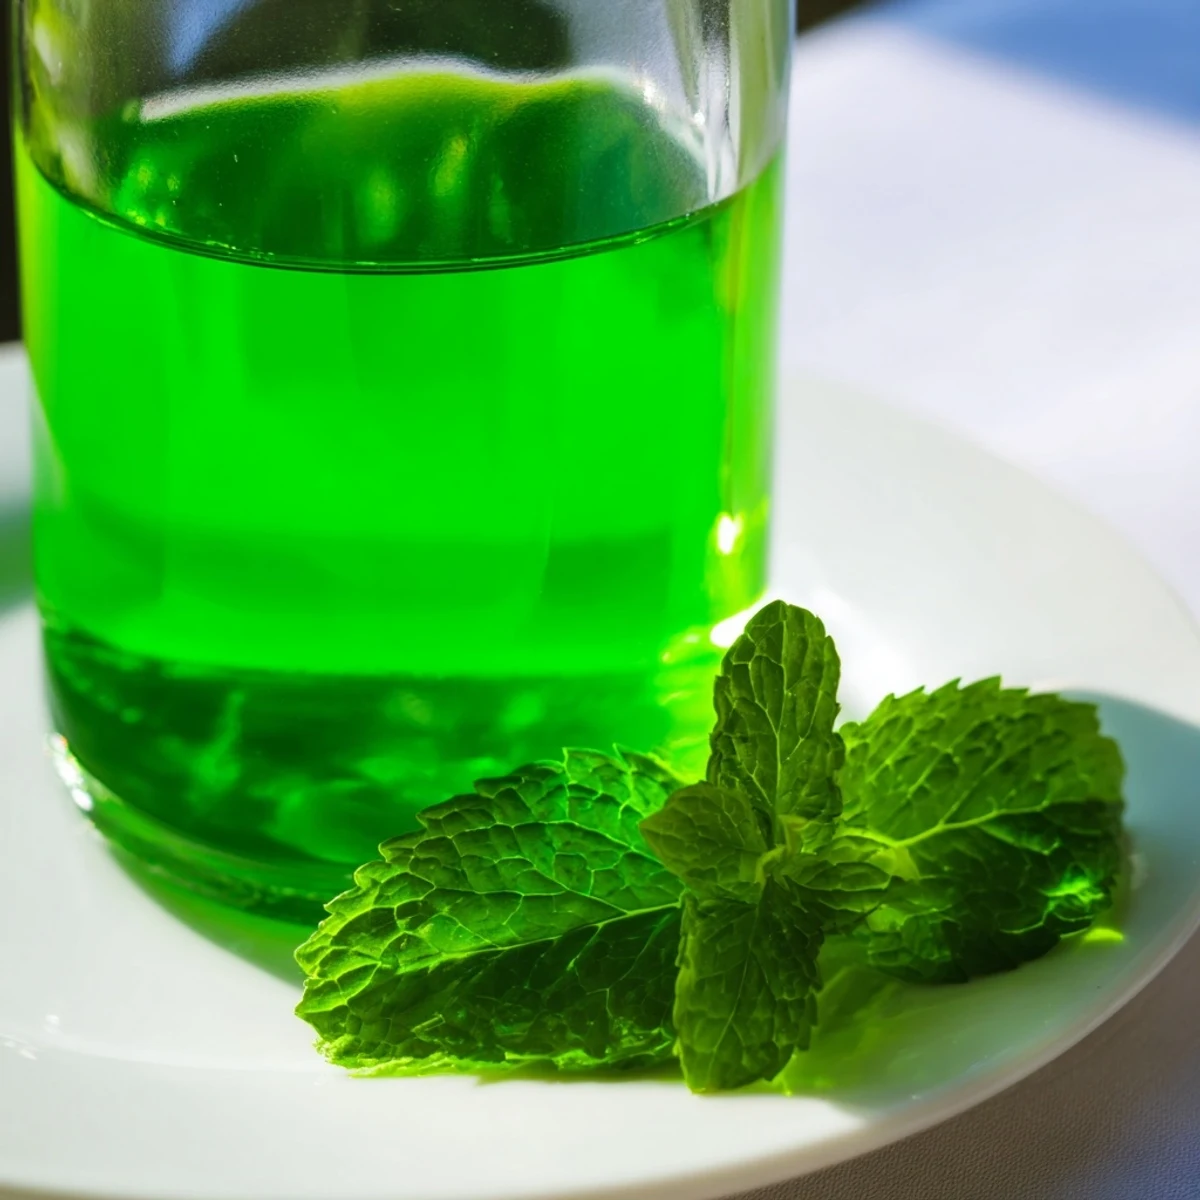
 I gave a bottle to my neighbor last December, and she used it in her granddaughter's sugar cookies. She told me later that the little girl said they tasted like snow. I still think about that.
How to Use Your Extract
Start with half the amount a recipe calls for if it lists alcohol-based extract, then taste and adjust. I stir it into brownies, whipped cream, and even morning coffee when I want something different. A few drops go a long way, and the flavor stays true even after baking.
Adjusting Strength and Flavor
If you want a bolder extract, let the leaves sit for three or four weeks instead of two. I did that once for peppermint bark and the flavor was intense enough that I only needed a teaspoon per batch. You can also add more leaves at the start if you prefer a quicker, stronger infusion.
Storage and Shelf Life
Keep the finished extract in a dark glass bottle away from heat and light, and it will stay potent for up to a year. I write the date on a piece of masking tape so I know when to make the next batch. If the color fades or the smell weakens, it is time to start fresh.
- Use a funnel when bottling to avoid spills and keep the rim clean.
- Label each batch with the infusion date so you can track its strength over time.
- Store in small bottles if you want to gift some and keep the rest sealed.
 Save to Pinterest
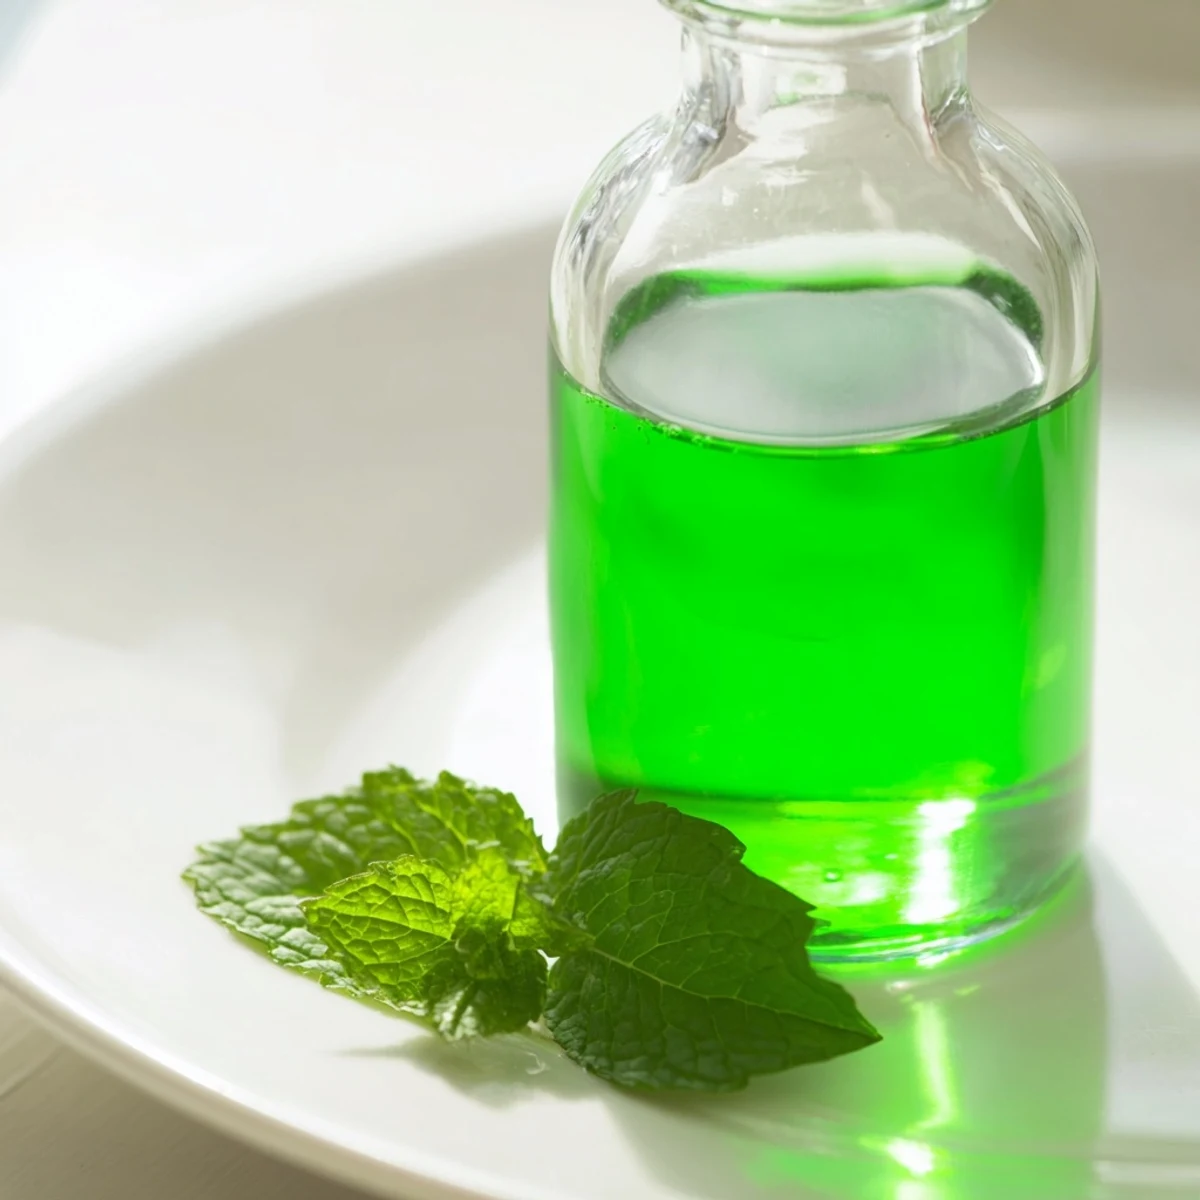
 This extract has become one of those quiet staples I reach for without thinking, like vanilla or cinnamon. It is simple to make, and it turns everyday recipes into something that feels a little more yours.
Recipe Questions
- → How do I make peppermint extract without alcohol?
-
Use vegetable glycerin and distilled water as the solvent instead of alcohol. This creates a sweet, smooth peppermint infusion suitable for various culinary uses.
- → Can dried peppermint leaves be used?
-
Yes, dried peppermint leaves can be substituted by using half the amount of fresh leaves, maintaining flavor balance during infusion.
- → How long should the peppermint leaves steep?
-
The infusion typically takes 2 weeks in a cool, dark place. For a stronger flavor, extend the steeping time up to 4 weeks.
- → What equipment is needed for preparation?
-
A clean glass jar with a tight lid, fine mesh strainer or cheesecloth, funnel, and a clean storage bottle are required for making and storing the extract.
- → How long does the peppermint infusion last?
-
Stored in a cool, dark place, the extract can maintain its quality for up to one year.
