 Save to Pinterest
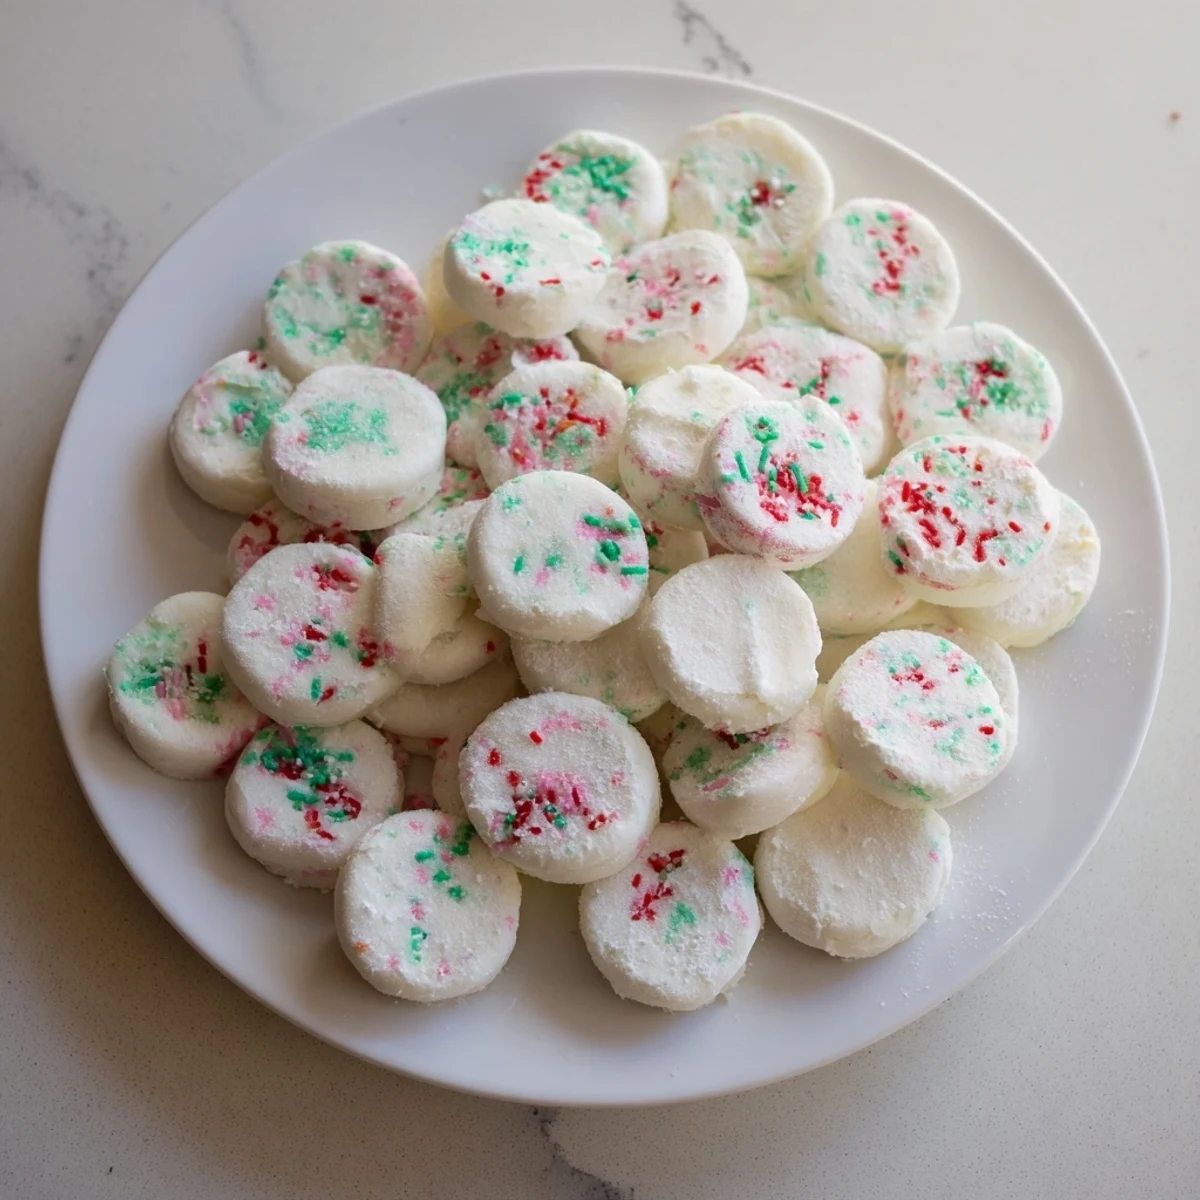
 Experience the cool, creamy texture of these mint candies with just a handful of ingredients. Soft cream cheese and butter combine with peppermint extract and powdered sugar to create a melt-in-your-mouth treat. Easy to shape and decorate, these candies set in a few hours and offer a perfect balance of sweetness and freshness. Enjoy as a palate cleanser or a charming gift for any occasion.
There's something magical about the smell of peppermint in a warm kitchen on a quiet afternoon. Years ago, I discovered these candies by accident when a friend brought homemade versions to a winter dinner party, and I've been obsessed ever since. The moment they melt on your tongue, you understand why people seek out the good stuff instead of settling for store-bought. Now I make batches whenever I need to feel like I actually have my life together.
I remember making a double batch for my sister's office party and watching her coworkers descend on them like they were the last candies on earth. She texted me later saying one person came back to ask for the recipe, which felt like winning an Olympic medal for candy making. That's when I realized these little rounds had serious potential to become someone's favorite memory of the day.
Ingredients
- Powdered sugar: This is your foundation, and yes you need the extra for dusting your hands or you'll stick to everything like you've been in the candy factory yourself.
- Unsalted butter and cream cheese: Both softened is key because cold ingredients mean lumps, and lumps are the enemy of smooth candy dough.
- Peppermint extract: Just a half teaspoon is enough because this stuff is concentrated and powerful in the best way.
- Milk: Keep it nearby for emergencies when your mixture is drier than the Sahara and refuses to cooperate.
- Food coloring and sprinkles: These are optional but they're what turns plain candy into something that looks like you cared about presentation.
Instructions
- Start with soft butter and cream cheese:
- Beat them together until they look pale and fluffy, which should take about a minute. This is where you build the texture that makes these candies special.
- Add the peppermint moment:
- Stir in the extract and let the smell hit you, then mix until it's evenly distributed throughout. Don't skip the mixing step or you'll end up with surprise peppermint explosions in some candies.
- Gradually incorporate the powdered sugar:
- Add it slowly while stirring because dumping it all at once creates a cloud and a mess. Keep going until you have a thick dough that's stiff enough to hold a shape but not so hard you need a construction crew to knead it.
- Color if you're feeling fancy:
- Divide the dough and work food coloring into sections with your hands like you're kneading bread. The colors will deepen slightly as they set, so don't go too heavy.
- Shape into little gems:
- Dust your hands with extra powdered sugar before you start pinching off pieces, otherwise you'll regret your life choices. Roll each piece into a ball and gently flatten it with a fork for that classic candy look.
- Set them free on parchment:
- Arrange your flattened candies on parchment paper and decorate with sprinkles if you want them to look like they came from somewhere fancy. Leave them at room temperature for a couple hours until they firm up.
- Store and protect:
- Once they're set, tuck them into an airtight container where they'll stay fresh for up to two weeks. Though honestly they rarely last that long.
 Save to Pinterest
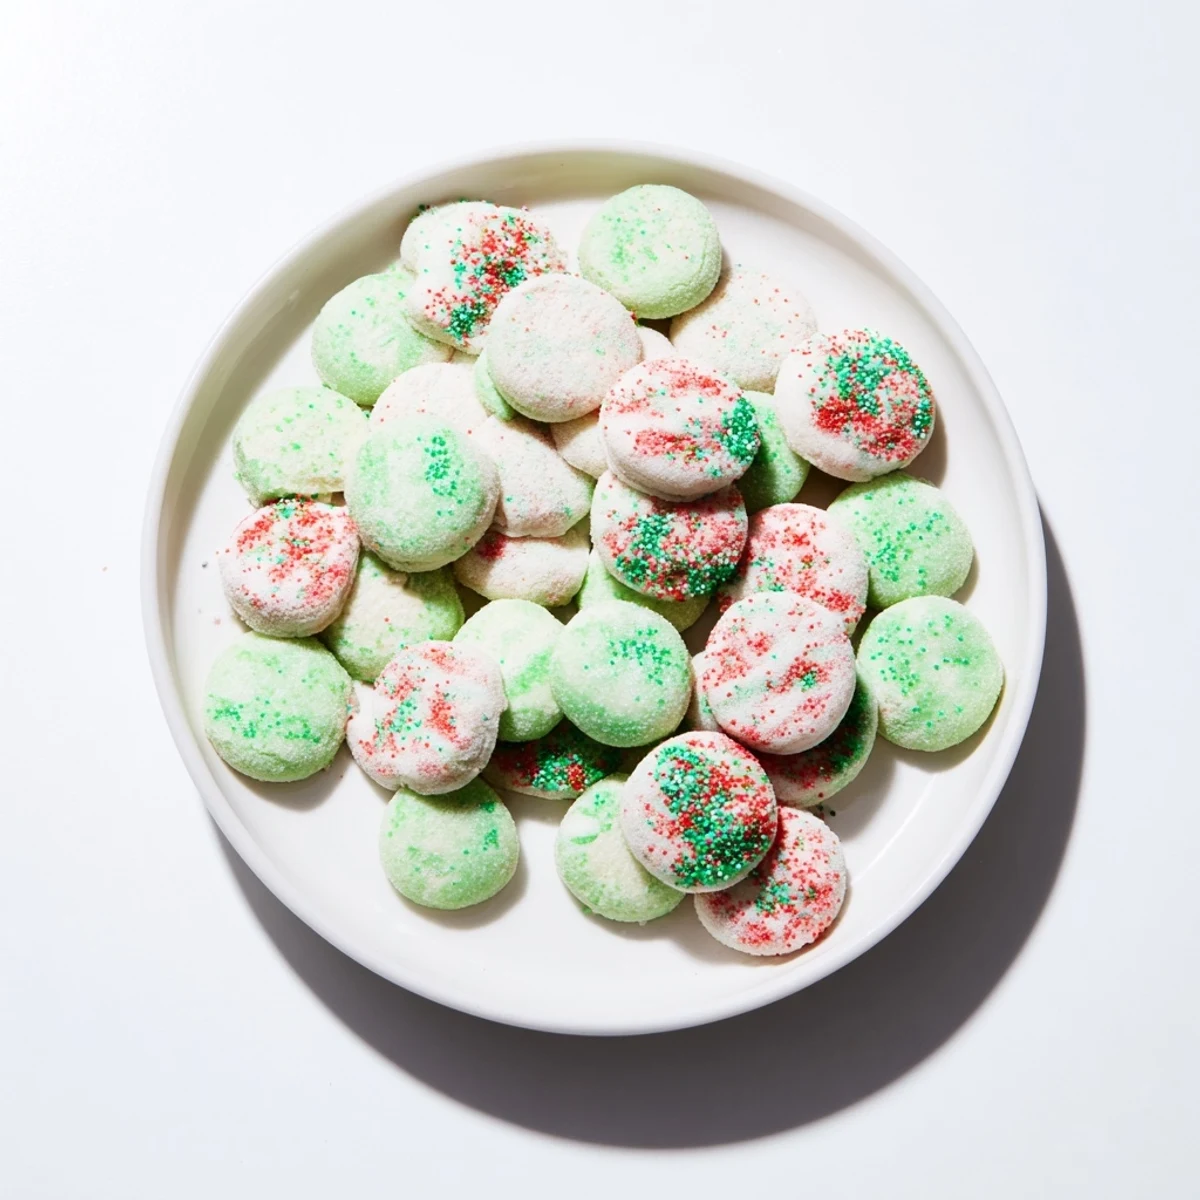
 The best part about making these is when someone bites into one and their eyes go wide like they've discovered something secret. I've had people save them for special moments just because they felt too nice to eat right away, and that's when you know you've made something worth the minimal effort.
Making Them Your Own
Once you've nailed the basic peppermint version, the real fun begins because you can experiment with other extracts like spearmint for a gentler mint flavor or lemon for something completely different. I've also tried adding a tiny pinch of cayenne pepper to a batch for friends who like heat with their sweets, which sounds weird but tastes like a sophisticated accident. The base recipe is so forgiving that you can play around without worrying you'll ruin everything.
Perfect Pairings
These candies shine brightest after dinner when you want something sweet but not overwhelming, or alongside hot tea on days when you need comfort in candy form. They're also ideal for gift-giving because they feel thoughtful without requiring you to have actually baked something complicated. A little box tied with ribbon gets more compliments than cookies ever will.
Storage and Gifting
Keep them in an airtight container at room temperature and they'll stay fresh and chewy in the middle for weeks. The key is preventing them from drying out completely or absorbing humidity which turns them into a sticky situation.
- Layer them with parchment between pieces so they don't stick together when stored.
- If you're gifting them, add a little note saying to eat them within a week for the best texture.
- These are naturally vegetarian and gluten-free which makes them perfect for parties with mixed dietary needs.
 Save to Pinterest
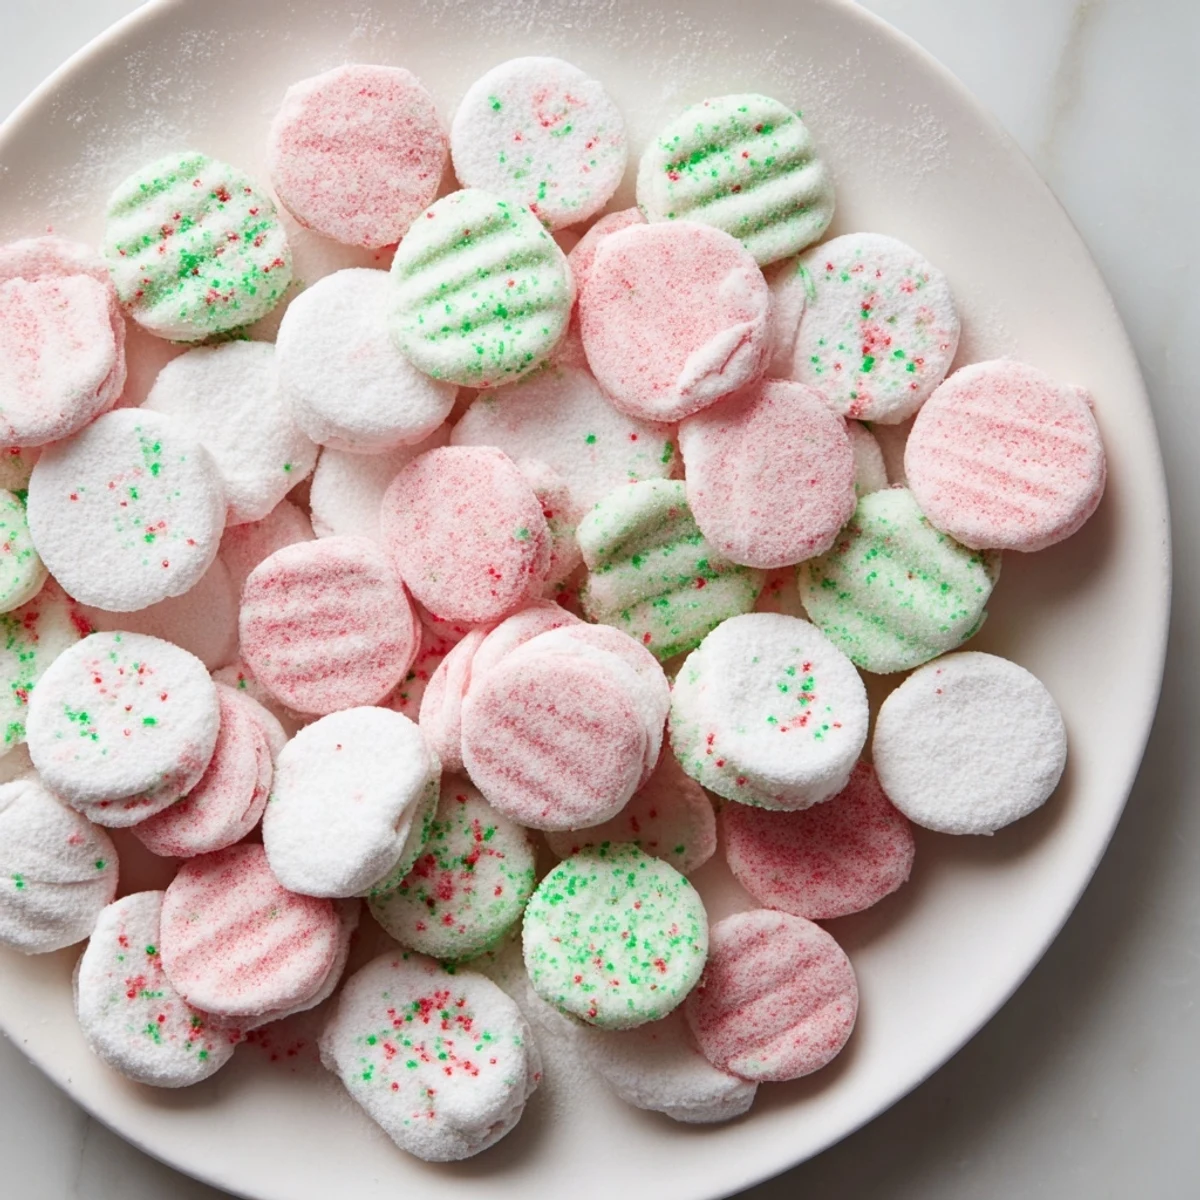
 These mint candies prove that the best treats don't need complicated instructions or fancy equipment. Make a batch and watch people light up.
Recipe Questions
- → How do I soften the butter and cream cheese?
-
Leave them at room temperature for about 30 minutes before mixing to ensure a smooth blend.
- → Can I adjust the peppermint flavor strength?
-
Yes, add peppermint extract gradually and taste to reach your preferred mintiness.
- → What is the best way to shape the candies?
-
Pinch small portions, roll into balls, then gently flatten with a fork or fingers for a classic look.
- → How long should the candies set before serving?
-
Allow them to dry at room temperature for 2-3 hours until firm to the touch.
- → Are there any alternatives for dairy ingredients?
-
Plant-based butter and dairy-free cream cheese work well for a vegan-friendly version.
