 Save to Pinterest
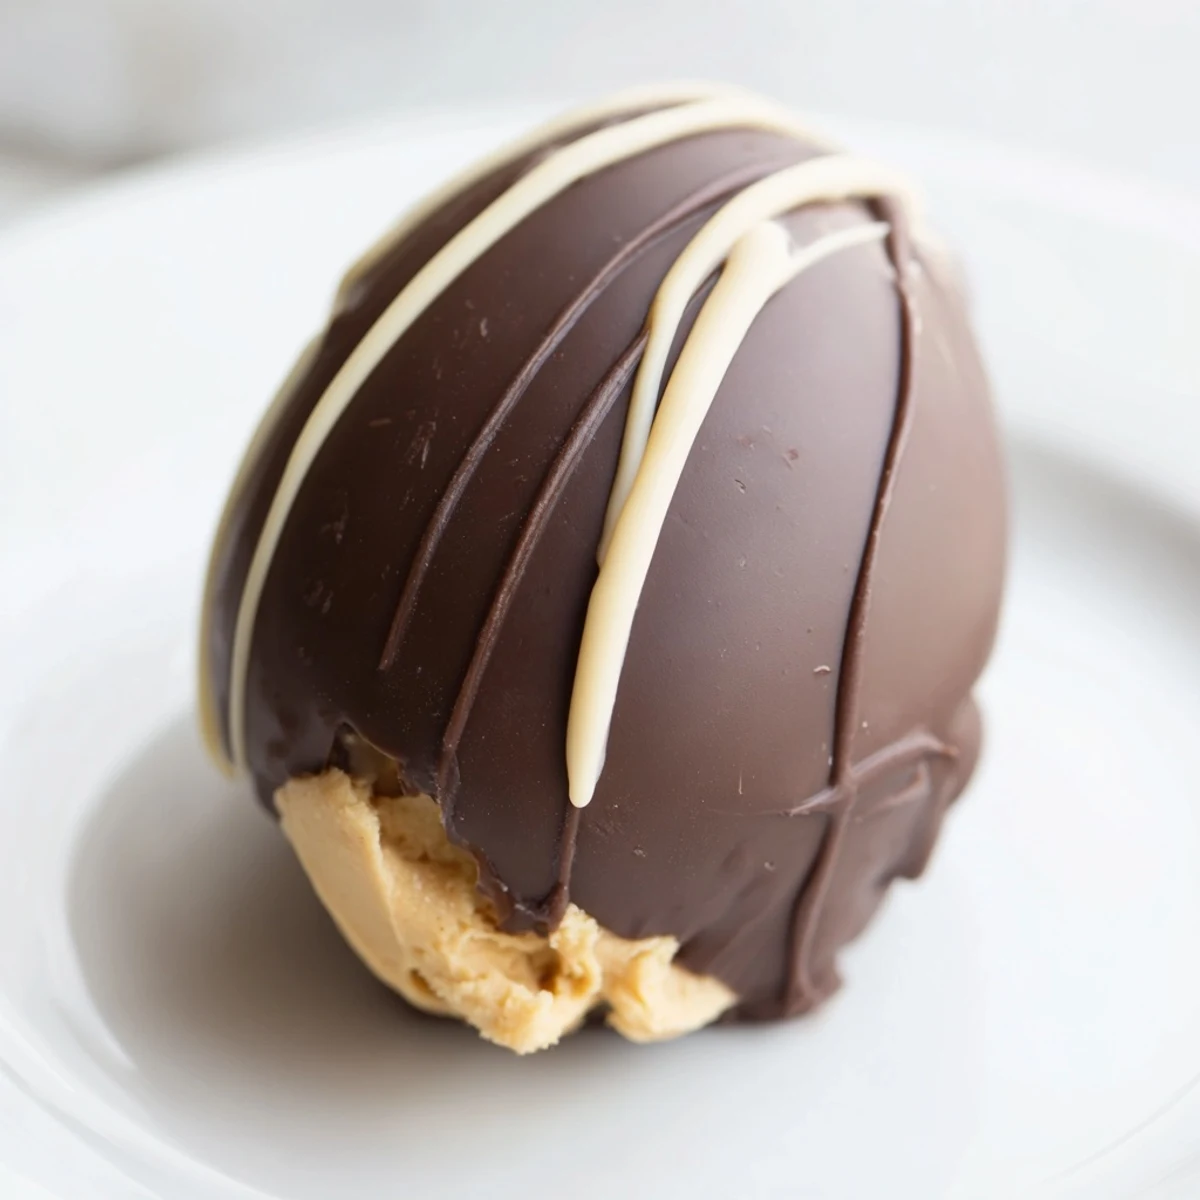
 Create these classic peanut butter eggs with just a few simple ingredients. The creamy filling combines peanut butter, butter, and powdered sugar into a moldable dough that shapes beautifully into egg forms. After chilling, dip each piece in melted chocolate for that signature crunchy shell.
The process takes about 25 minutes of active preparation, plus chilling time. You'll need to freeze the shaped eggs for 30 minutes before coating them in chocolate - this step ensures they hold their shape during dipping. The chocolate coating sets quickly in the refrigerator, so you can enjoy these treats within an hour.
Store your finished eggs in the refrigerator for up to a week, though they rarely last that long. The combination of salty peanut butter and sweet chocolate makes these irresistible to both children and adults alike.
The kitchen counter was covered in flour and my toddler was eating chocolate chips by the handful when I first attempted these peanut butter eggs. They turned out lopsided and the chocolate seized, but that first bite of creamy peanut butter filling convinced me this was worth perfecting. Now theyve become our Easter tradition, a ritual that involves the whole family and leaves us all with chocolate smudges and happy bellies.
Last year my neighbor accidentally received our delivery box and called to say she didnt know whether to thank me or write a strongly worded letter about her willpower. Now she requests them annually, and Ive learned to double the batch because these disappear faster than you can say chocolate coma. Theres something magical about handing someone a homemade chocolate egg that feels like giving them a little edible happiness.
Ingredients
- Creamy peanut butter: The foundation of everything beautiful, and trust me, natural brands work best here for that authentic peanut flavor that shines through the chocolate
- Unsalted butter: Room temperature is nonnegotiable, it creates that silky smooth texture that melts in your mouth exactly right
- Powdered sugar: This sweetens and thickens the filling into something moldable, and sifting it first prevents those dreaded lumpy surprises
- Vanilla extract: Pure vanilla makes everything taste more expensive and enhances the peanut butters natural sweetness beautifully
- Semisweet chocolate: Chips work perfectly but chopping a good quality baking chocolate bar gives you that professional gloss and snap
- Coconut oil: The secret weapon that makes your chocolate coating smooth and dippable without seizing into a grainy mess
Instructions
- Prepare your workspace:
- Line a baking sheet with parchment paper, because trying to pry frozen peanut butter eggs off bare metal will make you question all your life choices.
- Make the filling:
- Beat peanut butter and butter until completely smooth, then add vanilla and salt before gradually incorporating powdered sugar until you have a thick, workable dough.
- Shape the eggs:
- Scoop about 2 tablespoons of mixture and gently form into ovals, placing them on your prepared sheet and immediately freezing for 30 minutes until firm.
- Melt the chocolate:
- Combine chocolate and coconut oil in a microwave safe bowl, heating in 30 second intervals and stirring between each until you have silky melted magic.
- Dip and decorate:
- Use a fork to lower each egg into the chocolate, tap off the excess, and transfer back to the baking sheet, then add sprinkles before the chocolate sets.
- Set and store:
- Refrigerate for 15 to 20 minutes until chocolate is completely firm, then store in an airtight container where theyll keep for a week if they last that long.
 Save to Pinterest
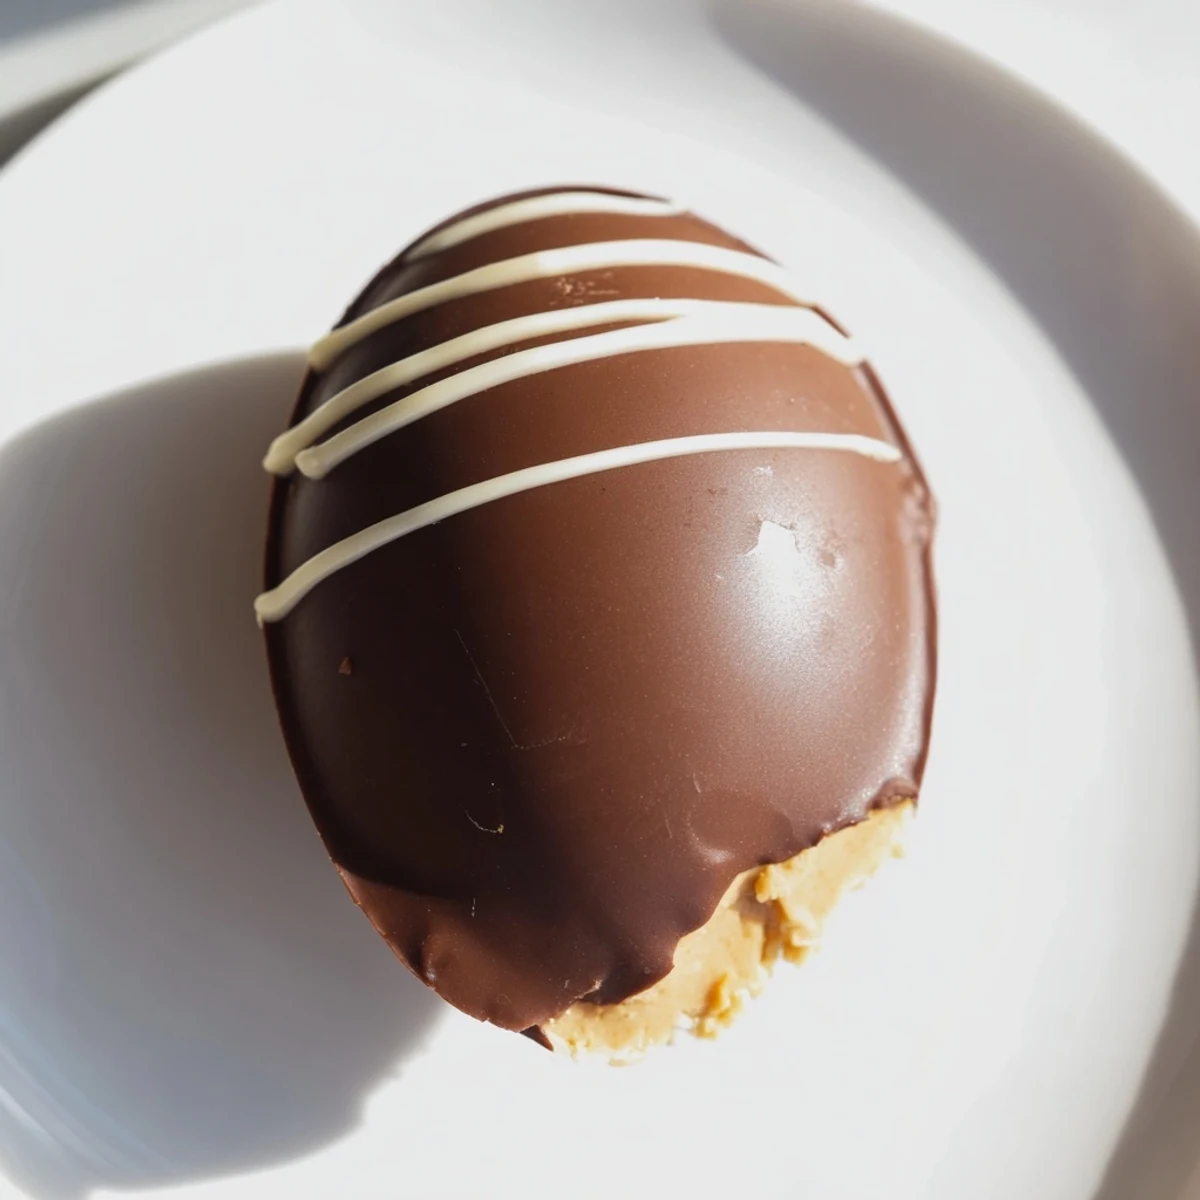
 My daughter now helps shape the eggs while I handle the chocolate dipping station, and weve developed this silent communication where she passes me the next egg just as Im finishing the previous one. These moments in the kitchen, working side by side with sticky fingers and chocolate everywhere, have become more precious than the candies themselves.
Making Them Ahead
I learned the hard way that these freeze beautifully for up to a month, so I always make a double batch and stash half for unexpected guests or emergency chocolate cravings. Thaw them overnight in the refrigerator and they taste just as fresh as day one.
Texture Variations
Sometimes I mix in crushed pretzels or rice cereal for crunch, and other times I swirl a bit of jelly into the center before closing up the dough. The base recipe is forgiving enough that you can play around without worrying about complete failure.
Packaging And Gifting
Cupcake liners inside egg cartons make the perfect packaging for these, and tying them with pastel ribbon makes even a simple batch feel giftworthy. I keep a stash of pretty boxes from the dollar store just for this purpose.
- Layer between wax paper if stacking
- Add a small ice pack if mailing during warm weather
- Include a note about storage temperature
 Save to Pinterest
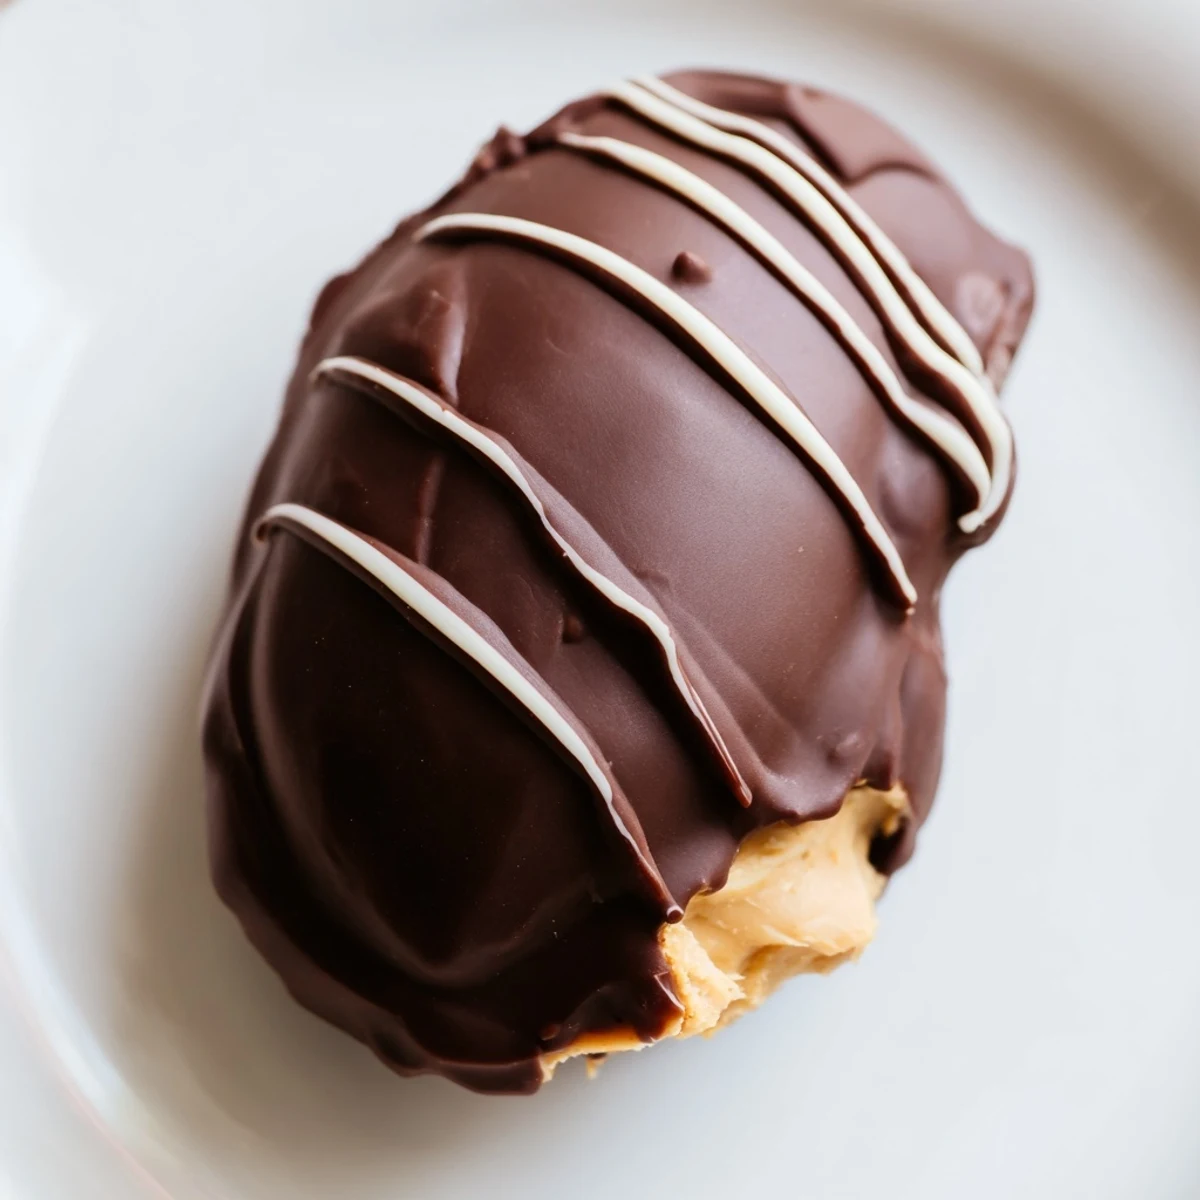
 Whatever imperfections your first batch has, remember that homemade always tastes better than perfect, especially when made with love and shared with people you care about.
Recipe Questions
- → Can I make these peanut butter eggs ahead of time?
-
Yes, these store beautifully in the refrigerator for up to one week in an airtight container. You can also freeze them for up to three months - just thaw them in the refrigerator overnight before serving.
- → What type of chocolate works best for coating?
-
Semisweet chocolate chips or chopped baking chocolate both work excellently. Adding coconut oil or vegetable shortening helps the chocolate achieve a smooth, dippable consistency and creates a nice snap when it sets.
- → Can I use natural peanut butter?
-
Natural peanut butter can work, but it tends to be softer and oilier than commercial creamy peanut butter. You may need to add more powdered sugar to achieve the right consistency for shaping. Traditional creamy peanut butter yields the best results.
- → Do I need to refrigerate the finished eggs?
-
Yes, refrigeration is recommended to keep the chocolate coating firm and prevent the peanut butter filling from becoming too soft. They taste best when served slightly chilled anyway.
- → Can I make these without an electric mixer?
-
Absolutely. A sturdy spoon and some elbow grease work just fine for mixing the filling. The peanut butter and softened butter combine easily by hand, though an electric mixer does speed up the process slightly.
- → How can I make these look more festive?
-
Top with colored sprinkles immediately after dipping while the chocolate is still wet. You can also drizzle with white or pastel-colored melted chocolate, or decorate with edible glitter and seasonal sprinkles for extra Easter flair.
