 Save to Pinterest
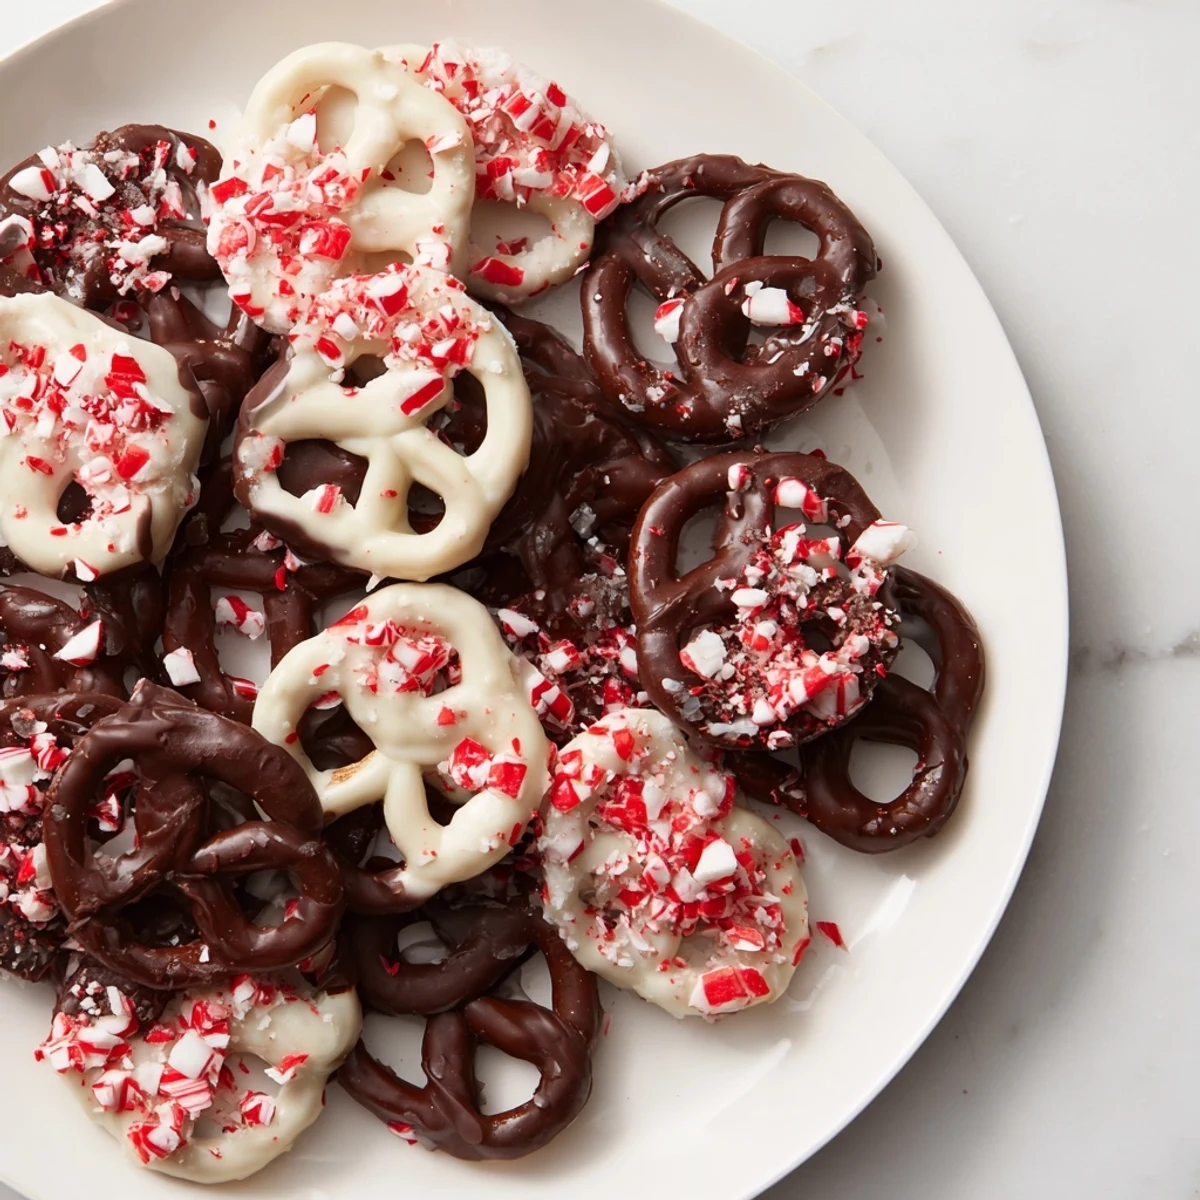
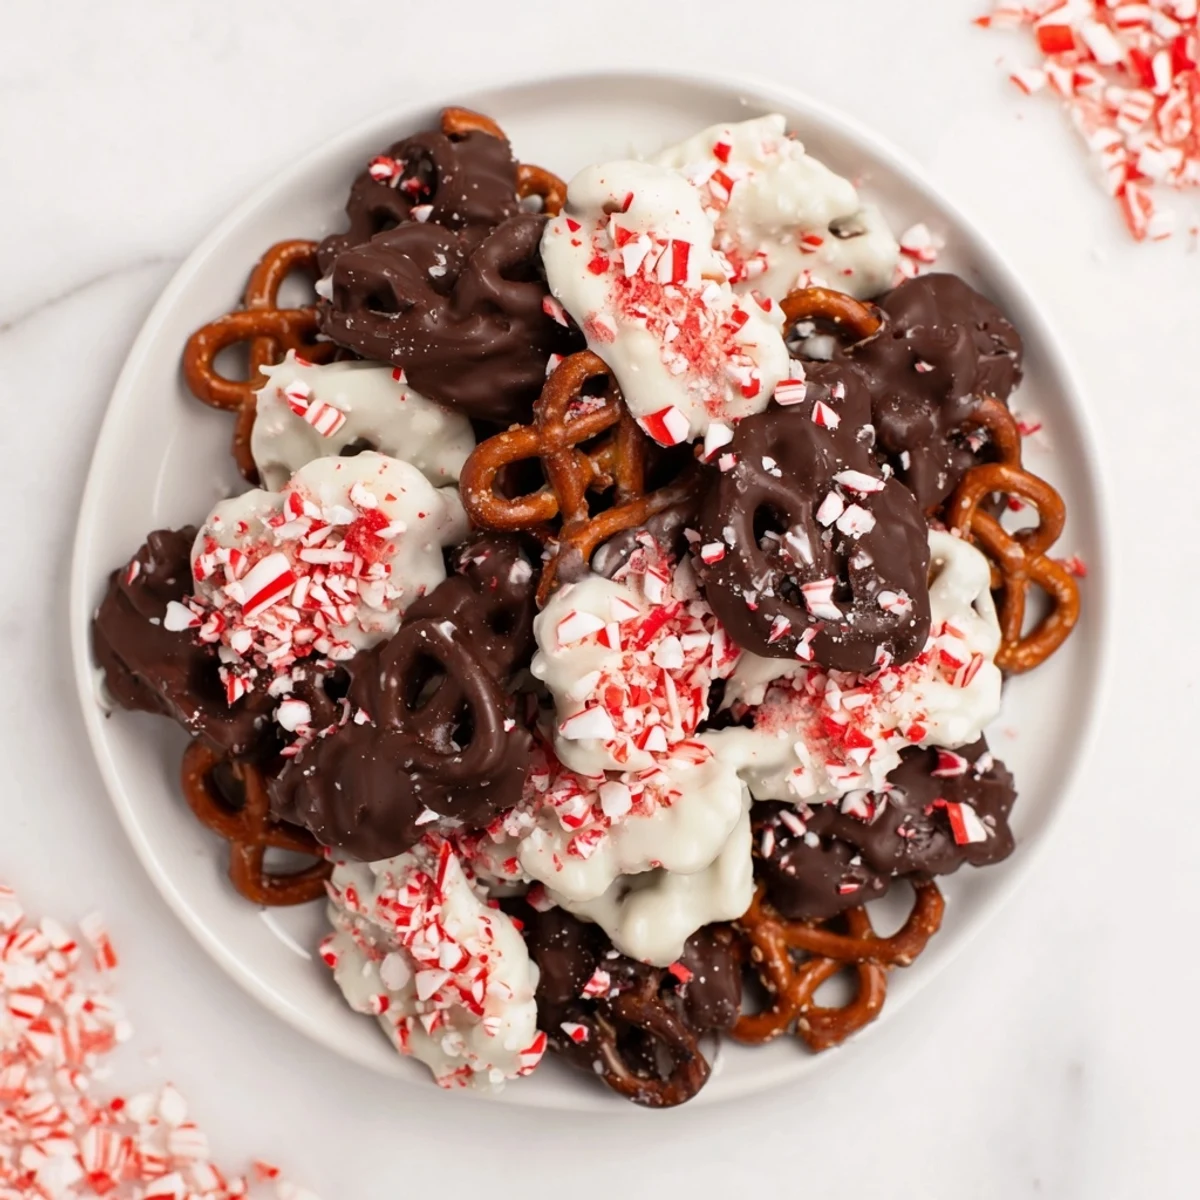
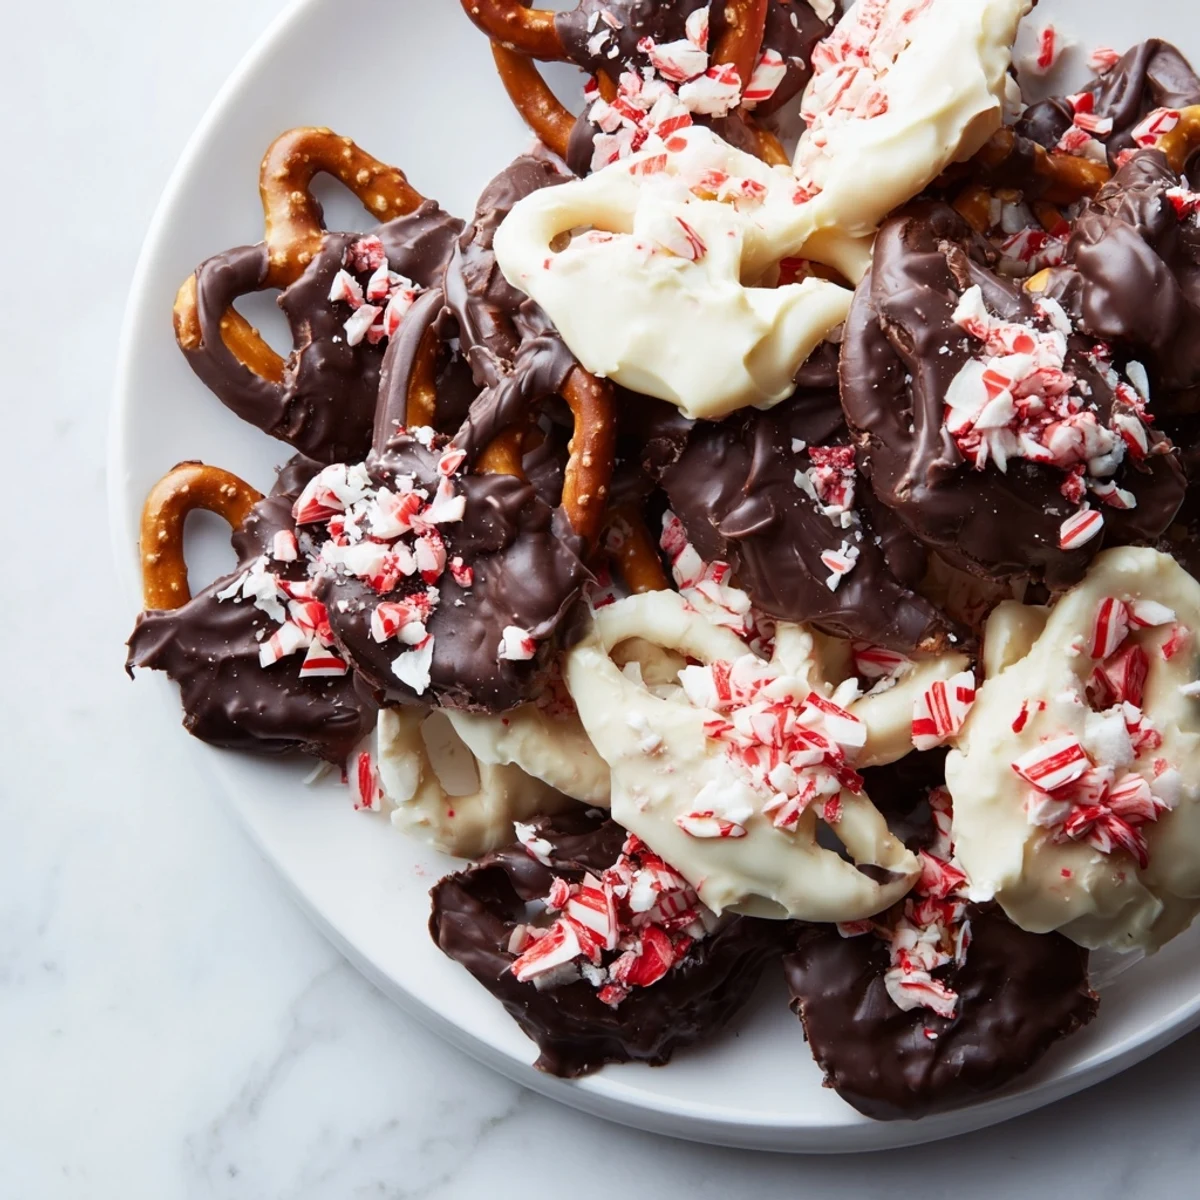
 These peppermint bark pretzels offer a delightful blend of crunchy pretzel twists dipped in smooth dark and white chocolate. Topped with crushed peppermint candies, they balance sweet, salty, and minty flavors perfectly. Preparation is simple and requires minimal cooking time, making them an easy and festive snack. Chill briefly for the chocolate to set before serving or storing. Variations include using gluten-free pretzels or milk chocolate for sweetness. Ideal for holiday gatherings or anytime a sweet snack is desired.
I still remember the first time I made peppermint bark pretzels—it was three days before Christmas, and I was desperately searching for a homemade gift that didn't require baking skills I didn't have. My cousin mentioned combining her two favorite things: the satisfying crunch of pretzels and the decadent simplicity of chocolate bark. I stood in my kitchen at 10 p.m., dipping pretzels into melted chocolate like I was creating edible jewelry, and something magical happened. The contrast of salty, sweet, and minty all at once felt like holiday magic you could hold in your hand. Now, every December, these little treats are the first thing friends ask me to make.
I'll never forget the year my partner brought a batch to his office holiday party and came home telling me that someone had asked for my 'recipe secret.' It wasn't a secret at all—just good chocolate, intentional dipping, and peppermint crushed at exactly the right moment. But that's when I realized these weren't just candy. They were the thing people remembered, the treat that made the whole celebration feel more festive.
Ingredients
- 24 mini pretzel twists: These are your foundation—sturdy enough to hold chocolate but delicate enough to break with a satisfying snap. I learned the hard way that regular pretzel rods are too thick and take forever to set; the twists are the Goldilocks choice.
- 120 g dark chocolate, chopped: Quality matters here more than anywhere else. I use a 60-70% cacao chocolate because it needs to balance the sweetness of the white chocolate and the peppermint. Chopping it yourself ensures it melts evenly, not in weird clumps.
- 120 g white chocolate, chopped: This is what makes them look beautiful—the contrast between dark and white is half the appeal. White chocolate is temperamental and burns easily, so patience with the microwave is your secret weapon.
- 3 candy canes or 60 g crushed peppermint candies: Crushing these yourself releases more flavor than pre-crushed versions. I put them in a bag and crush them with a rolling pin while they're still in the bag—it's oddly therapeutic and keeps the pieces from flying everywhere.
Instructions
- Prepare your workspace:
- Line your baking sheet with parchment paper. This is non-negotiable—it makes cleanup effortless and prevents sticking. I've learned that a silicone mat works too, but parchment gives you that satisfying moment when you can just lift the entire batch off at once.
- Melt the dark chocolate gently:
- In a microwave-safe bowl, melt the dark chocolate in 20-second bursts, stirring between each one. This method prevents the grainy, seized texture that happens when chocolate gets too hot. You'll know it's ready when it's silky and smooth—no lumps, no dry spots.
- Dip with confidence:
- Hold each pretzel by one end and dip it halfway into the dark chocolate, rotating slightly so the chocolate coats evenly. Let the excess drip off—this is important because a thick chocolate coating becomes waxy rather than snappy. Place it chocolate-side up on your prepared sheet.
- Let it set:
- Give the dark chocolate layer 10 minutes at room temperature or in the fridge if you're impatient. You want it firm but not rock-hard, which is why I prefer room temperature if you have the time. It creates a better texture.
- Melt the white chocolate with care:
- Use a clean bowl and the same 20-second burst method. White chocolate is more sensitive than dark chocolate, so watch it closely. It should look glossy and smooth, never grainy or separated.
- Complete the coating and sprinkle:
- Dip the opposite end of each pretzel into the white chocolate, then immediately—and this word matters—immediately sprinkle with your crushed peppermint candies. If you wait even 30 seconds, the chocolate will start to set and the candy won't stick. The peppermint is what makes these special.
- Final chill and storage:
- Return the sheet to the fridge for 10 minutes so everything sets completely. Once they're firm, you can eat them right away or store them in an airtight container at room temperature for up to a week. They actually taste better on day two when the flavors have settled.
 Save to Pinterest
 There was a moment last winter when my eight-year-old niece watched me make these and asked if she could help with the sprinkling part. Seeing her little face light up when she realized the peppermint actually stuck to the chocolate, and then tasting one and declaring it 'better than the ones from the fancy candy store'—that's when I understood why this recipe matters. It's not just about the treat; it's about the moment you create while making it together.
Temperature and Timing
The most important lesson I've learned about these is that chocolate work is as much about patience as it is about technique. Room temperature melting takes longer than you'd think, but it produces better results because the chocolate cools more gradually and stays glossy rather than dull. If you're in a hurry, the fridge works, but you'll notice the chocolate looks slightly matte instead of that beautiful shine. Also, your kitchen temperature matters more than you'd expect—on hot days, I keep both the baking sheet and the bowls slightly cooler. Cold pretzels from the freezer for just two minutes make the dipping process smoother because the chocolate sets faster against them.
Variations Worth Trying
Once you master the basic version, the flavor combinations become endless. I've made batches with milk chocolate instead of dark for friends with less adventurous palates, and honestly, it's delicious—sweeter, rounder, almost candy-like. I've also experimented with swapping the peppermint for crushed freeze-dried raspberries, chopped pistachios, or even sea salt for a sweet and salty version without the mint. The formula stays the same; only the toppings change. My personal favorite discovery was using chai-spiced pretzels (homemade, dipped in cinnamon-dusted chocolate), but that's a more involved adventure.
Gifting and Presentation
These are genuinely one of the best homemade gifts I've learned to give because they feel fancy but aren't intimidating to make. I layer them in clear cellophane bags tied with ribbon, and people assume I spent hours in the kitchen when I actually spent 20 minutes plus waiting time. Here's what I've learned: always make them the day before gifting so they have time to set fully and taste their absolute best. Store them in an airtight container until you're ready to package them, and if you're shipping them, pack them with parchment paper between layers so they don't stick together. They travel beautifully, stay fresh for a week, and always—always—make people smile when they open the package.
- Pack them in small boxes or tins lined with parchment paper for a truly polished presentation
- Include a note that they're best eaten within a week and should be stored in an airtight container at room temperature
- Make extra batches because word travels fast once people taste them, and you'll get requests
 Save to Pinterest
 These peppermint bark pretzels have become my answer to 'what should I bring' for every December gathering. They're the recipe I make when I want to feel like I've given something thoughtful, and they taste like home and holidays all at once.
Recipe Questions
- → What type of pretzels work best?
-
Mini pretzel twists are recommended for even coating and bite-sized portions, but pretzel rods can be used for extra crunch.
- → Can I substitute the dark chocolate?
-
Yes, milk chocolate is a sweeter alternative that pairs well with the peppermint flavors.
- → How long should the pretzels chill to set?
-
Refrigerate for about 10 minutes until the chocolate hardens and is no longer sticky.
- → Are these suitable for gluten-free diets?
-
Using gluten-free pretzels makes this snack suitable for gluten-free needs.
- → How should these treats be stored?
-
Keep in an airtight container at room temperature for up to one week to maintain freshness.
