 Save to Pinterest
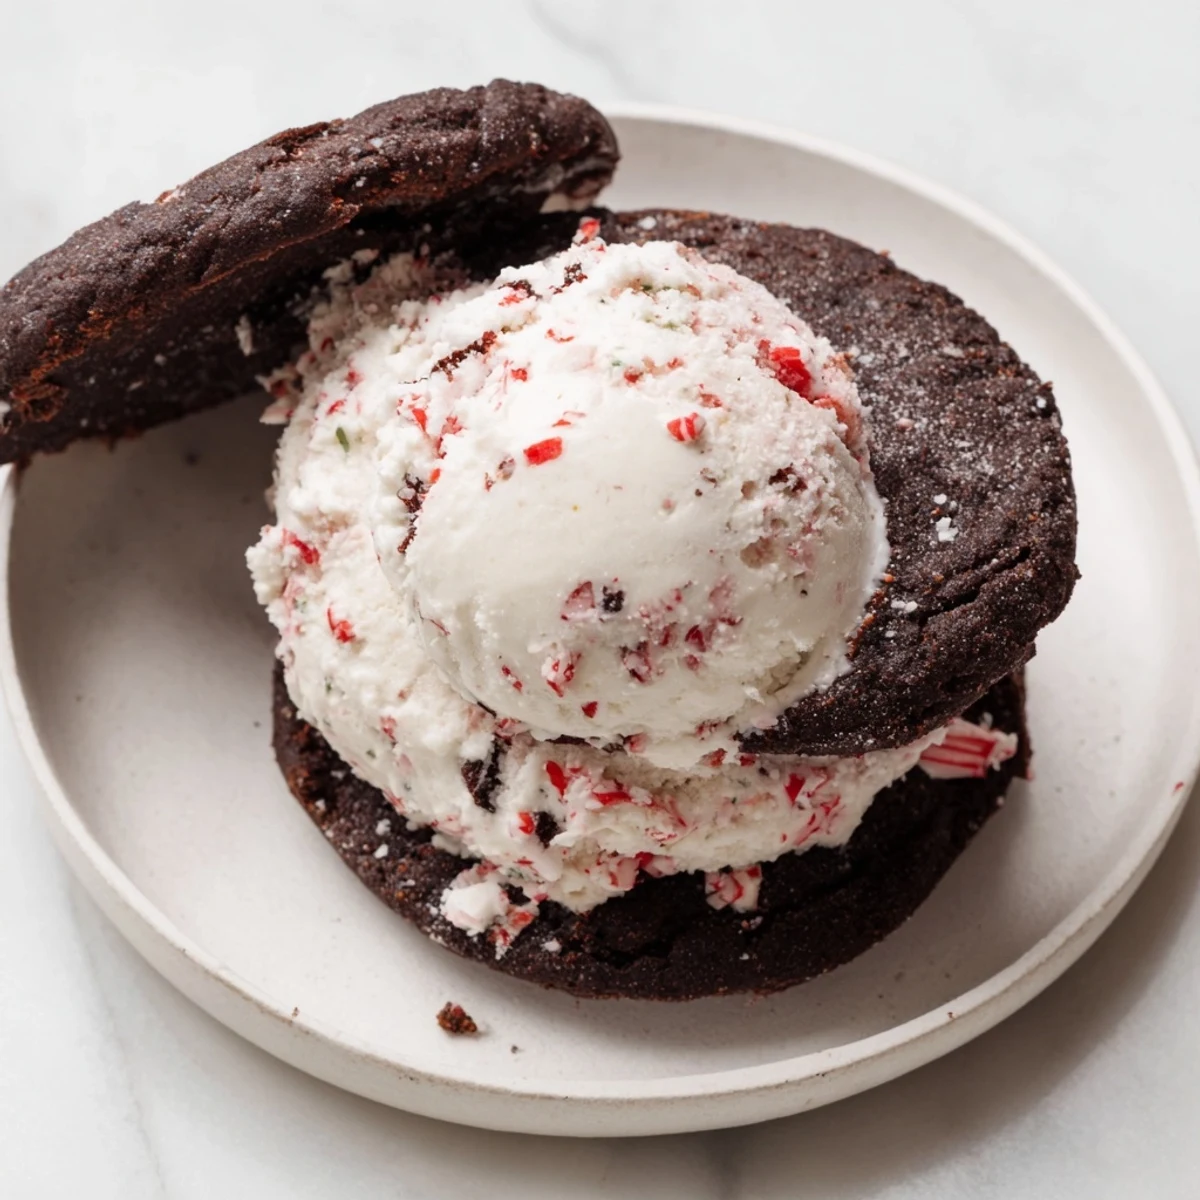
 This delightful dessert highlights creamy peppermint ice cream folded with crushed candies, sandwiched between rich chocolate cookies. The cookies are baked until set and cooled before assembling. Slightly softened ice cream is pressed between two cookies forming handheld treats. Optionally, edges can be rolled in crushed peppermint or mini chocolate chips for added texture. Chill until firm and store frozen. This festive dessert balances refreshing mint flavor and deep cocoa notes, ideal for celebrations or warm days.
I'll never forget the first time I made peppermint ice cream sandwiches for my family's holiday gathering. The kitchen smelled like chocolate and peppermint, and when I pulled those chewy cookies from the oven, I knew I'd stumbled onto something special. Now every December, these festive treats are the first thing people ask me to bring.
I remember the year when unexpected guests arrived on a cold December afternoon. I had these peppermint ice cream sandwiches tucked away in my freezer, and they became the star of an impromptu dessert moment. Watching their faces light up when they bit into that creamy peppermint filling between the chewy chocolate cookie was worth every bit of effort I'd put into making them ahead.
Ingredients
- All-purpose flour (1 cup): The foundation of your cookies that gives them that perfect chewy texture I'm always chasing
- Unsweetened cocoa powder (1/2 cup): I always go for quality here because it's your main chocolate flavor and there's nowhere to hide
- Baking soda (1/2 teaspoon): Just enough to help your cookies spread and get those slightly crispy edges
- Salt (1/4 teaspoon for cookies, 1/4 for ice cream): This little bit makes the chocolate sing and balances the peppermint sweetness
- Unsalted butter (1/2 cup): Softened is key here—cold butter makes for a frustrating creaming session
- Granulated sugar (3/4 cup for cookies, 2/3 for ice cream): I've learned to measure by weight when I can, but volume works fine too
- Large egg (1): Room temperature if you remember to pull it out ahead of time, but honestly, I've made these with cold eggs too
- Vanilla extract (1 teaspoon): This brightens the chocolate and adds depth to your cookie flavor
- Heavy cream (2 cups): The richer the cream, the creamier your ice cream will be
- Whole milk (1 cup): Balances the richness without overwhelming your peppermint flavor
- Pure peppermint extract (1 teaspoon): Don't skip this for imitation—the real thing makes all the difference
- Red food coloring (3–4 drops): Optional, but it gives you that festive peppermint candy look
- Crushed peppermint candies (1/2 cup): Save some for rolling the sandwich edges if you're feeling fancy
Instructions
- Make Your Peppermint Ice Cream Base:
- Start by whisking together your heavy cream, milk, sugar, salt, and peppermint extract in a mixing bowl. You're looking for that moment when the sugar completely dissolves and everything becomes smooth and silky. Add your food coloring if you want that pretty pink hue. This is where your kitchen starts to smell like a peppermint dream.
- Churn Into Frozen Magic:
- Pour your mixture into your ice cream maker and follow the manufacturer's instructions—usually this takes about 20–25 minutes. In the last 2 minutes, fold in those crushed peppermint candies so they're evenly distributed. Transfer to a container and let it firm up in the freezer for at least 2 hours while you move on to the cookies.
- Get Your Oven Ready and Prep Your Ingredients:
- Preheat your oven to 350°F and line two baking sheets with parchment paper. In a bowl, whisk together your flour, cocoa powder, baking soda, and salt. This step prevents any lumps and helps everything combine smoothly later.
- Cream Your Butter and Sugar:
- In a separate large bowl, cream the softened butter and granulated sugar together until it's light, fluffy, and looks almost like mousse. This takes about 3–4 minutes with an electric mixer. Add your egg and vanilla, then beat until everything is well combined and the mixture is smooth.
- Bring Everything Together:
- Gradually mix your dry ingredients into the wet mixture, stirring just until combined. This is important—overmixing makes tough cookies, and we want chewy ones here. The dough should come together but still feel tender.
- Scoop and Bake Your Cookies:
- Using a tablespoon or small scoop, form balls of dough and place them on your prepared baking sheets, flattening them slightly. Bake for 10–12 minutes—you're looking for cookies that are set but still have a little give when you touch them gently. The edges should look slightly crispy while the centers stay soft. Let them cool completely on a wire rack.
- Assemble Your Masterpiece:
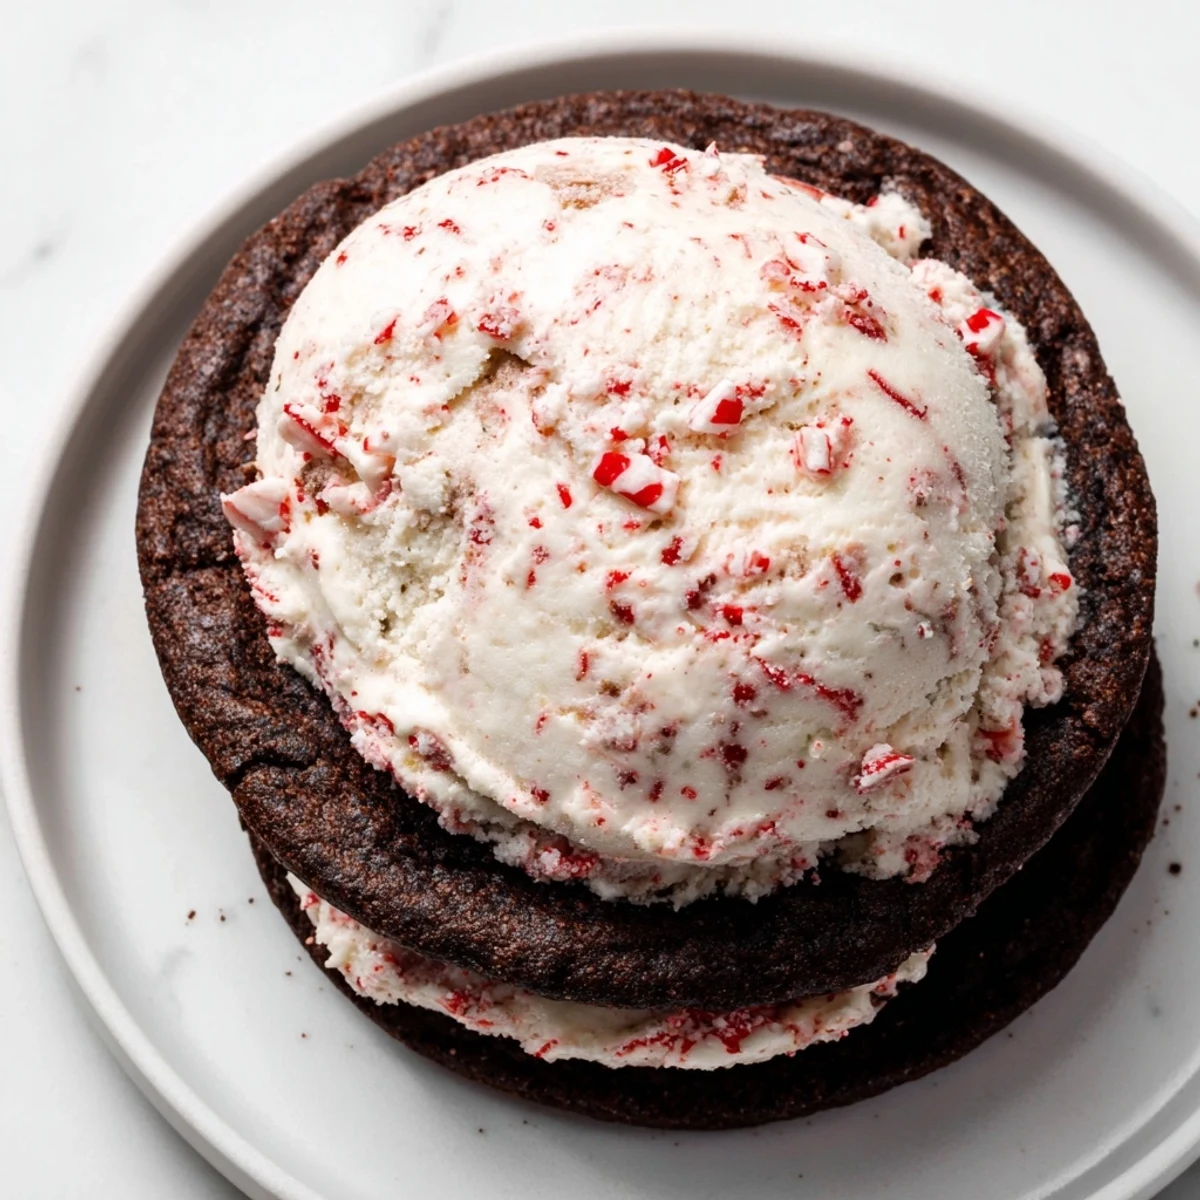
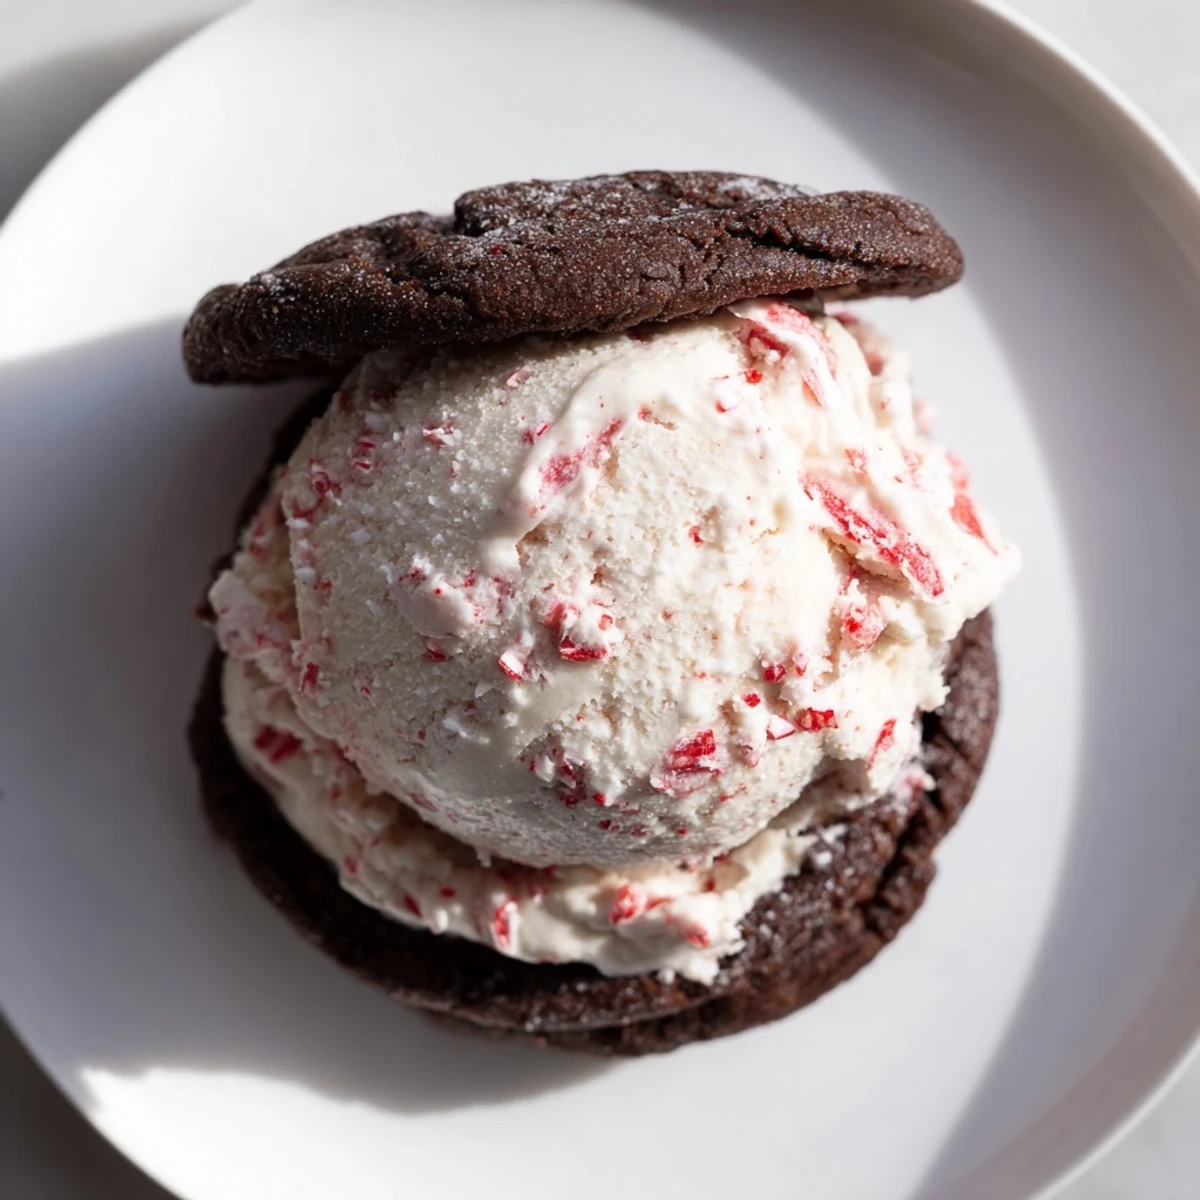
- Once everything is ready, let your ice cream soften for just a few minutes at room temperature so it's easier to scoop. Place a generous scoop of peppermint ice cream between two cookies and gently press them together. If you're feeling fancy, roll the exposed ice cream edges in crushed peppermint candies or mini chocolate chips for extra crunch and visual appeal.
- The Final Freeze:
- Wrap each sandwich in parchment paper and freeze for at least 30 minutes before serving. This firms everything back up and makes them easier to eat without melting all over your hands.
 Save to Pinterest
 The moment I realized these ice cream sandwiches had become more than just a dessert was when my teenage daughter asked if she could help make them. That one afternoon in the kitchen, laughing over dripping ice cream and taste-testing crushed peppermint candies, turned into a tradition we look forward to every winter. Now I know this recipe isn't really about the food—it's about those moments we create together.
Keeping It Fresh
Storage is honestly where these sandwiches shine as a make-ahead dessert. Once you wrap them in parchment and freeze them, they'll keep beautifully for up to 2 weeks in an airtight container. I love knowing I can have something this impressive ready to go whenever I need a show-stopping dessert. They actually improve over a day or two as the flavors meld together.
When You're Missing Something
Life rarely goes exactly as planned in the kitchen, and I've learned to adapt this recipe to work with what I have on hand. Don't have peppermint extract? Try using 1/2 teaspoon of peppermint oil or even candy cane essence—just start with less since these tend to be more concentrated. No ice cream maker? That shallow pan method I mentioned really does work, though it takes patience. The beauty of this recipe is that the core concept is flexible enough to handle your substitutions.
Serving Ideas That Clicked
I've discovered that these sandwiches pair beautifully with so many moments throughout the year, not just the holidays. Serve them straight from the freezer with a hot cup of coffee for the ultimate contrast. During summer gatherings, they're refreshing enough to serve as a palate cleanser after a rich meal. I've even crumbled them up and used them as a topping for vanilla ice cream when I'm feeling creative.
- For extra crunch and visual appeal, roll the exposed ice cream edges in crushed peppermint candies or mini chocolate chips right before the final freeze
- If you want to get fancy, dust the outside with a tiny bit of cocoa powder or sprinkle of powdered sugar just before serving
- These are actually easier to eat if you let them sit at room temperature for just 2–3 minutes first—it softens them just enough to bite through without shattering
 Save to Pinterest
 These peppermint ice cream sandwiches have taught me that the best desserts are the ones you make with care and share generously. Every bite carries the warmth of a kitchen filled with intention and the joy of treating people you care about to something special.
Recipe Questions
- → How do I make the peppermint ice cream creamy?
-
Whisk heavy cream, whole milk, sugar, salt, and peppermint extract well until sugar dissolves. Churn in an ice cream maker per instructions and fold in crushed peppermint near the end.
- → What is the best way to bake the chocolate cookies?
-
Bake the dough balls on parchment paper at 350°F (175°C) for 10–12 minutes until they set but remain chewy. Cool completely before assembling.
- → Can I use gluten-free flour instead of all-purpose?
-
Yes, substituting gluten-free flour works well to adapt the texture while maintaining the rich chocolate taste.
- → How can I add extra crunch to the ice cream sandwiches?
-
Roll the edges in crushed peppermint candies or mini chocolate chips after assembling to add a textured crunch.
- → What is the best way to store these sweet treats?
-
Store wrapped sandwiches in an airtight container in the freezer for up to two weeks to keep them fresh and firm.
- → Are there any common allergens in these ingredients?
-
This includes dairy products, eggs, and wheat gluten. Processed chocolate may contain soy, so always check ingredient labels carefully.
