 Save to Pinterest
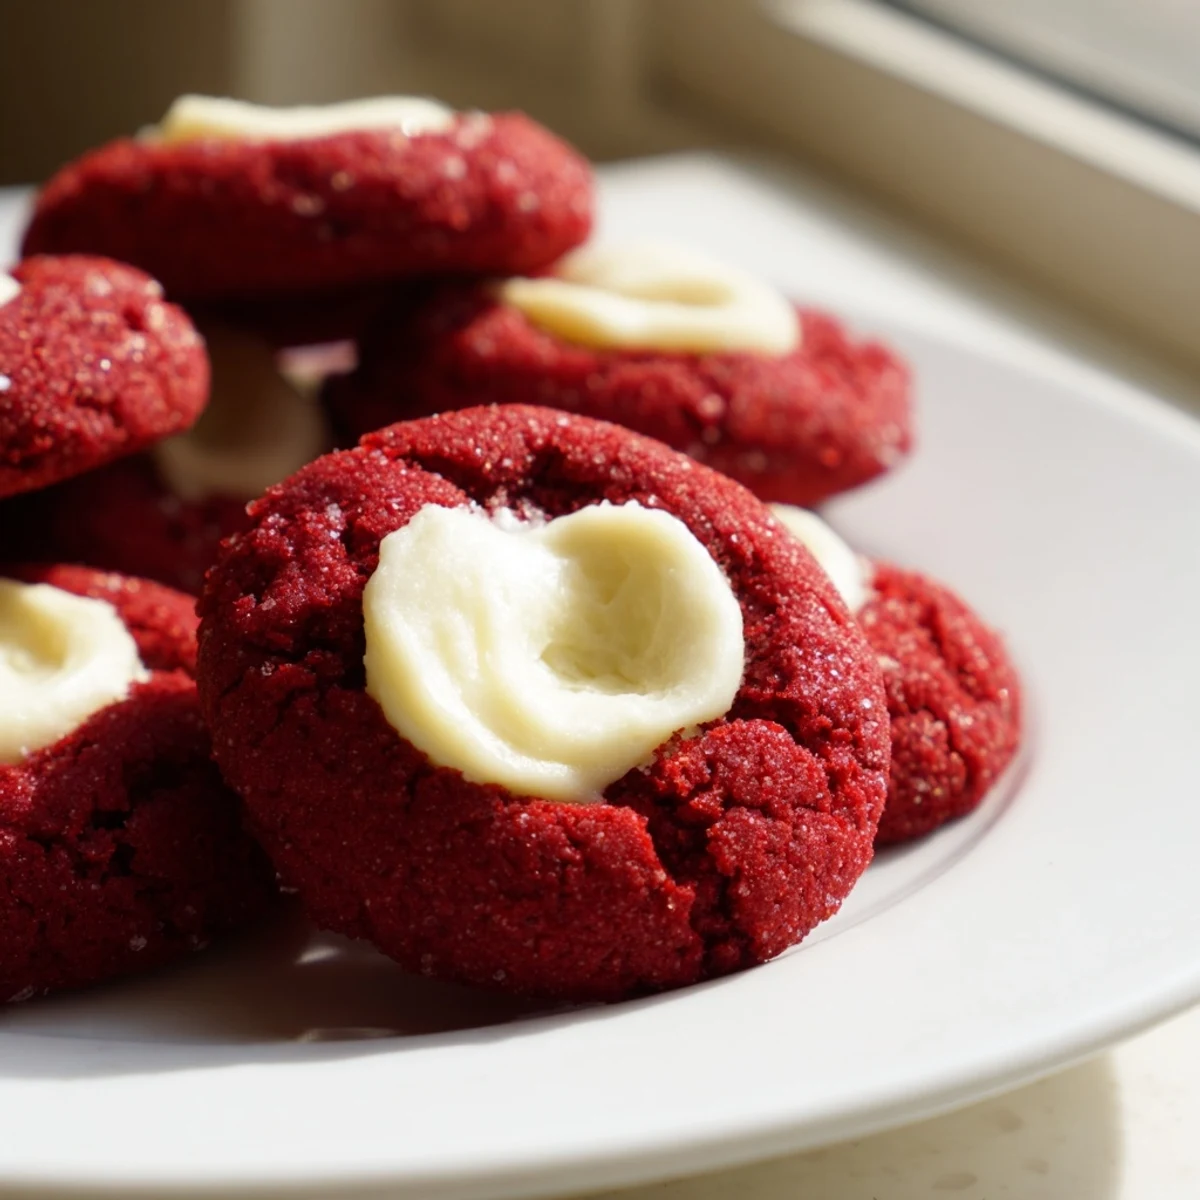
 These stunning red velvet thumbprint cookies combine the classic cocoa flavors of red velvet with a rich, tender crumb texture. Each cookie features a central indentation filled with smooth cream cheese frosting, creating a delightful contrast between the slightly crisp exterior and soft, creamy center. The vibrant red hue makes them perfect for holiday gatherings, Valentine's Day, or any celebration where you want to impress with both visual appeal and incredible taste. With just 32 minutes total time and simple pantry ingredients, these elegant cookies are surprisingly easy to make.
The first time I made these, my kitchen looked like a crime scene with red food coloring everywhere, but one bite of that velvety chocolate cookie with the tangy cream cheese center made every splatter worth it. They disappear faster than any other cookie I bake, and something about that striking red color makes people assume you spent hours on them.
I brought a batch to my neighbor's holiday gathering last year, and her teenage son quietly ate six before anyone else noticed they were even there. He texted me the next day asking if I could teach him how to make them for his girlfriend.
Ingredients
- All-purpose flour: The foundation that gives these cookies their tender structure without becoming tough
- Unsweetened cocoa powder: This is what creates that signature red velvet depth, not just chocolate flavor but that sophisticated richness
- Baking soda: Just enough to lift the edges into those perfect slightly crinkled set centers
- Salt: A pinch that wakes up all the chocolate flavors and balances the sweet filling
- Unsalted butter: Room temperature butter creamed with sugar creates that melt-in-your-mouth texture
- Granulated sugar: Sweetens while helping the edges develop that delicate crispiness
- Egg yolk: Adds richness and helps create that velvety tender crumb red velvet is famous for
- Whole milk: Just enough moisture to bring the dough together without making it sticky
- Vanilla extract: Pure vanilla enhances both the chocolate base and the cream cheese filling
- Red food coloring: One teaspoon gives that dramatic festive color everyone associates with red velvet
- Cream cheese: Softened to room temperature so it blends into a silky smooth filling
- Powdered sugar: Dissolves beautifully into the cream cheese without any grainy texture
Instructions
- Get your oven ready:
- Preheat to 350°F and line two baking sheets with parchment paper so the cookies release effortlessly
- Whisk the dry team:
- In a medium bowl, combine flour, cocoa powder, baking soda, and salt until everything is evenly distributed
- Cream the butter and sugar:
- Beat them together for about 2 minutes until the mixture looks pale and fluffy, which is the secret to tender cookies
- Add the wet ingredients:
- Mix in the egg yolk, milk, vanilla, and that vibrant red food coloring until the dough turns a shocking pink-red
- Bring it together:
- Gradually fold in the dry ingredients just until combined, being careful not to overwork the dough
- Make the filling:
- Whisk cream cheese, powdered sugar, and vanilla in a small bowl until completely smooth and set it aside
- Shape the cookies:
- Roll dough into 1-inch balls and arrange them 2 inches apart on your prepared baking sheets
- Create the thumbprints:
- Press your thumb or the back of a teaspoon gently into each ball to form a perfect little well
- Fill the centers:
- Spoon about half a teaspoon of cream cheese filling into each indentation, mounding it slightly above the dough
- Bake to perfection:
- Slide them into the oven for 11 to 13 minutes until the edges are set but the centers still look slightly soft
- Let them rest:
- Cool on the baking sheet for 5 minutes so they firm up before moving them to a wire rack to cool completely
 Save to Pinterest
 My mom asked me to teach her how to make these after trying them, and watching her carefully count the food coloring drops to avoid another red-dyed countertop incident became one of my favorite kitchen memories.
Getting That Perfect Red Color
The food coloring might look alarmingly bright when you first add it, but it bakes into that gorgeous deep red velvet shade. Gel food coloring works even better than liquid if you want to skip the extra moisture.
Filling Variations
While cream cheese is classic, white chocolate ganache made with melted white chocolate and heavy cream creates an equally stunning filling that sets firmer at room temperature.
Make-Ahead Tips
You can freeze the shaped, unfilled cookie dough balls for up to three months. Bake them straight from frozen, adding one to two minutes to the baking time, then fill while still warm.
- Scoop and freeze dough balls on a tray first, then transfer to a bag so they do not stick together
- The filling can be made up to three days ahead and stored in the refrigerator
- These cookies actually taste better on day two when the flavors have had time to meld
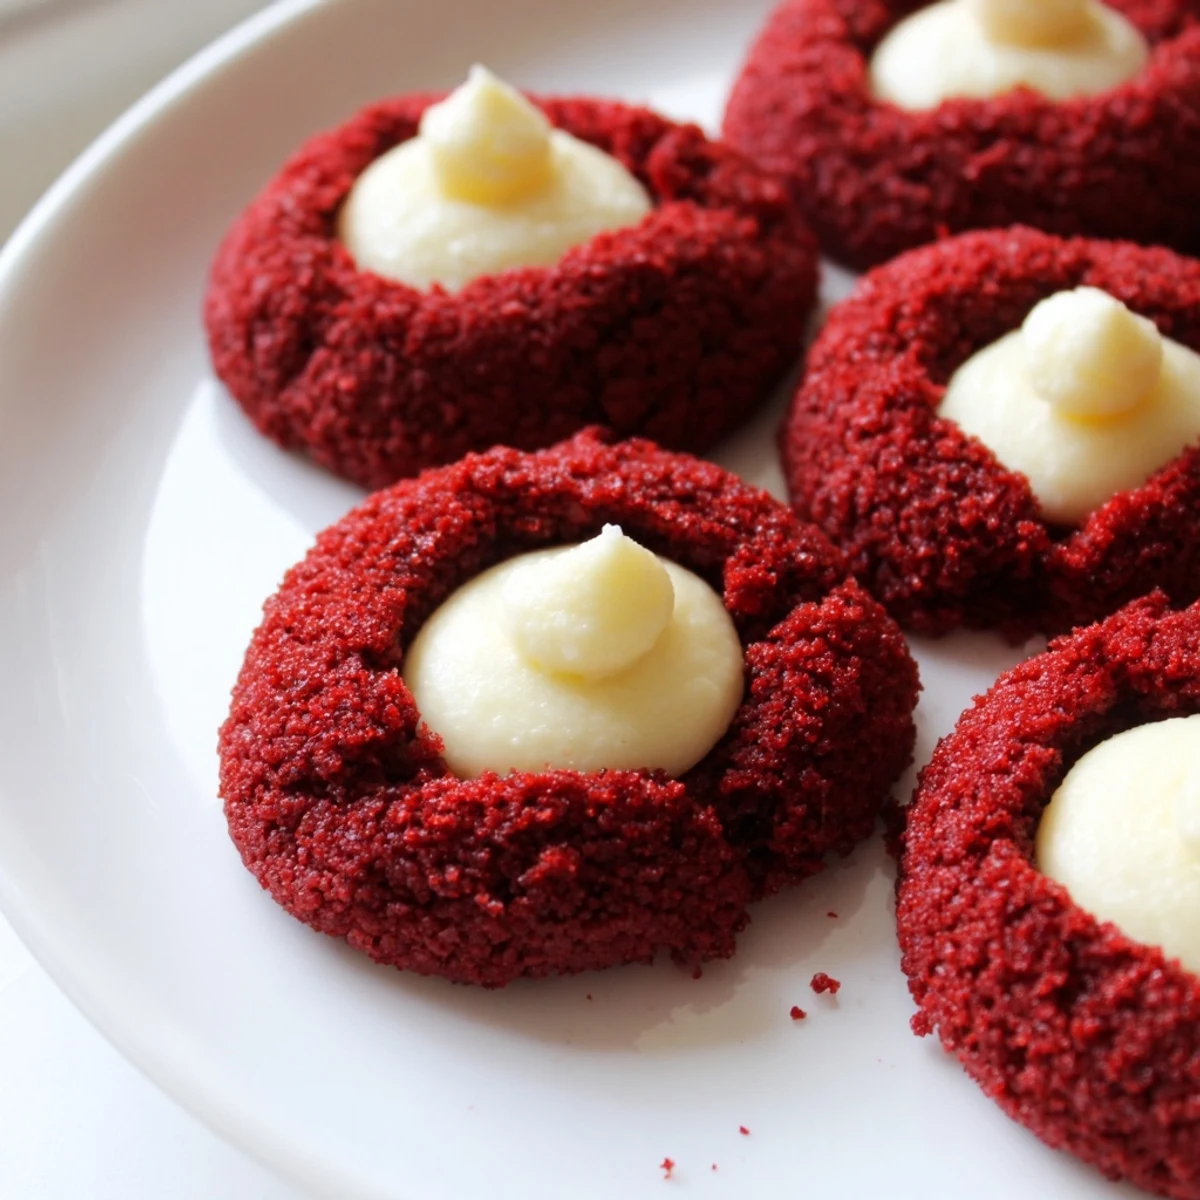
 Save to Pinterest
 Nothing beats the moment someone takes that first bite and their eyes widen at the unexpected creamy center hidden inside that striking red cookie.
Recipe Questions
- → What makes these different from regular thumbprint cookies?
-
These feature the signature cocoa flavor and vibrant red color of classic red velvet, plus a cream cheese filling instead of traditional jam. The combination creates a richer, more indulgent treat.
- → Can I make the dough ahead of time?
-
Yes, the dough can be prepared and refrigerated for up to 24 hours before baking. Let it soften slightly at room temperature for easier rolling, or freeze for up to 3 months.
- → What other fillings work well?
-
White chocolate ganache, dark chocolate ganache, or even strawberry jam make excellent alternatives. The cream cheese filling pairs beautifully with the cocoa notes.
- → Why do my cookies lose their shape?
-
Overfilling the centers can cause cookies to spread excessively. Use only ½ teaspoon of filling per cookie and ensure the dough is chilled before baking for best results.
- → How should I store these?
-
Keep in an airtight container in the refrigerator for up to 4 days due to the cream cheese filling. Bring to room temperature 15 minutes before serving for optimal texture.
- → Can I use natural food coloring?
-
Beet juice or raspberry puree can provide red color, though results may vary in intensity. Gel food coloring typically gives the most vibrant red hue with less liquid.
