 Save to Pinterest
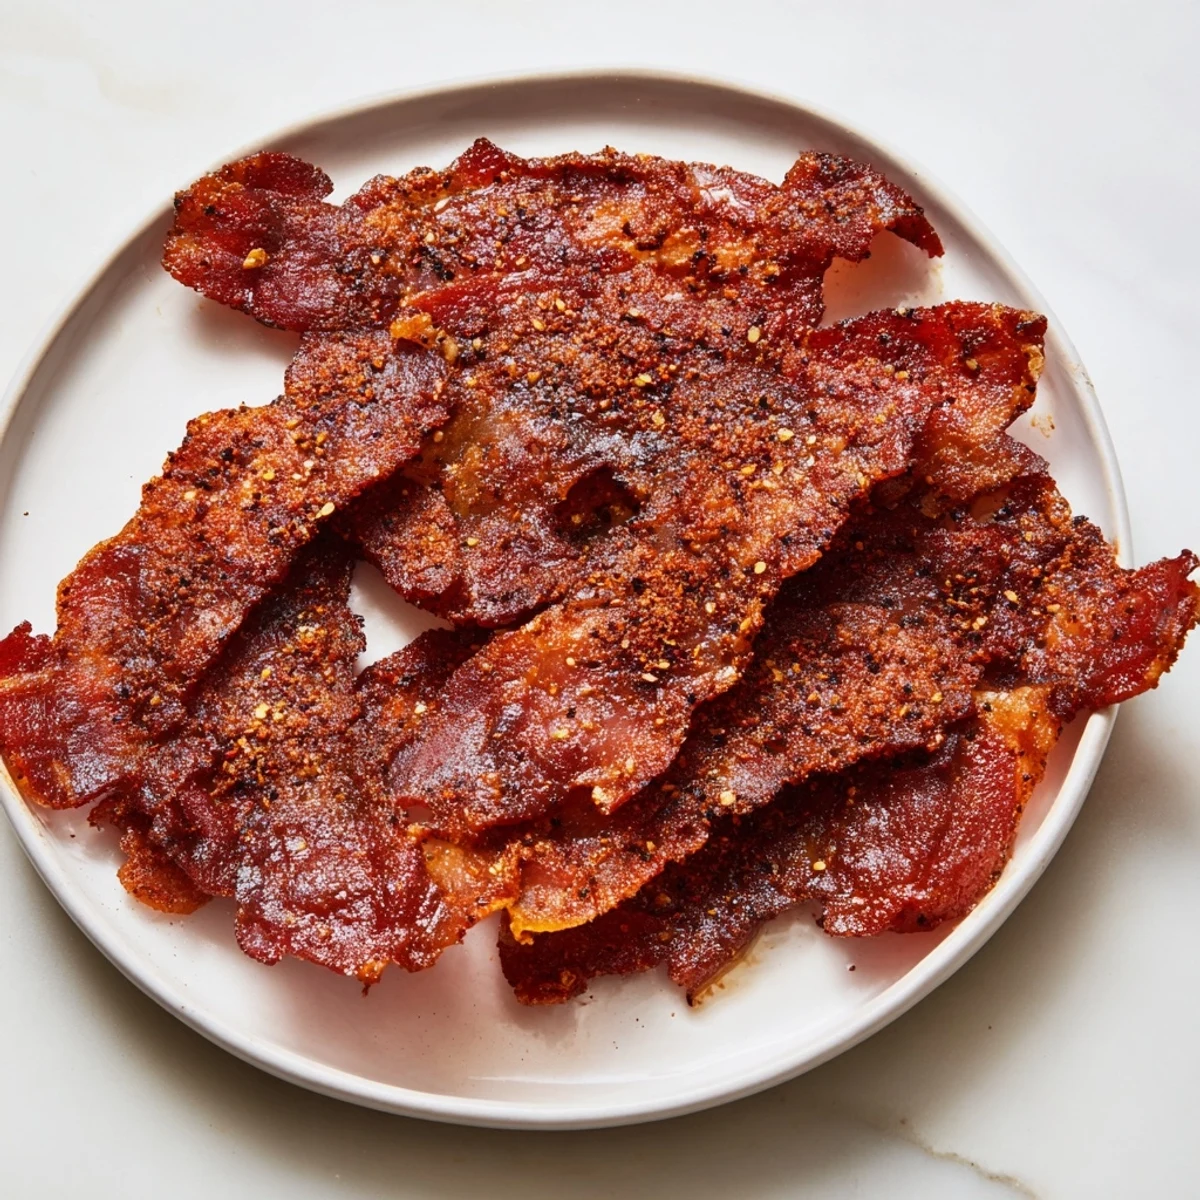
 This savory, smoky cured beef is crafted using a blend of spices and a curing process that takes 5-7 days. After curing, optional smoking deepens the flavor, while cooking the thin slices yields a crispy, flavorful treat. This versatile ingredient is perfect for breakfast dishes, salads, and sandwiches, offering a rich taste without relying on traditional pork bacon. Its gluten- and dairy-free nature makes it a suitable option for various diets. The preparation involves careful curing, rinsing, and optionally smoking, followed by pan-frying slices to crisp perfection.
The first time I made beef bacon, I was standing in my kitchen on a Saturday morning, staring at a piece of beef navel and wondering if I'd lost my mind. A friend had casually mentioned that cured beef could taste like bacon, and something about that challenge stuck with me. Five days later, when I pulled that dark, fragrant slab from the fridge and sliced it thin, I understood why she'd been so excited. One bite changed how I thought about breakfast forever.
I remember the moment my partner walked into the kitchen during day three of the curing process and caught the smell wafting from the fridge. That salty, smoky perfume hit them before they even opened the door, and they just stood there grinning, asking how much longer until breakfast could smell like that. When I finally cooked those first slices a week later and they sizzled in the pan with that unmistakable bacon crackle, everything felt right.
Ingredients
- Beef navel or brisket (1.5 kg): This cut has just enough fat to render and crisp beautifully when sliced thin; ask your butcher to trim it well or do it yourself with a sharp knife.
- Kosher salt (60 g): The base of your cure, drawing moisture from the meat while seasoning it deeply.
- Brown sugar (30 g): Balances the salt with a subtle sweetness and helps develop that rich color when cooking.
- Black pepper (5 g): Use coarsely ground so you get little bursts of flavor and a rustic texture.
- Smoked paprika (4 g): The secret weapon that gives beef bacon its smoky character even before smoking.
- Garlic powder and onion powder (2 g each): These add savory depth without overpowering the beef's natural flavor.
- Pink curing salt (3 g): This is non-negotiable for both safety and that authentic cured meat taste; never skip it or substitute regular salt.
- Ground coriander (1 g, optional): A whisper of warmth that some people swear makes all the difference.
- Wood chips for smoking (optional): Hickory brings earthiness, while applewood adds subtle sweetness; choose based on your mood.
Instructions
- Mix your cure blend:
- Combine all the dry ingredients in a bowl and stir until the brown sugar is fully broken up and everything looks evenly distributed. Take a pinch and taste it with your finger; it should hit you with salt, smoke, and warmth all at once.
- Coat the beef thoroughly:
- Rub that mixture all over the meat like you're giving it a massage, getting into every crevice and making sure no spot is left bare. The cure should form a visible coating that looks almost crusty.
- Begin the cure:
- Place the beef in a zip-top bag or non-reactive container, seal it up, and slide it into your fridge. Set a phone reminder or write it on your calendar because the daily turning is what makes this work.
- Turn daily for five to seven days:
- Every morning or evening, take the bag out and flip the beef end to end, redistributing all those juices and ensuring the cure reaches every part. By day three, you'll notice liquid pooling at the bottom; that's exactly what should happen.
- Rinse and dry:
- After curing, run the beef under cold water while rubbing gently to remove the cure coating, then pat it completely dry with paper towels. This step matters because excess moisture will steam instead of crisp when you cook it.
- Smoke for added depth (optional):
- If you have a smoker, set it to 95°C (200°F) and add your chosen wood chips, letting the beef absorb that smoke for two to three hours until it reaches 65°C (150°F) internally. Skip this step if you prefer, but the smoke transforms it into something truly special.
- Chill and slice:
- Let the smoked beef cool completely, then use a sharp knife to slice it as thinly as you can manage, working across the grain. Thinner slices crisp up better and feel more like bacon when they hit the pan.
- Cook to order:
- Heat a skillet over medium heat and lay the slices flat, cooking them three to four minutes per side until the edges are dark and crispy. You'll hear the sizzle and smell that bacon aroma, and suddenly five days of patience feels worth it.
 Save to Pinterest
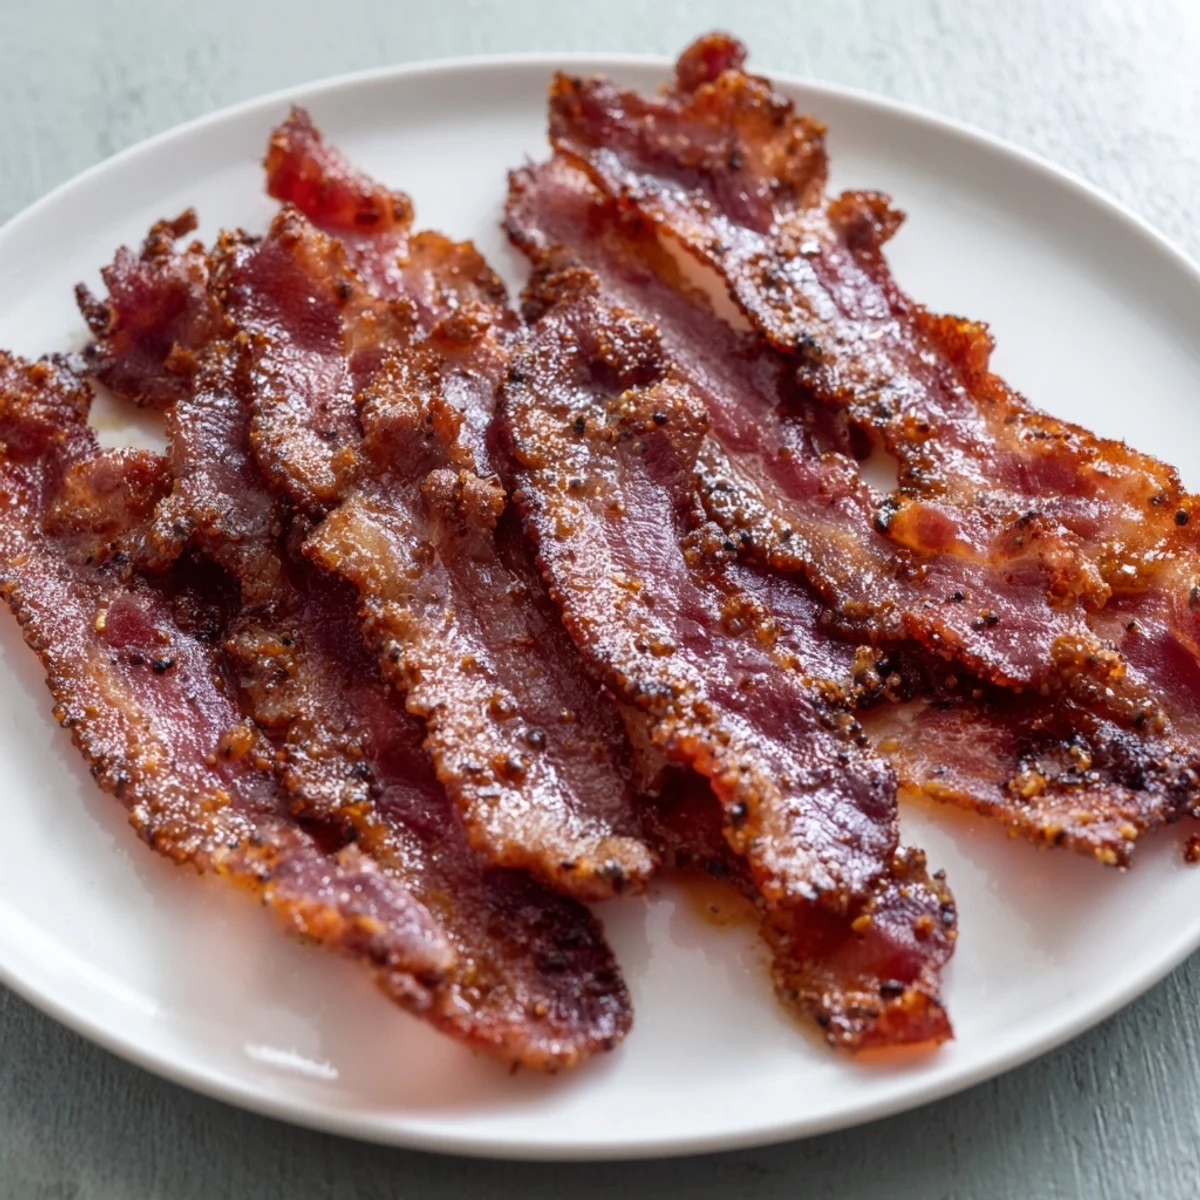
 One Sunday morning, I made a batch of this beef bacon and served it to friends who thought I'd bought it from some fancy specialty shop. Watching them taste it and realize I'd made it at home, from scratch, over a week of waiting, felt like I'd just pulled off a small magic trick. That's when I knew this recipe was worth keeping around.
Why This Beats Store-Bought
Store-bought bacon is convenient, sure, but homemade beef bacon lets you decide everything. You pick the spice level, whether to smoke it, how thick to slice it, and you taste the quality the moment you bite into it because you know exactly what went into it. There's something satisfying about eating something you cured yourself, especially when it tastes this good.
Storage and Make-Ahead Strategy
Once you've sliced your beef bacon, it keeps in the fridge for two weeks if you store it in an airtight container, and up to three months in the freezer. Many people cure multiple batches at once so they always have slices ready; just cook them as you need them since they only take about eight minutes in the pan. This recipe rewards planning and batch work without any of the fuss.
Flavor Variations to Try
Once you've mastered the basic recipe, the fun really begins because you can customize it endlessly. I've added crushed red pepper flakes for heat, smoked paprika for even more depth, and I once experimented with a dash of coffee powder which added an unexpected richness. The structure stays the same, but your spice blend becomes your signature.
- For a spicier version, add one teaspoon of crushed red pepper flakes to the cure mixture.
- Try a touch of ground cumin or a pinch of smoked salt if you want to push the flavor envelope.
- If you skip smoking, use applewood chips in a skillet with foil to create a makeshift smoke effect for three to four minutes before cooking.
 Save to Pinterest
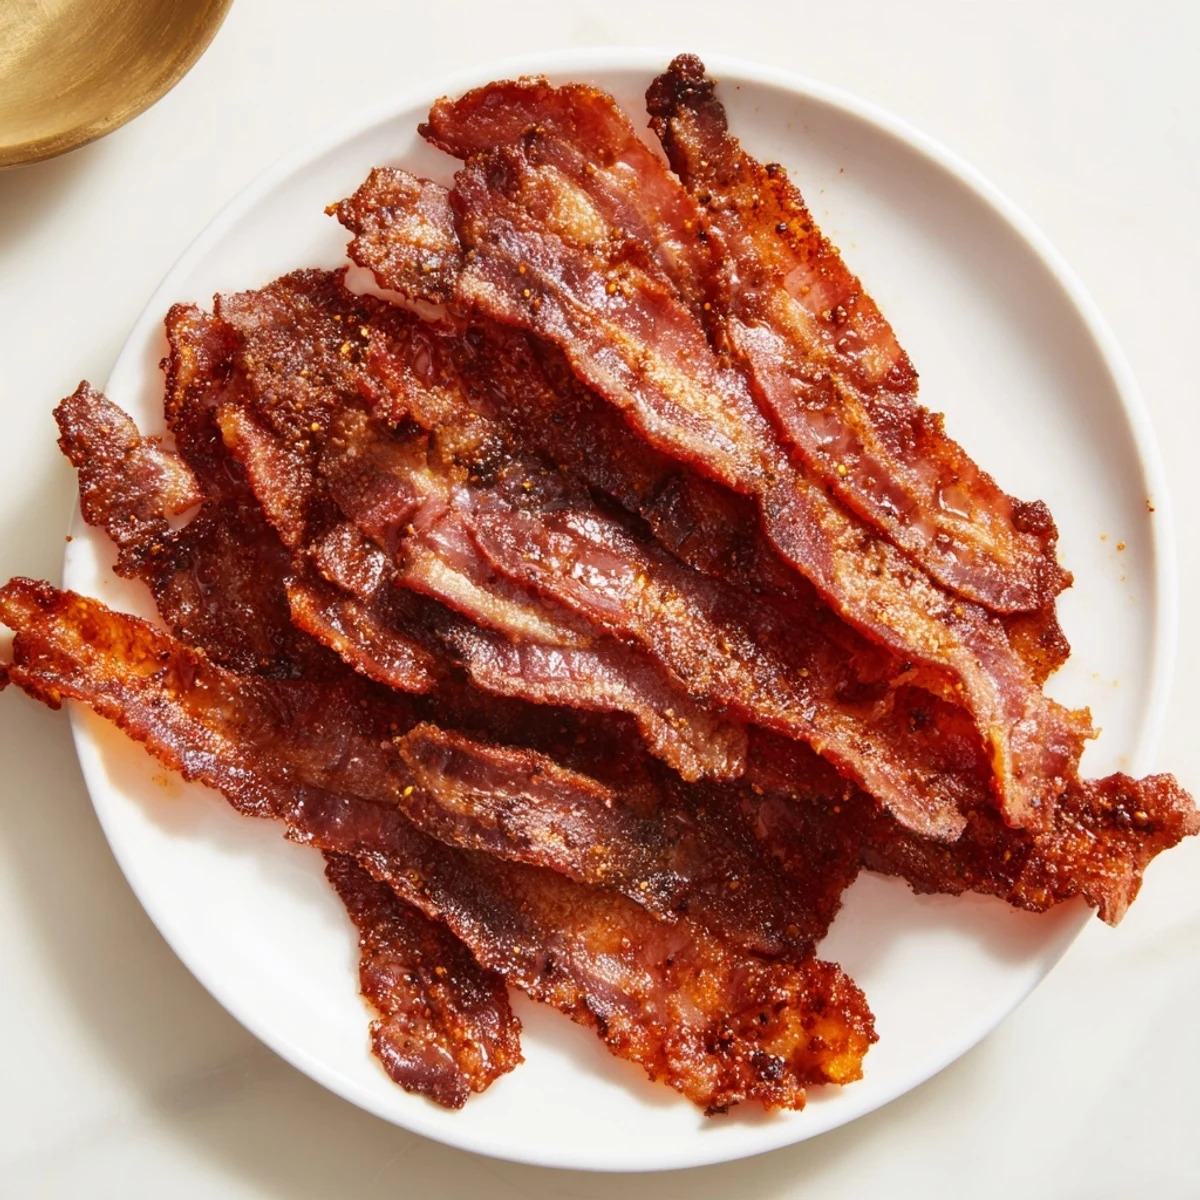
 Making beef bacon at home taught me that patience in the kitchen pays off in flavors you simply can't buy. Every time I see those slices sizzling in the pan, I'm reminded that sometimes the most impressive dishes come from the simplest ingredients and the willingness to wait.
Recipe Questions
- → What cut of beef works best for curing?
-
Beef navel or brisket are ideal due to their fat content and texture, absorbing the cure flavors effectively.
- → How long should the beef cure for optimal flavor?
-
The curing process takes 5 to 7 days in the refrigerator, allowing the spices and salts to penetrate thoroughly.
- → Is smoking necessary for this cured beef?
-
Smoking is optional but adds a deeper smoky aroma and complexity to the flavor profile.
- → How should the beef be cooked after curing?
-
Slice thinly against the grain and pan-fry over medium heat until crisp and browned on both sides, about 3-4 minutes per side.
- → Can this cured beef be stored after preparation?
-
Refrigerate for up to two weeks or freeze for up to three months to maintain quality and safety.
