 Save to Pinterest
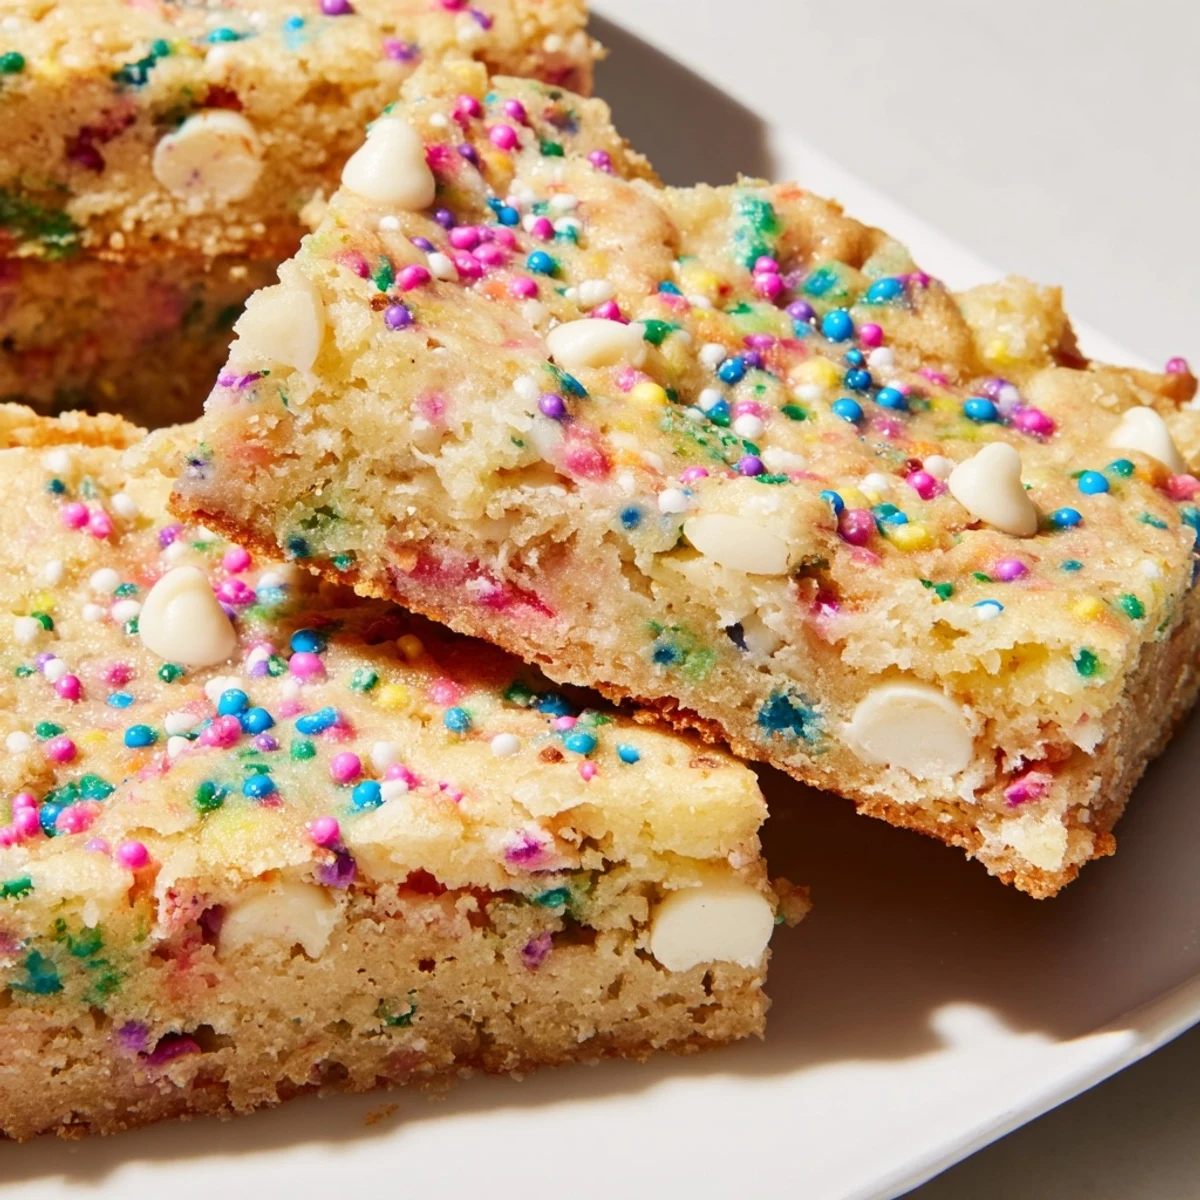
 These vibrant spring blondies combine a rich, buttery base with cheerful rainbow sprinkles throughout. The dough comes together quickly with melted butter and brown sugar, creating that signature chewy texture. Optional white chocolate chips add creamy sweetness that balances the colorful crunch. Perfect for Easter, baby showers, or anytime you need a bright, celebratory dessert that both kids and adults will love.
The first time I made these, my kitchen looked like a rainbow had exploded everywhere in the best possible way. I was testing recipes for a friend's baby shower, and somehow sprinkles ended up in my hair, on the counter, and even stuck to my elbow. Everyone loved them so much that I started keeping a stash of rainbow jimmies in my pantry year-round, because who says you need a special occasion for colorful buttery goodness?
Last spring I brought a batch to a picnic and watched three generations fight over the last corner piece. My grandmother, who usually turns her nose up at anything with sprinkles, took one bite and asked if I'd make them for her book club. Since then, these have become my official contribution to every potluck, birthday, and Tuesday night craving.
Ingredients
- All-purpose flour: The foundation that gives these blondies their structure without making them cakey or dense
- Baking powder: Just enough lift to create those pockets of chewiness we all love in a good blondie
- Salt: Dont skip this, it cuts through all that buttery sweetness and makes every other flavor pop
- Unsalted butter: Melted and cooled creates that irresistible fudgy texture that sets these apart from cake-like bars
- Light brown sugar: The secret to that deep caramel flavor and chewy texture we're chasing
- Egg and egg yolk: The yolk adds extra richness while the whole egg provides structure
- Vanilla extract: Pure vanilla makes all the difference here, dont waste your money on imitation
- White chocolate chips: Totally optional but I love how creamy white chocolate plays with the buttery base
- Rainbow sprinkles: Use jimmies, not the tiny nonpareil balls that bleed color everywhere
Instructions
- Preheat your oven and prep the pan:
- Set your oven to 350°F and line an 8x8-inch pan with parchment paper, letting the paper hang over the sides like a little sling
- Whisk the dry ingredients:
- In a medium bowl, combine the flour, baking powder, and salt until everything is evenly distributed
- Mix the butter and sugar:
- Whisk the melted butter and brown sugar until the mixture looks glossy and smooth, about one minute
- Add the eggs and vanilla:
- Drop in the egg, egg yolk, and vanilla, whisking until everything is fully incorporated and the mixture thickens slightly
- Combine wet and dry:
- Gently fold the dry ingredients into the wet mixture with a spatula, stopping as soon as you no longer see streaks of flour
- Add the fun stuff:
- Fold in the white chocolate chips if using and most of the sprinkles, saving about a tablespoon for the top
- Spread and decorate:
- Spread the batter into your prepared pan and scatter those reserved sprinkles over the surface for maximum cheerfulness
- Bake to perfection:
- Bake for 23 to 26 minutes until the edges are set but the center still looks slightly underbaked, and a toothpick comes out with moist crumbs
- Cool completely:
- Let them cool completely in the pan, then use the parchment sling to lift them out and cut into 16 squares
 Save to Pinterest
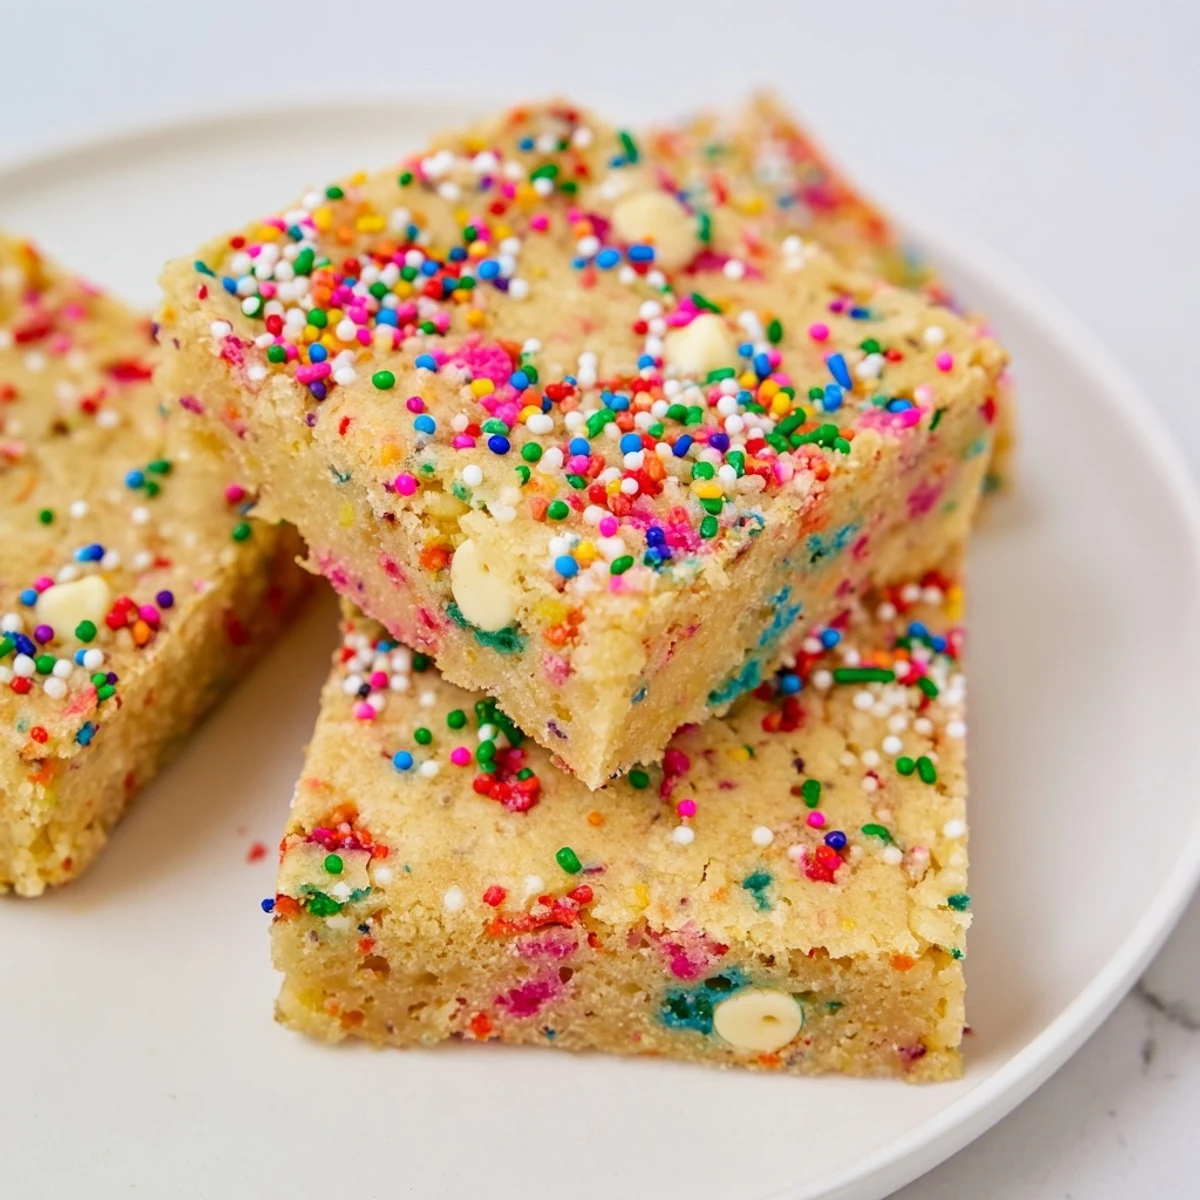
 My daughter asked if we could make these for her class party, and I ended up having to make a second batch because we kept eating them straight from the pan. There's something about the combination of warm vanilla, buttery caramel, and happy colors that makes even the worst day feel a little brighter.
Making Ahead and Storage
I've discovered these actually taste better on day two, which is saying something for something this good fresh. Store them in an airtight container at room temperature for up to five days, though they've never lasted longer than three days in my house. You can also wrap individual squares in plastic and freeze them for up to three months, then just let them thaw on the counter for an hour.
Sprinkle Strategy
After years of baking with sprinkles, I've learned that not all rainbow sprinkles are created equal. The jimmies hold their shape and color during baking, while those tiny ball sprinkles will bleed and make your bars look muddy. Pastel sprinkles give these a softer, more sophisticated spring vibe, but honestly the bright rainbow ones make everyone smile bigger.
Getting That Perfect Texture
The difference between a good blondie and a great one comes down to doneness. I err on the side of underbaking, pulling them when the center still jiggles slightly. They continue cooking as they cool, transforming into that dense, fudgy texture we're after. If you like yours a bit more cake-like, give them an extra two minutes in the oven.
- Dont use dark brown sugar unless you want a deeper molasses flavor that overpowers the vanilla
- If you only have salted butter, reduce the added salt by half
- A hot pan makes the batter spread too thin, so let your melted butter cool for at least 10 minutes
 Save to Pinterest
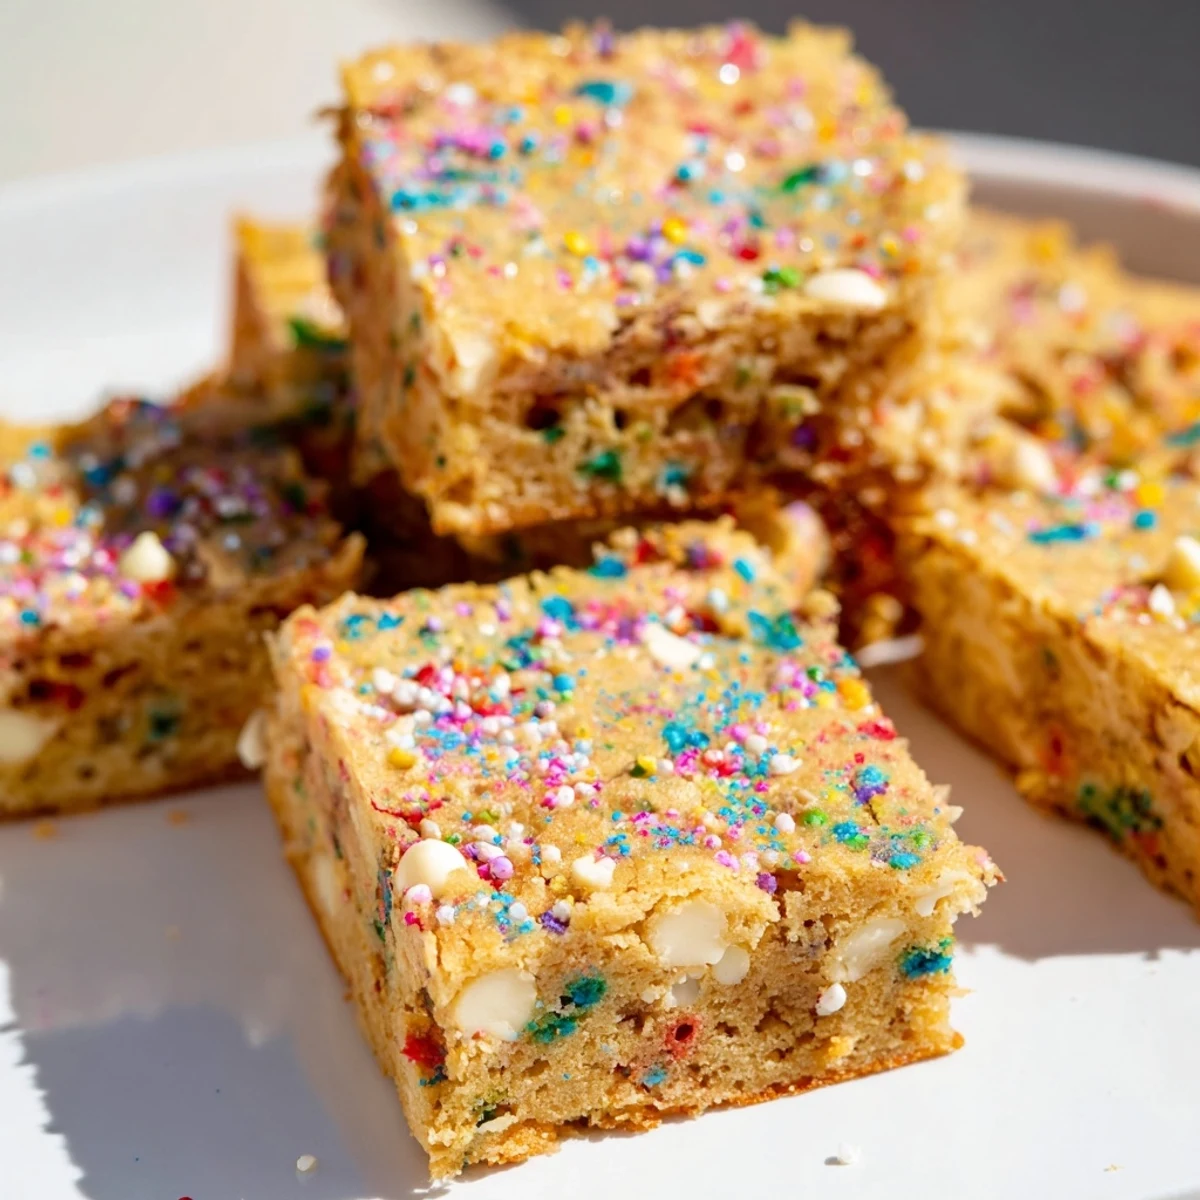
 Whether you're celebrating something big or just need a little happy in your Tuesday, these blondies deliver joy in every colorful bite.
Recipe Questions
- → Can I use regular sprinkles instead of jimmies?
-
Yes, but jimmies (the long, thin sprinkles) work best because they hold their shape during baking. Nonpareils (the tiny ball sprinkles) can bleed color into the batter, so save those for decorating the top.
- → How should I store these blondies?
-
Store in an airtight container at room temperature for up to 5 days. For longer freshness, you can refrigerate them for up to a week or freeze individually wrapped squares for up to 3 months.
- → Why use both egg and egg yolk?
-
The extra yolk adds richness and creates that wonderfully fudgy, chewy texture blondies are known for. It also helps balance the sweetness and contributes to the golden color.
- → Can I make these ahead of time?
-
Absolutely! The batter can be prepared and stored in the refrigerator for up to 24 hours before baking. You can also bake the blondies a day in advance—they actually taste better the next day as flavors develop.
- → What's the best way to get clean cuts?
-
Let the blondies cool completely before cutting. For the cleanest squares, chill the cooled slab in the refrigerator for 30 minutes, then use a sharp knife wiped clean between each cut. The parchment overhang makes lifting the whole block out easy.
- → Can I make these gluten-free?
-
Yes, substitute an equal amount of 1-to-1 gluten-free flour blend for the all-purpose flour. The texture will be slightly different but still delicious. Ensure your sprinkles are also certified gluten-free.
