 Save to Pinterest
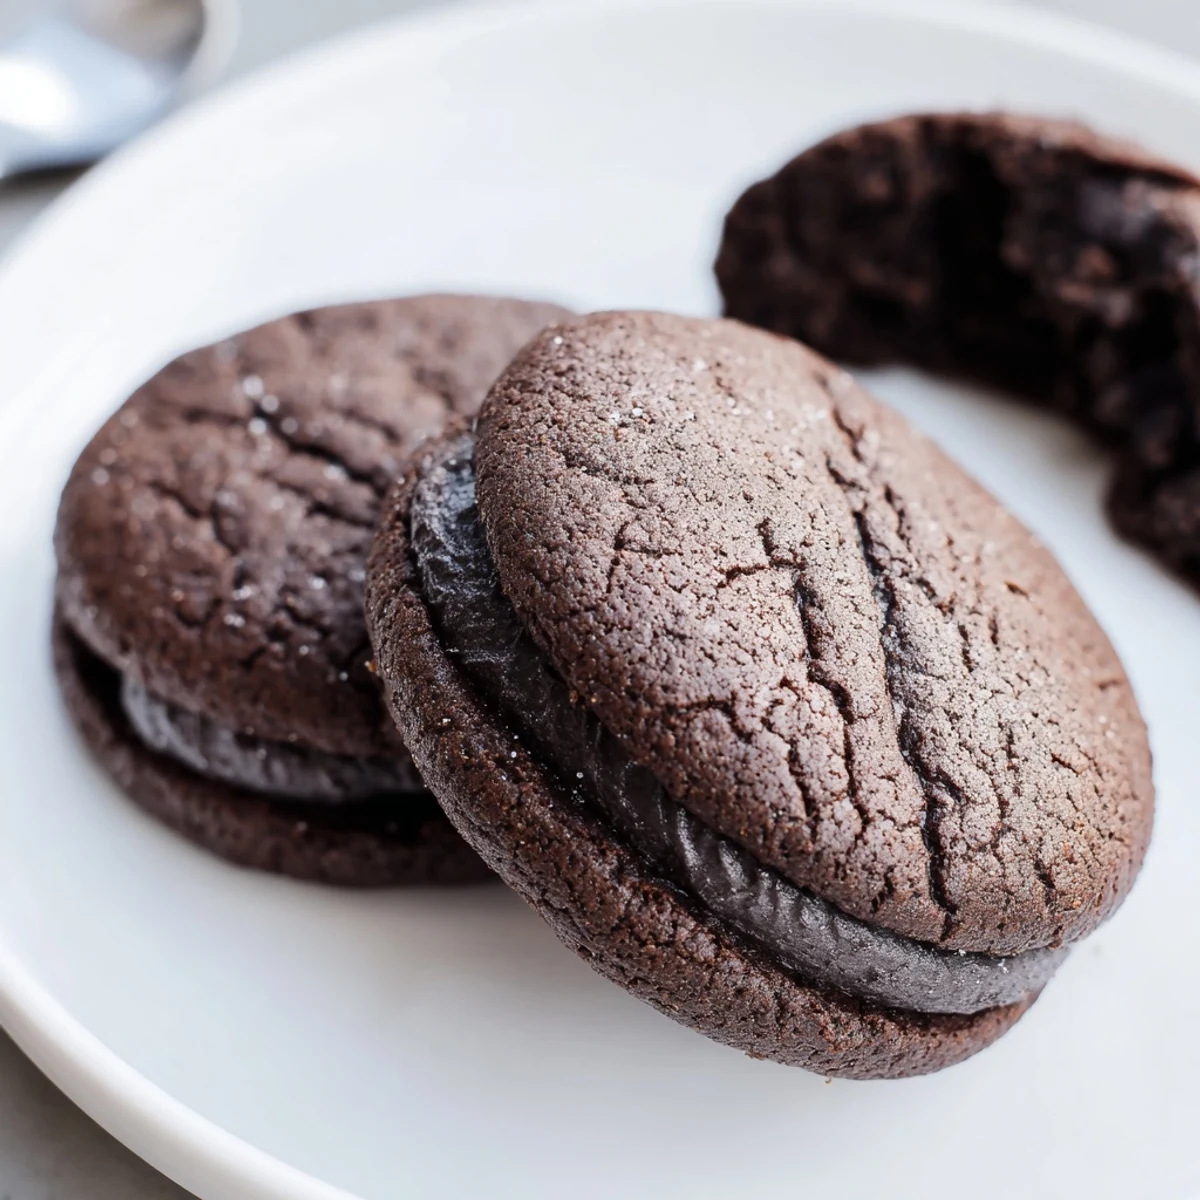
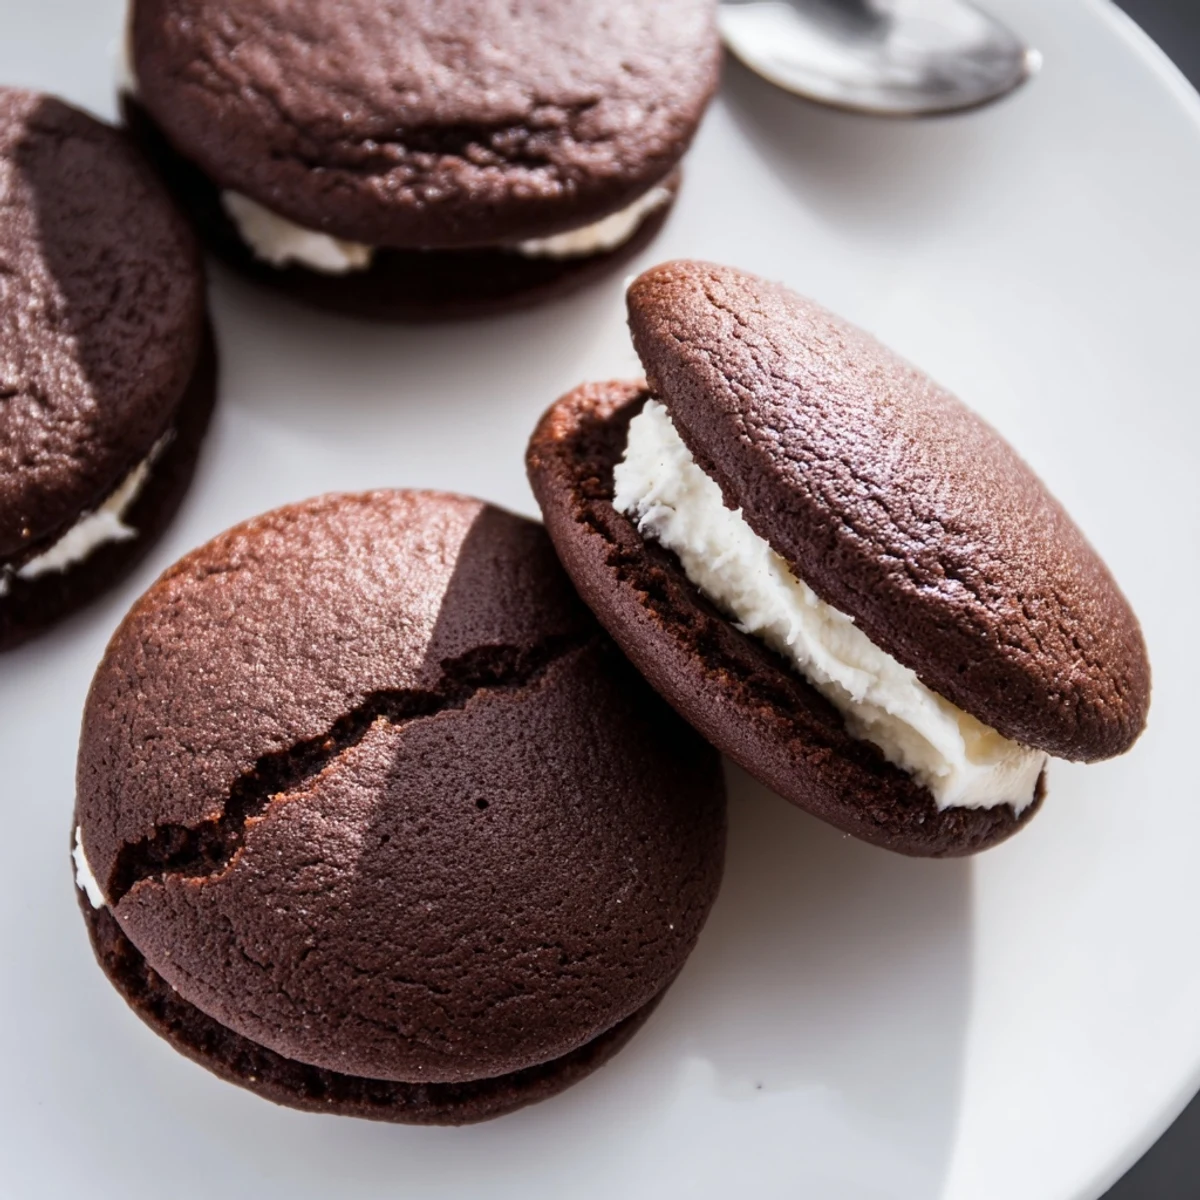
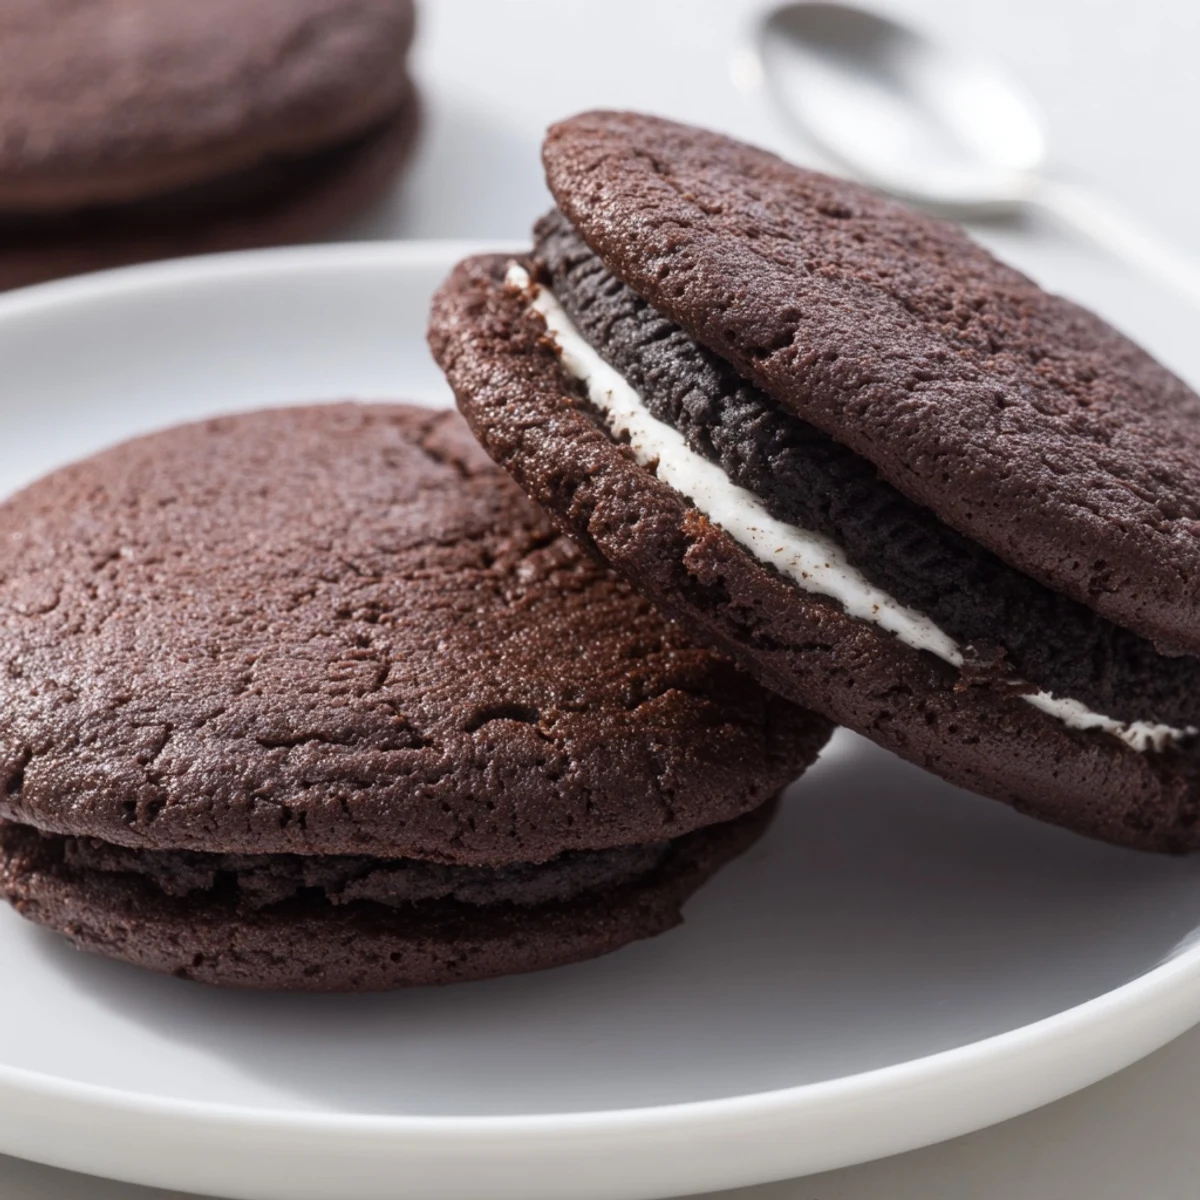
 Homemade dark chocolate sandwich cookies with a silky vanilla cream: sift flour and Dutch cocoa, cream butter and sugar, add egg and vanilla, and mix to a stiff dough. Roll into 1‑inch balls, flatten and bake 10–12 minutes. Cool, whip butter, shortening and powdered sugar into a smooth filling, pipe about 1 tablespoon between cookies. Yields 18; prep 30 min, bake 12 min, set briefly before serving.
My sister and I used to race through homework just so we could split a sleeve of Oreos before dinner, and that childhood ritual stuck with me long after I realized homemade versions blow the store bought ones out of the water.
I brought a batch of these to a friend's potluck last winter and watched three adults abandon their wine glasses to hover over the cookie plate, quietly debating whether to take a fourth.
Ingredients
- All-purpose flour (1 cup or 125 g): Gives the cookies structure without making them tough.
- Unsweetened Dutch-process cocoa powder (¾ cup or 70 g): This is what creates that deep, dark Oreo color and intense chocolate flavor.
- Granulated sugar (1 cup or 200 g): Sweetens and helps crisp the edges during baking.
- Baking soda (½ tsp): A small amount keeps the cookies from being too dense.
- Salt (¼ tsp for dough, pinch for filling): Enhances every other flavor in both the cookie and the cream.
- Unsalted butter, softened (½ cup or 115 g for dough, ¼ cup or 60 g for filling): Bring it to room temperature so it creams smoothly.
- Large egg (1): Binds the dough together for the perfect chew.
- Vanilla extract (1 tsp for dough, 1 tsp for filling): Use pure extract if you can, because the filling really showcases it.
- Vegetable shortening (¼ cup or 55 g): This keeps the filling stable and gives it that classic creamy texture.
- Powdered sugar, sifted (1½ cups or 180 g): Sifting is nonnegotiable here unless you want lumpy filling.
Instructions
- Preheat and prepare:
- Set your oven to 350°F (175°C) and line two baking sheets with parchment paper so nothing sticks.
- Whisk the dry ingredients:
- Sift the flour, cocoa powder, baking soda, and salt together in a bowl and watch the cocoa dust rise, smelling like pure possibility.
- Cream butter and sugar:
- Beat the softened butter and granulated sugar until the mixture turns pale and fluffy, then add the egg and vanilla until everything is combined.
- Bring the dough together:
- Gradually mix the dry ingredients into the wet until a stiff, dark dough forms that feels almost like playdough.
- Shape and flatten:
- Roll tablespoon sized balls and place them two inches apart, then press each one down gently with the bottom of a glass or your palm.
- Bake and cool:
- Bake for 10 to 12 minutes until set and slightly firm, let them rest on the sheet for five minutes, then move to a wire rack to cool completely.
- Make the filling:
- Beat the butter, shortening, powdered sugar, vanilla, and a pinch of salt until the mixture is smooth, fluffy, and spreadable.
- Assemble the sandwiches:
- Pipe or spread about a tablespoon of filling onto the flat side of half the cookies, then press the remaining cookies on top gently so the cream reaches the edges.
- Let them set:
- Give the assembled cookies 10 to 15 minutes at room temperature so the filling firms up before serving.
 Save to Pinterest
 Packaging these in a simple box with parchment between the layers turned a rainy Saturday afternoon into one of the best gifts I have ever given.
A Few Twists Worth Trying
Add a teaspoon of espresso powder to the dough and the chocolate flavor deepens in a way that surprises everyone who takes a bite.
Keeping Them Fresh
Store the assembled cookies in an airtight container at room temperature and they stay perfect for up to five days, though they rarely last that long in my kitchen.
Tools That Make It Easier
An electric mixer saves your arm on the creaming step, but a sturdy spoon and some determination work too.
- Parchment paper is your best friend for even baking and easy cleanup.
- A piping bag makes neat filling work, but a zip top bag with a corner snipped off does the job just fine.
- Always let the cookies cool completely before assembling or the filling will melt right off.
 Save to Pinterest
 Homemade Oreos are a little messy, a lot of fun, and absolutely worth every minute you spend covered in cocoa powder.
Recipe Questions
- → How do I get crisp vs. chewy cookies?
-
For crisper cookies, flatten dough balls thinner before baking and bake toward the longer end of the time. For chewier results, leave dough slightly taller, remove when centers are just set, and avoid overbaking. Butter temperature also matters: softer butter gives a denser, chewier texture.
- → Can I replace the shortening in the filling with butter?
-
Yes. Swapping shortening for an equal amount of softened butter yields a richer, more buttery filling but can be slightly softer at room temperature. Chill assembled sandwiches briefly to help set the filling if needed.
- → Will adding espresso powder affect the flavor?
-
Adding about 1 teaspoon of instant espresso powder to the dough heightens the chocolate notes without adding a coffee taste. It intensifies cocoa flavor and creates a deeper chocolate profile.
- → How should I store the sandwiches and how long do they keep?
-
Store in an airtight container at room temperature for up to 5 days. For longer storage, freeze baked cookies (without filling) or assembled sandwiches in a single layer separated by parchment; thaw at room temperature before serving.
- → Any tips for piping an even filling?
-
Use a piping bag fitted with a round tip or a zip-top bag with a small corner snipped. Hold cookies flat, apply about 1 tablespoon of filling to half the cookies, then press gently to spread. If filling is too soft, chill briefly to firm up before piping.
- → How can I adapt this for common allergens?
-
Use a gluten-free all-purpose flour blend that measures cup-for-cup for wheat-free cookies, replace the egg with a commercial egg replacer or flax egg for egg-free, and use dairy-free butter and shortening to avoid milk. Texture and spread may vary, so watch bake times.
