 Save to Pinterest
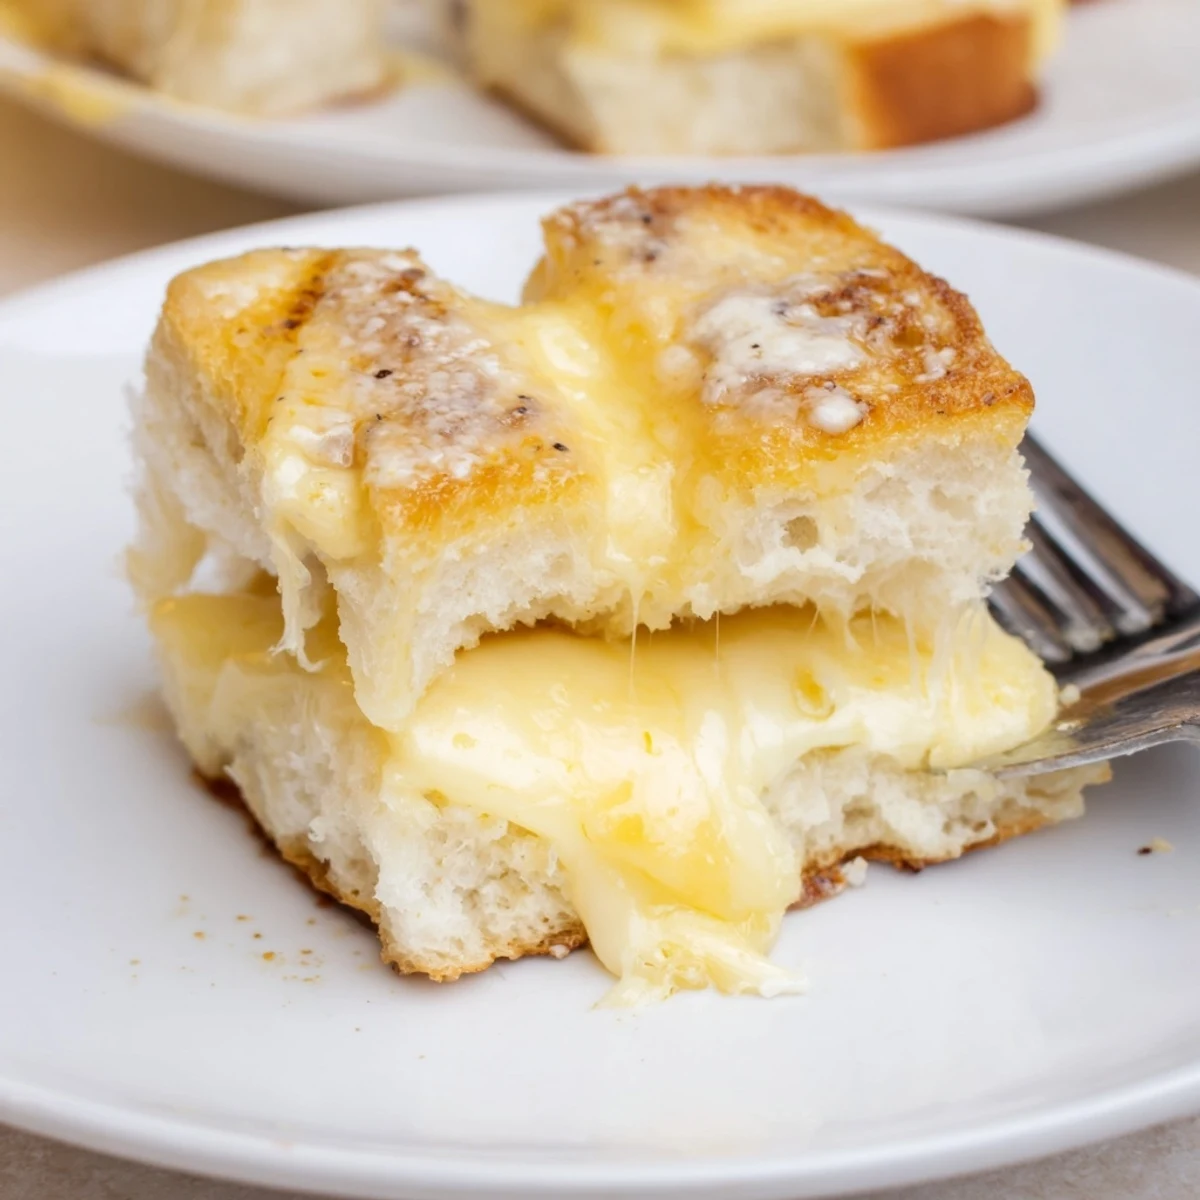
 These bite-sized sandwiches start by slicing a full pack of Hawaiian sweet rolls horizontally, layering sliced cheddar and optional ham, topping with the other half, then brushing with melted butter mixed with mustard, honey and garlic powder. Bake at 350°F (175°C) until cheese melts and tops are golden. Ready in about 25 minutes; serve warm with tomato soup or pickles.
If there’s an aroma that instantly chases away a dreary afternoon, it’s the warm, toasty scent of cheese melting into soft bread. The first time I whipped up mini grilled cheese Hawaiian rolls, it was less about a fancy recipe and more about needing a quick snack for unexpected company—my kitchen still remembers the happy chaos. There’s something mischievous about pulling a tray of golden-topped rolls from the oven while everyone hovers nearby, trying not to look too eager. These little sandwiches barely make it off the baking sheet before disappearing, and that’s truly their charm.
Last summer, my neighbor wandered in, lured by the unmistakable scent, and before I knew it, we had an impromptu lunch around the counter with these gooey, hand-held bites. I still laugh about the butter streaks left behind on our plates—a sure sign of an easy afternoon well spent. These rolls have become the mark of unexpected gatherings in my house.
Ingredients
- Hawaiian sweet rolls: Their signature sweetness sets these sandwiches apart—don’t separate them before slicing for the best results.
- Cheddar cheese: I love using sharp cheddar for a robust flavor, but you can blend your favorites.
- Unsalted butter: Melted butter ensures a satisfying crisp top; brush it on while still warm for the ultimate texture.
- Deli ham or turkey (optional): Adds a savory boost—thicker slices melt better without slipping out.
- Dijon or yellow mustard (optional): Mixing it into the butter offers a tangy lift; adjust to taste.
- Honey (optional): Just a drizzle brings out the natural sweetness of the rolls, perfect for a fun variation.
- Garlic powder (optional): Sprinkle on top for extra aroma and flavor; it complements the cheese beautifully.
Instructions
- Get Set:
- Preheat the oven to 350°F (175°C) and line your baking sheet with parchment paper so nothing sticks later.
- Slice and Prep:
- Use a serrated bread knife to cut the whole block of rolls horizontally—don’t split the individual rolls yet.
- Fill ‘Em Up:
- Lay the bottom half on your tray, scatter cheese evenly, and add ham or turkey if you want a meaty layer.
- Top Things Off:
- Carefully set the top half of the rolls back on so the fillings are sandwiched snugly in between.
- Mix and Brush:
- Stir the melted butter with mustard, honey, or garlic powder if you like, then generously brush the tops for golden results.
- Bake to Perfection:
- Pop the tray in for 10–15 minutes until the tops glisten and you spot bubbling cheese.
- Serve and Enjoy:
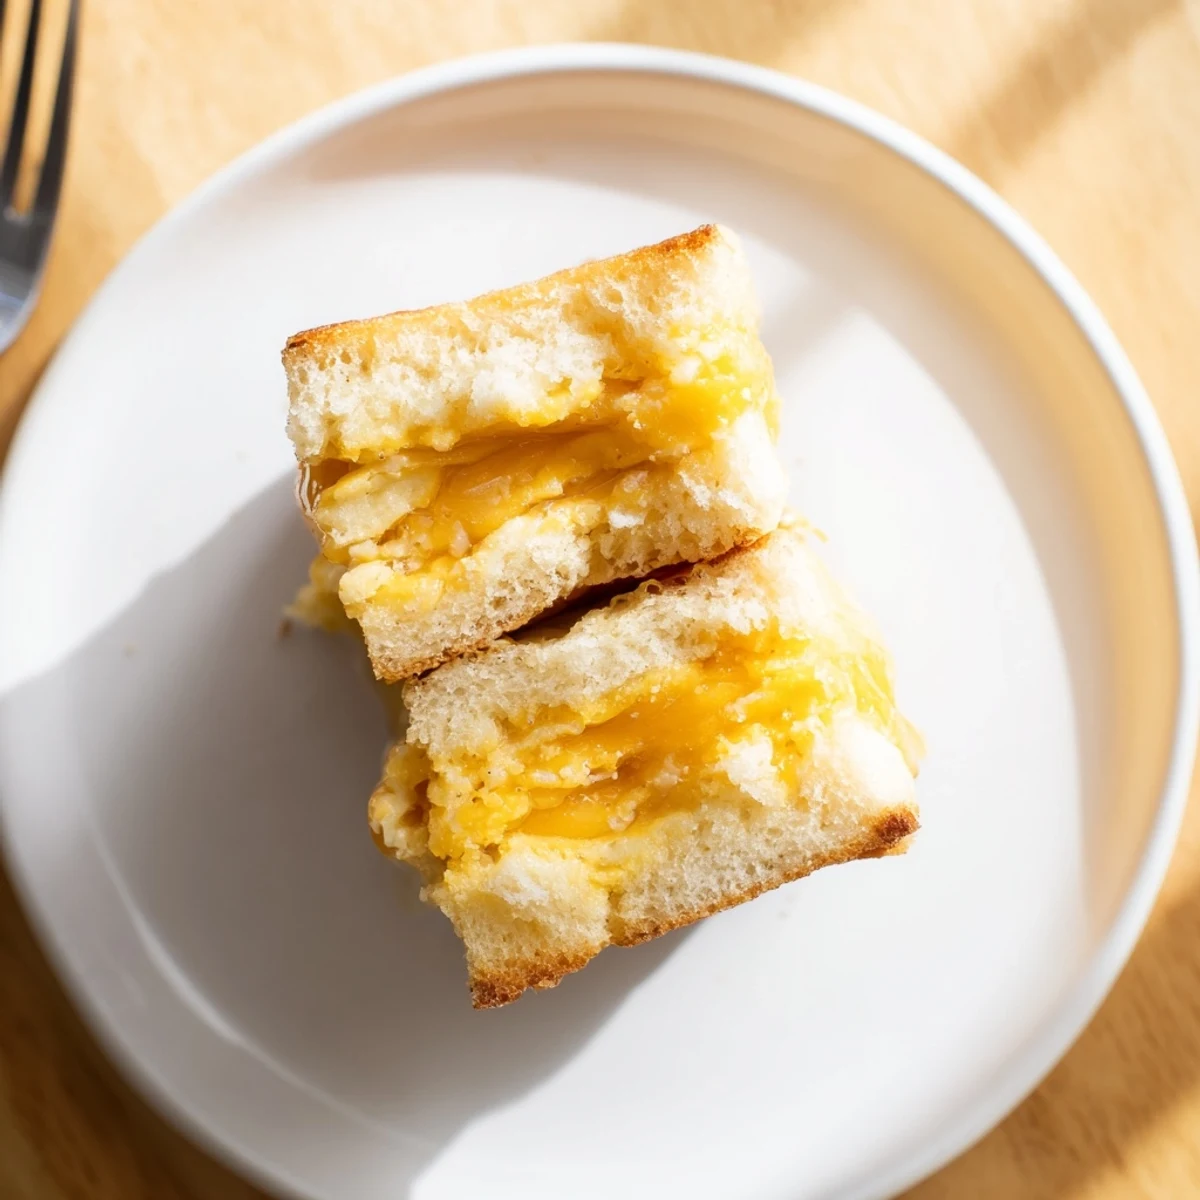
- Cool for a couple minutes, then use your knife to slice into individual mini sandwiches—best enjoyed warm and melty.
 Save to Pinterest
 One night these rolls made a birthday dinner feel extra special when the cake unexpectedly flopped—everyone ended up gleefully toasting with mini sandwiches instead. That’s how I learned the best food memories don’t always follow the plan.
Switching Up Flavors
Once I swapped in pepper jack and a dab of sriracha for the cheese—those vanished even faster than the original. Don’t be afraid to layer on sliced tomatoes or caramelized onions if you’re feeling adventurous; a little riff always keeps things interesting.
What to Serve With Mini Grilled Cheese Rolls
The classic move is dunking these into steaming tomato soup, but they also shine beside a crisp salad or a platter of crunchy pickles. They’re as much at home on a party tray as they are at a cozy lunch.
Troubleshooting & Kitchen Surprises
The first time I made them, the bottoms went crispier than planned—I learned quickly to watch the bake time and rotate the tray if your oven has hotspots.
- Let your buttered tops rest for a minute before baking for the glossiest finish.
- If cheese threatens to spill out, nudge it back in with a spatula while hot.
- Keep parchment paper handy for easy cleanup—no regrets about sticky trays later.
 Save to Pinterest
 Hope you have fun sharing these gooey bites—whether it’s a last-minute snack or the star of your next get-together, they never last long. The best part is watching all the hands reach for seconds.
Recipe Questions
- → How do I prevent soggy bottoms?
-
Slice the rolls just before assembling and avoid excess wet fillings. Arrange the bottom half on a parchment-lined sheet and bake until the tops are golden to help crisp the base.
- → What cheeses work best besides cheddar?
-
Swiss, provolone, pepper jack, or a mild mozzarella melt nicely. Blend two cheeses for extra flavor and creaminess while maintaining good meltability.
- → Can these be made ahead and reheated?
-
Assemble and bake, then cool completely. Store in an airtight container in the fridge for up to 2 days. Reheat in a low oven or toaster oven to restore crispness rather than microwaving.
- → How can I add more texture or flavor?
-
Brush the tops with a butter-mustard-honey mix and sprinkle garlic powder or sesame seeds. Add caramelized onions, cooked bacon, or thin tomato slices for extra depth.
- → Can I freeze these sandwiches?
-
Freeze uncut, fully cooled sandwiches wrapped tightly for up to 1 month. Thaw in the fridge and reheat in the oven to regain a crisp top and melted center.
- → What temperature and time produce best results?
-
Bake at 350°F (175°C) for 10–15 minutes until the cheese has melted and the tops are golden brown. Watch closely toward the end to avoid over-browning.
