 Save to Pinterest
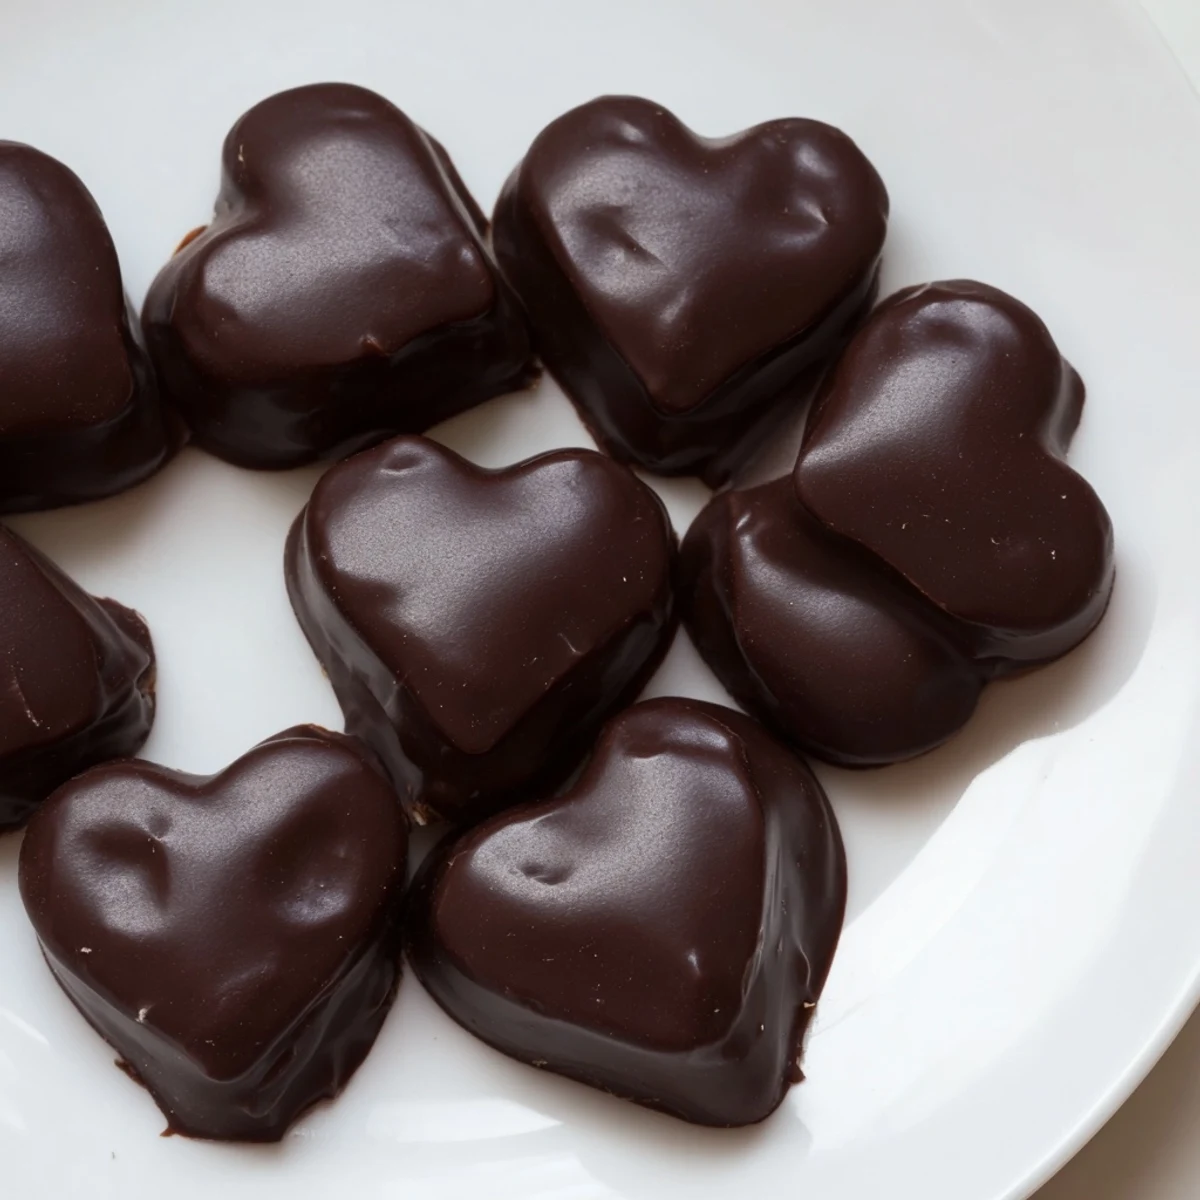
 These chocolate peanut butter hearts combine a smooth, creamy peanut butter filling with a rich dark chocolate coating. After mixing the filling ingredients into a soft dough, the mixture is rolled, cut into heart shapes, and chilled until firm. Each heart is then dipped into melted chocolate and refrigerated to set, creating a delightful treat ideal for sharing on special occasions. Optional ingredients like chopped peanuts or alternative chocolate types allow for customizable textures and flavors.
My kitchen counter looked like a chocolate crime scene, with cocoa smudges on my cheek and peanut butter fingerprints everywhere. I had volunteered to make Valentines treats for my daughters class and completely underestimated how long it would take to dip two dozen hearts. Something about the way melted chocolate clings to peanut butter creates the most satisfying snap when you bite into it, and suddenly the mess felt worth it. The kids demolished them before the class party even ended.
Last winter my sister came over during a snowstorm and we turned this into a full blown chocolate production line. She was in charge of the dipping station while I shaped the hearts and we discovered that terrible dipping technique still yields delicious results. Some hearts got a thick chocolate shell, others barely had a coating, and both versions disappeared just as quickly.
Ingredients
- 1 cup creamy peanut butter: Natural peanut butter works but the filling will be softer and trickier to dip
- 4 tablespoons unsalted butter softened: Let it come to room temperature naturally so the dough forms evenly
- 1 1/2 cups powdered sugar: Sift it first if you notice any lumps because nobody wants grainy filling
- 1/2 teaspoon pure vanilla extract: The real stuff makes a noticeable difference in the finished flavor
- Pinch of salt: This tiny amount wakes up all the other ingredients and keeps them from feeling cloying
- 300 g good quality dark or semisweet chocolate chopped or in chips: Higher percentage chocolate balances the sweet peanut butter center beautifully
- 1 tablespoon coconut oil optional: Makes the chocolate coating smoother and gives it a gorgeous glossy finish
Instructions
- Prepare the peanut butter filling:
- Beat together the peanut butter and softened butter until completely smooth with no remaining butter chunks. Add the powdered sugar vanilla extract and salt mixing until a soft pliable dough forms that holds together when pressed.
- Shape the hearts:
- Roll the peanut butter mixture between two sheets of parchment paper to about 1/2 inch thickness. Use a small heart shaped cookie cutter to cut out hearts and transfer them to a parchment lined baking sheet. Re roll the scraps until all the dough is used.
- Chill the hearts:
- Freeze the peanut butter hearts for 25 to 30 minutes until they are firm to the touch. This step is crucial because warm filling will melt your chocolate coating and create a mess.
- Melt the chocolate:
- Melt the chocolate and coconut oil if using in a heatproof bowl over barely simmering water stirring until smooth. Alternatively use the microwave in short bursts stirring between each interval.
- Coat the hearts:
- Using a fork dip each chilled heart into the melted chocolate letting excess drip off. Place the coated hearts back on the parchment lined sheet and refrigerate for about 15 minutes until the chocolate sets completely.
 Save to Pinterest
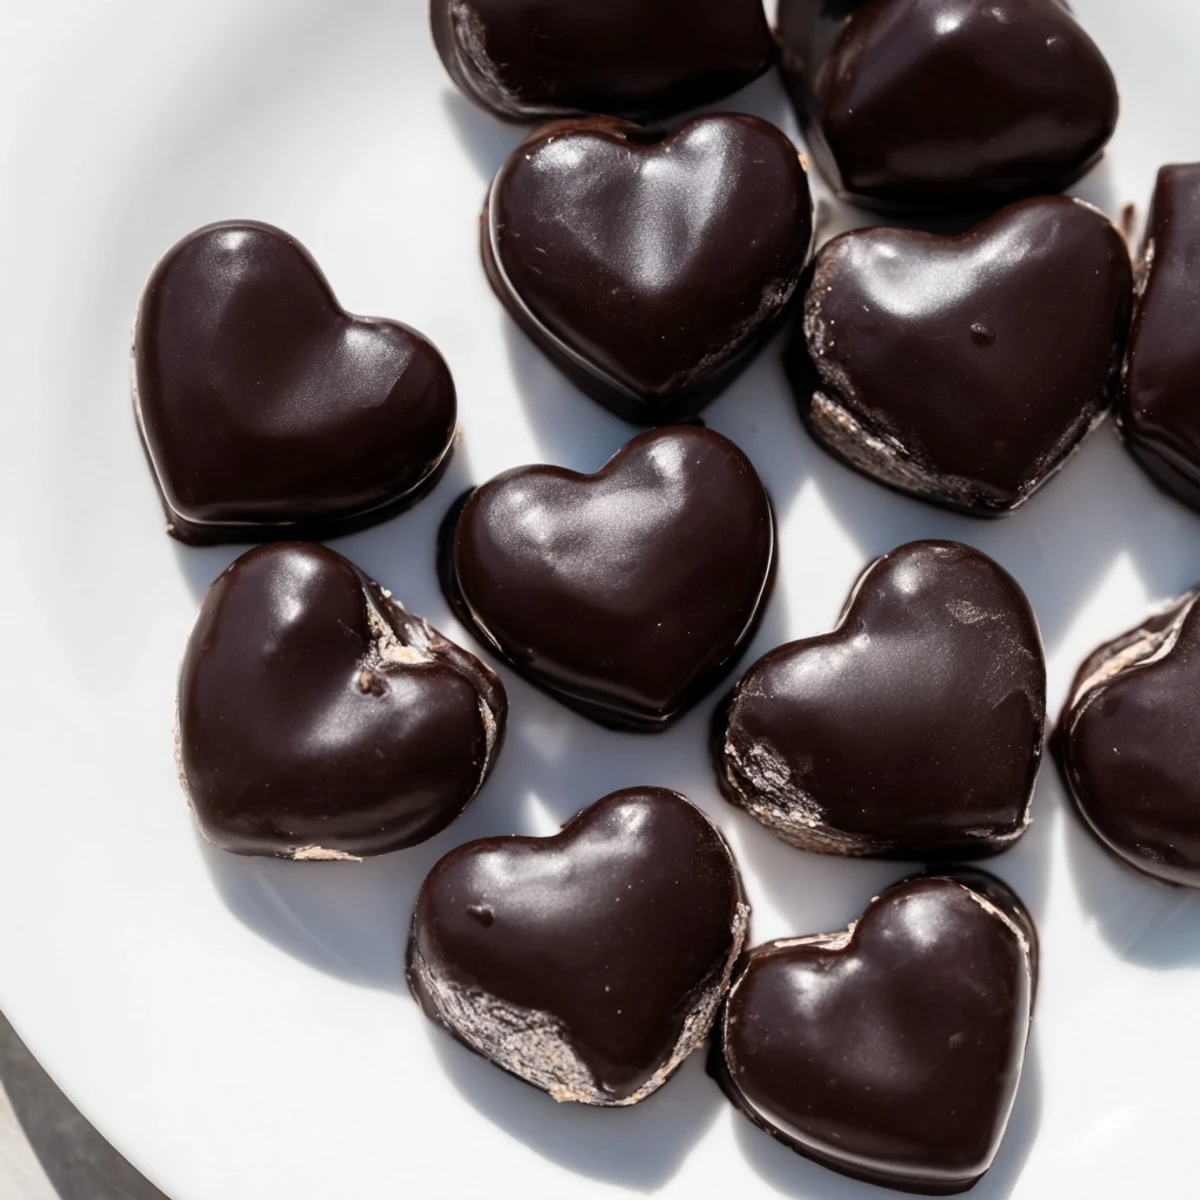
 These became my go to contribution for every friend birthday and office celebration because they are so much more impressive than the effort required. The first time my nephew tried one he declared it better than any store bought candy and asked if I could make them for his school Valentine exchange.
Getting The Chocolate Right
Chocolate that is too hot will seize and turn grainy while chocolate that is too cool will be thick and gloppy. I learned the hard way that patience during melting saves so much frustration later. If you see any white streaks or lumps keep stirring gently until they disappear.
Making Them Your Own
Sometimes I fold finely chopped roasted peanuts into the filling for a surprise crunch. Other times I use milk chocolate instead of dark for a sweeter treat that reminds me of childhood candy bars. A drizzle of white chocolate over the dark coating looks fancy and adds another layer of flavor.
Storage And Making Ahead
These actually taste better after a day in the fridge because the flavors have time to meld together. I have made them three weeks in advance stored them in an airtight container between layers of parchment and they were perfect.
- Keep them refrigerated because the peanut butter filling softens at room temperature
- Layer them with parchment paper so they do not stick together
- They freeze beautifully for up to two months if you need a serious head start
 Save to Pinterest
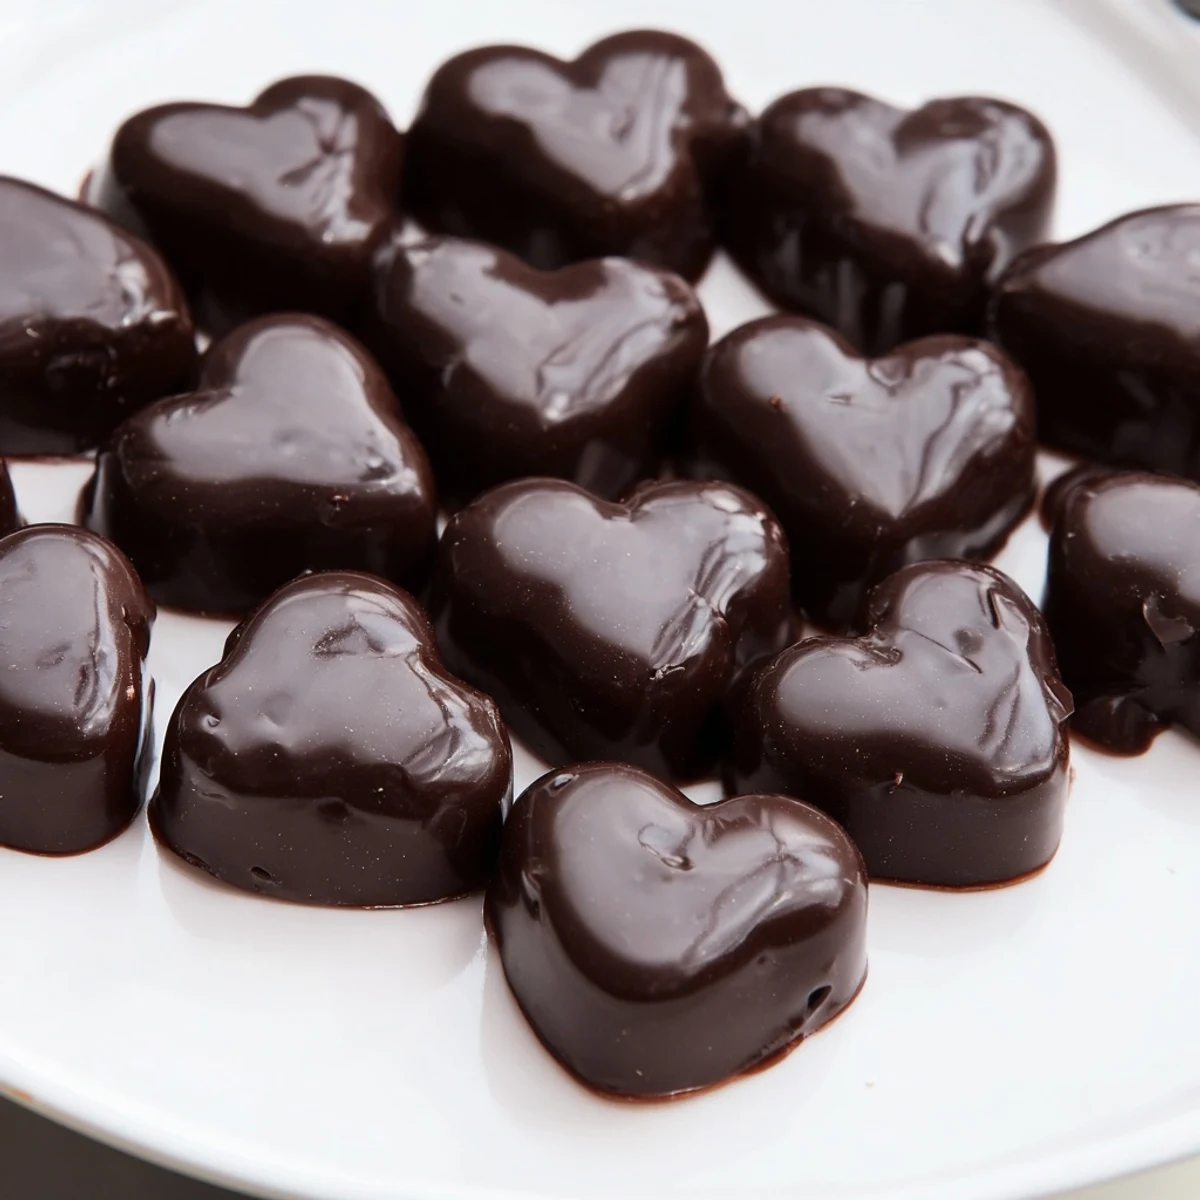
 There is something deeply satisfying about making candy that tastes better than anything you can buy. These little hearts have a way of making ordinary Tuesdays feel like celebrations.
Recipe Questions
- → How do I get a smooth peanut butter filling?
-
Use creamy peanut butter and softened unsalted butter, beating them together until smooth before adding powdered sugar and vanilla for a pliable dough.
- → What’s the best way to melt chocolate for coating?
-
Melt chocolate gently over a double boiler or in short bursts in the microwave, stirring frequently to ensure a smooth consistency without burning.
- → Can I add texture to the filling?
-
Yes, finely chopped roasted peanuts can be mixed into the filling to add a pleasant crunch and extra flavor.
- → How should the hearts be chilled before coating?
-
Freeze the shaped peanut butter hearts for 25–30 minutes until firm to ensure they hold their shape when dipped in chocolate.
- → What storage method preserves freshness best?
-
Store the coated hearts in an airtight container in the refrigerator to keep them fresh for up to one week.
