 Save to Pinterest
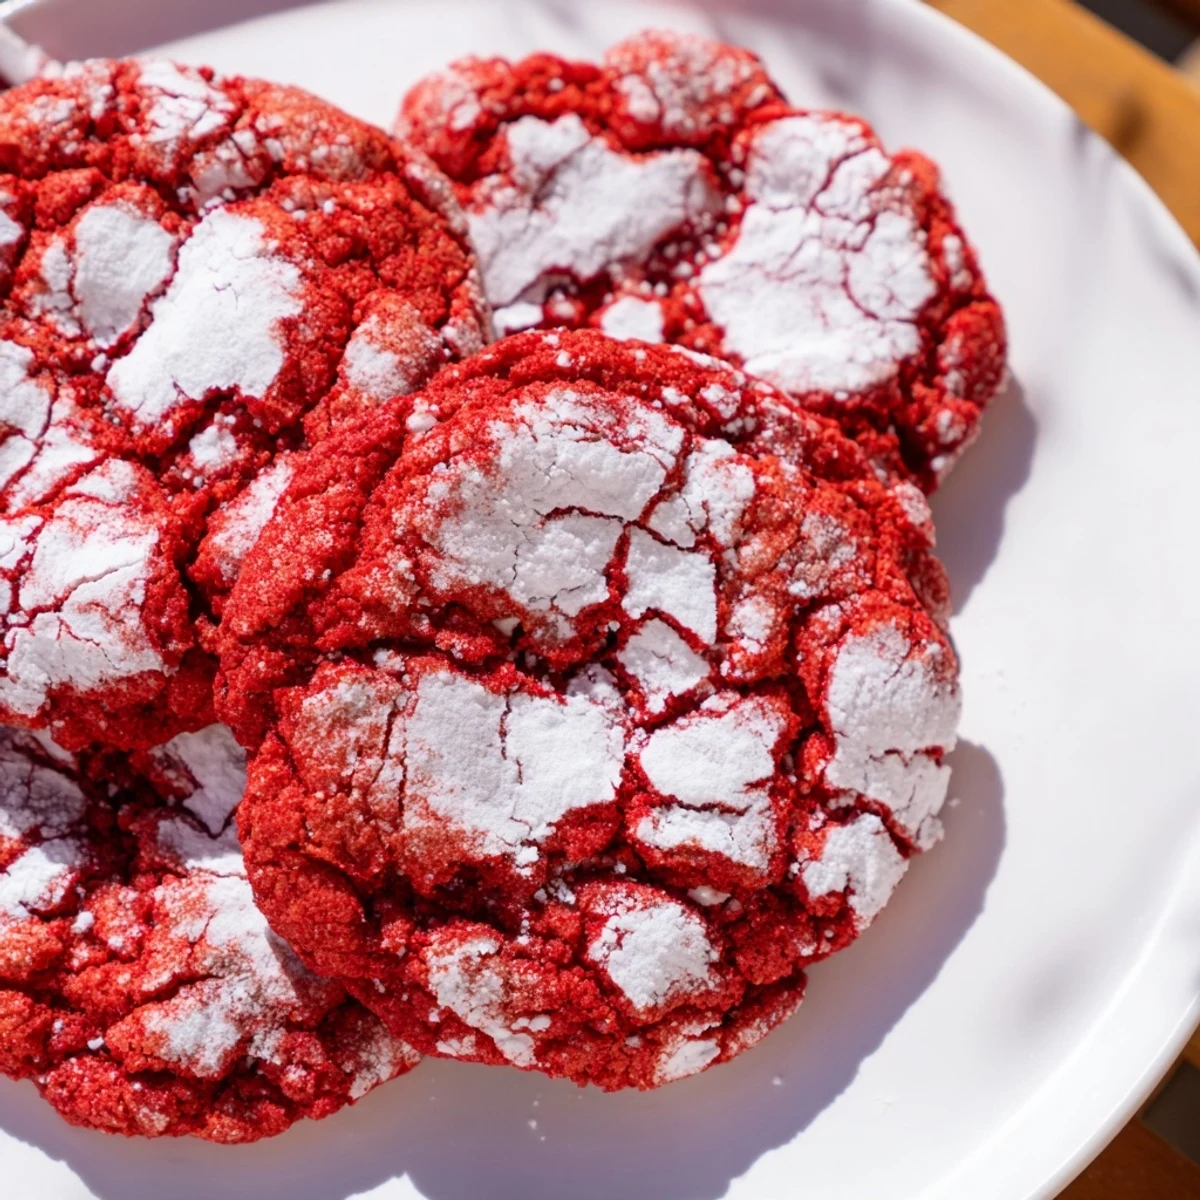
 Enjoy soft and chewy red velvet crinkle cookies, featuring a vibrant red hue enhanced by food coloring and a rich cocoa flavor. The dough is chilled to create a beautiful crackled exterior dusted with powdered sugar. Baking yields tender centers with a slight crackle on top, making these treats perfect for celebrations or any sweet moment. Simple preparation and easy steps ensure a delightful baking experience suitable for all skill levels.
Snow was falling outside my kitchen window when I first attempted these ruby beauties, and the contrast of that vibrant red dough against the winter white made me pause mid-mixing. My roommate wandered in, confused why I was rolling bright red balls in powdered sugar, but one batch later and she was stealing them warm from the cooling rack. Now they are my go-to whenever I need something that feels both festive and ridiculously comforting.
I brought these to a cookie exchange last December, and honestly, I was nervous they looked too dramatic next to the traditional chocolate chips. But they vanished first, with three different people asking for the recipe before they even finished chewing. Something about that red and white contrast makes people assume you spent hours on them.
Ingredients
- All-purpose flour: The structure that holds everything together, so measure carefully for the perfect texture
- Unsweetened cocoa powder: Do not skip this, it gives the red velvet its signature chocolate depth
- Baking powder and soda: The duo that creates those gorgeous cracks as the cookies rise
- Unsalted butter: Softened to room temperature, this creates the tender crumb we are after
- Granulated and brown sugar: The brown sugar adds moisture while the white sugar helps the edges crisp slightly
- Eggs: Room temperature eggs incorporate better and help the dough hold its shape
- Red food coloring: Gel coloring gives a deeper hue with less liquid, but either works beautifully
- Powdered sugar: This creates the signature snow-crusted exterior that makes these cookies unforgettable
Instructions
- Prep your space:
- Preheat that oven to 350°F and line two baking sheets with parchment paper so nothing sticks
- Whisk the dry team:
- In a medium bowl, combine flour, cocoa, baking powder, baking soda, and salt until everything is evenly distributed
- Cream the butter and sugars:
- Beat softened butter with both sugars until the mixture looks pale and fluffy, about 2 to 3 minutes of patience
- Add the wet ingredients:
- Drop in eggs one at a time, beating well after each, then mix in vanilla and that glorious red food coloring until uniform
- Combine it all:
- Gradually fold in the dry ingredients, mixing just until you no longer see flour pockets, because overmixing makes tough cookies
- Chill for crinkles:
- Cover the bowl and refrigerate at least one hour, because cold dough creates better cracks and is way easier to handle
- Roll in sugar:
- Scoop tablespoon portions, roll them into balls, and coat generously in powdered sugar until they look like little snowballs
- Bake to perfection:
- Place them 2 inches apart on prepared sheets and bake 11 to 12 minutes until puffed and crackled with soft centers
- Cool completely:
- Let them rest on the baking sheet for 5 minutes before moving to a wire rack, or they will fall apart on you
 Save to Pinterest
 My niece helped me make these last Christmas, and she was absolutely mesmerized watching the red dough peek through the white sugar as the cookies baked. Now she asks every year if we can make the ones that look like little exploding volcanoes.
Getting That Perfect Red
Gel food coloring is your best friend here, delivering a rich ruby hue without adding excess liquid to the dough. I have learned that liquid coloring works fine too, but you might need to add an extra tablespoon of flour to compensate.
The Crinkle Secret
Those beautiful cracks happen because the powdered sugar crust forms while the dough is cold, then the cookie expands underneath as it bakes. Skipping the chill step means less dramatic crinkles and cookies that spread too thin.
Make Ahead Magic
The dough actually develops better flavor after resting in the refrigerator for up to 24 hours, so you can prep it the night before and bake fresh cookies the next day.
- Scoop and freeze the dough balls for up to 3 months, then bake straight from frozen adding 1 to 2 minutes
- These cookies ship beautifully stacked with parchment between layers in a tight container
- Room temperature storage in an airtight container keeps them soft for 5 days
 Save to Pinterest
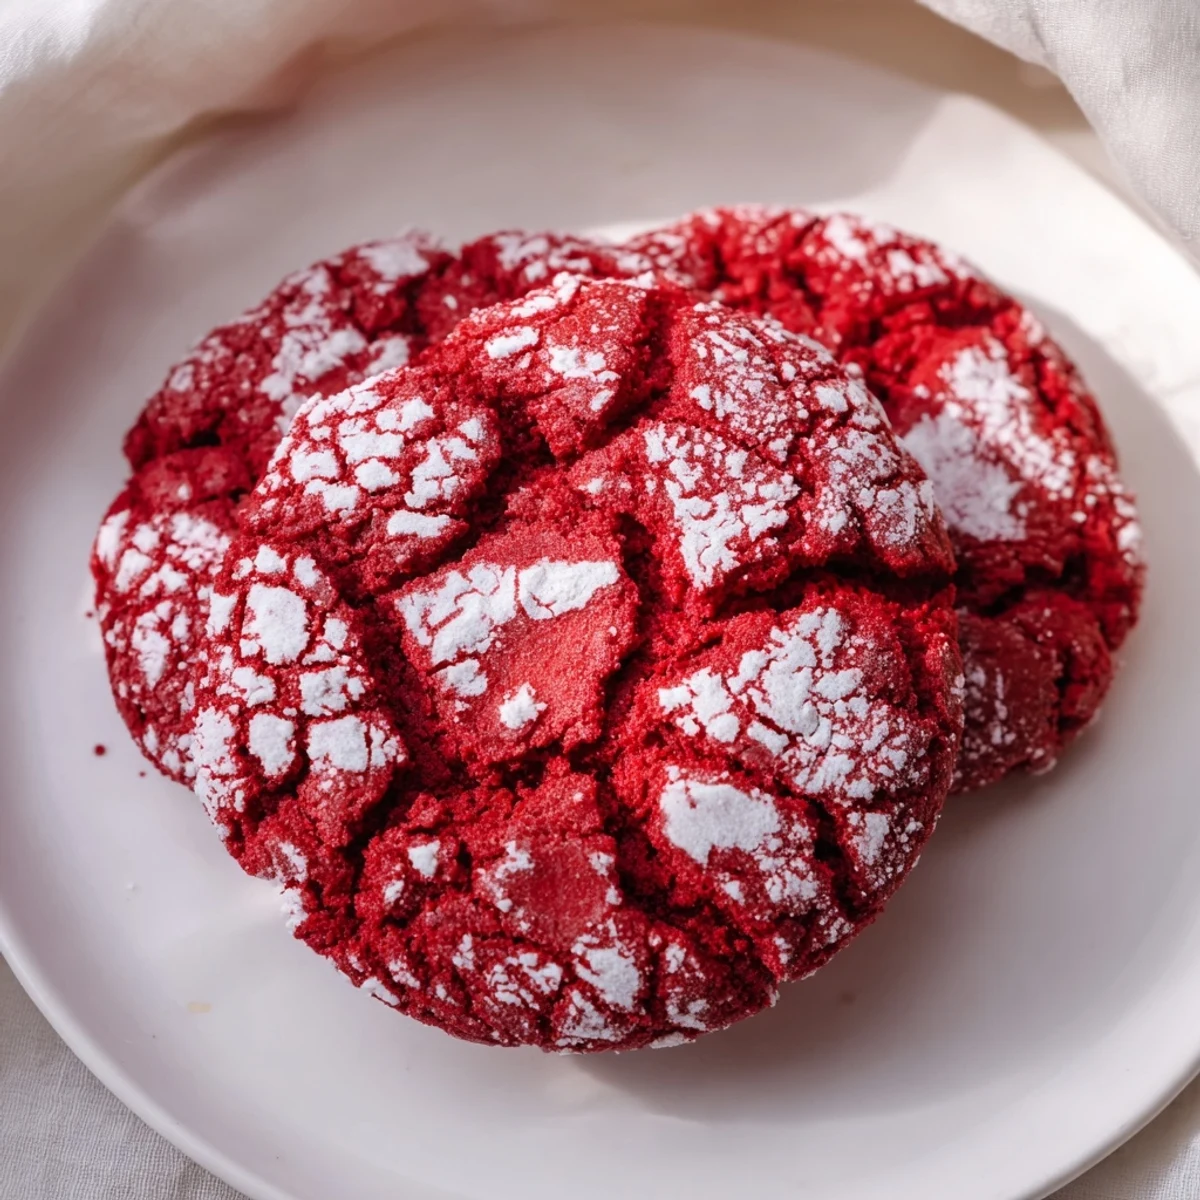
 There is something magical about biting through that snowy sugar crust into the soft red velvet center. Hope these bring as much joy to your kitchen as they have to mine.
Recipe Questions
- → What makes these cookies have a crackled surface?
-
Rolling the chilled dough balls in powdered sugar before baking creates the distinctive crackled and snowy exterior as they expand in the oven.
- → How does chilling the dough affect the cookies?
-
Chilling solidifies the dough, helping the cookies maintain shape and achieve the classic crinkle effect with a tender center.
- → Can I use gel or liquid food coloring for vibrant red color?
-
Both gel and liquid food coloring work well, though gel produces a deeper, more intense red hue.
- → How can I enhance the chocolate flavor in these cookies?
-
Adding a small amount of espresso powder to the dry ingredients can deepen and intensify the cocoa notes.
- → What should I know about ingredient allergen concerns?
-
These cookies contain wheat, eggs, and milk (butter). Be mindful of possible nut traces if processed in shared facilities.
