 Save to Pinterest
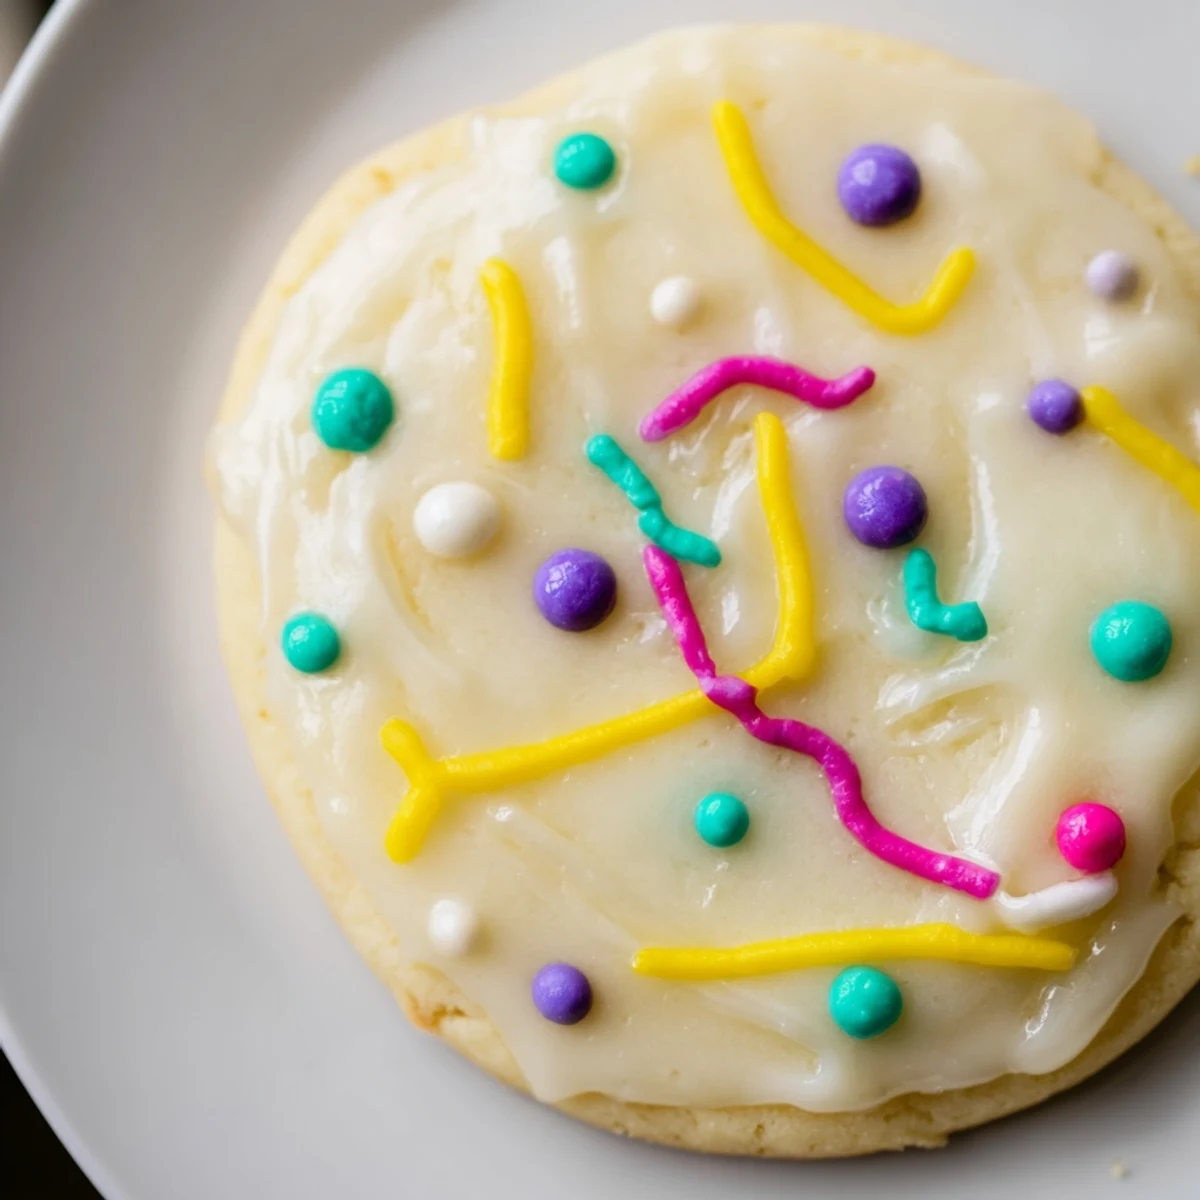
 This simple icing creates a professional-looking finish on sugar cookies, drying to a smooth, firm surface that's perfect for stacking and gifting. The combination of powdered sugar, milk, and corn syrup produces a glossy coating that sets completely at room temperature.
Mix the ingredients until smooth and glossy, adjusting consistency with tiny amounts of milk. The corn syrup ensures that perfect shine while helping the icing set firmly. Add food coloring for vibrant decorations or keep it classic white.
Apply immediately after mixing by dipping, spreading, or piping onto cooled cookies. Let dry for at least 4 hours until completely set. The icing stores well in the refrigerator for up to a week.
Last Christmas, my kitchen counter looked like a rainbow had exploded across three dozen cookies, with bowls of pink, teal, and yellow icing everywhere. My niece stood on a step stool, tongue poking out in concentration, as she carefully dipped each cookie into the glossy white base. We made such a mess, but those decorated cookies disappeared faster than any batch I'd ever baked.
I used to struggle with store-bought icing that either dried rock-hard or stayed sticky forever, until a baker friend shared this simple formula. The corn syrup is the secret ingredient that creates that professional-looking sheen while keeping the icing workable for just the right amount of time. Now I keep a batch ready for whenever the decorating mood strikes.
Ingredients
- 2 cups powdered sugar (240 g), sifted: Sifting prevents lumps that would mar your smooth finish and makes whisking effortless
- 2 to 3 tablespoons milk: Start with less and add gradually, as humidity affects how much liquid you need
- 1 tablespoon light corn syrup: This creates the gorgeous glossy finish and helps the icing set properly
- 1/2 teaspoon pure vanilla extract: Pure vanilla tastes better than imitation and gives a classic cookie flavor
- Food coloring: Gel colors produce vibrant shades without thinning your icing consistency
- Sprinkles or colored sugars: Add these while the icing is still wet for the best adhesion
Instructions
- Mix the base icing:
- Whisk together sifted powdered sugar, 2 tablespoons milk, corn syrup, and vanilla in a medium bowl until completely smooth and glossy
- Check the consistency:
- Lift your whisk and watch how the icing drips back into the bowl, adding more milk just 1/2 teaspoon at a time if it's too thick to pour easily
- Add color if desired:
- Divide icing into separate bowls for different colors, then stir in food coloring drop by drop until you reach your desired shades
- Decorate your cookies:
- Work quickly while the icing flows smoothly, dipping cookies or spreading with a small knife, then add any sprinkles before it sets
- Let everything dry:
- Leave decorated cookies undisturbed at room temperature for at least 4 hours until the icing forms a firm, dry surface
 Save to Pinterest
 My mother started keeping decorated sugar cookies in the freezer months before Christmas, pulling them out throughout December to keep traditions alive. Now I understand why she bothered, that burst of color and sweetness makes ordinary afternoons feel like celebrations.
Getting the Right Consistency
Thicker icing works best for piping detailed borders and letters, while thinner consistency is perfect for flooding larger areas. I keep a small bowl of extra powdered sugar handy to adjust thickness as I work, since the icing can thin out from repeated dipping.
Flavor Variations
Almond extract transforms this into something sophisticated and elegant, while lemon extract brightens everything for spring cookies. A tiny pinch of salt balances the sweetness, especially if you prefer your decorations less sugary.
Storage and Make-Ahead Tips
The icing keeps beautifully in an airtight container in the refrigerator for up to a week, though you may need to thin it slightly with a few drops of milk after chilling. Never freeze decorated cookies, as the icing becomes sticky and loses its perfect finish when thawed.
- Press plastic wrap directly onto the surface of stored icing to prevent a hard crust from forming
- Separate colors with parchment paper if stacking decorated cookies
- Room temperature cookies stay fresh for about a week in a sealed container
 Save to Pinterest
 There is something so satisfying about pulling out a platter of beautifully decorated cookies, each one unique and perfect in its imperfections. Happy decorating to you and your kitchen helpers.
Recipe Questions
- → How long does the icing take to dry completely?
-
The icing requires at least 4 hours to dry completely at room temperature. For best results, allow it to dry overnight if you plan to stack or package the cookies. Humidity can extend drying time, so ensure good air circulation in the room.
- → Can I make this icing ahead of time?
-
Yes, store leftover icing in an airtight container in the refrigerator for up to 1 week. The icing may thicken when chilled—simply stir well and add tiny amounts of milk to return it to the desired consistency before using.
- → What's the purpose of corn syrup in this icing?
-
Corn syrup creates the glossy finish and helps the icing dry smooth and firm. It also improves consistency, making the icing easier to spread or pipe. You can increase to 1.5 tablespoons for an even shinier appearance.
- → How do I adjust the icing consistency?
-
For thicker icing ideal for piping borders and details, add more powdered sugar. For thinner icing perfect for flooding or dipping, add milk just 1/2 teaspoon at a time. Small adjustments make a big difference, so add gradually.
- → Can I use alternatives to corn syrup?
-
While corn syrup provides the best gloss and drying properties, you can substitute with light agave syrup or golden syrup. Avoid honey as it adds distinct flavor and may affect the drying time and final texture.
- → What type of food coloring works best?
-
Gel food coloring provides the most vibrant colors without thinning the icing consistency. Liquid coloring works but requires adjusting with additional powdered sugar. Start with just a few drops and add more gradually.
