 Save to Pinterest
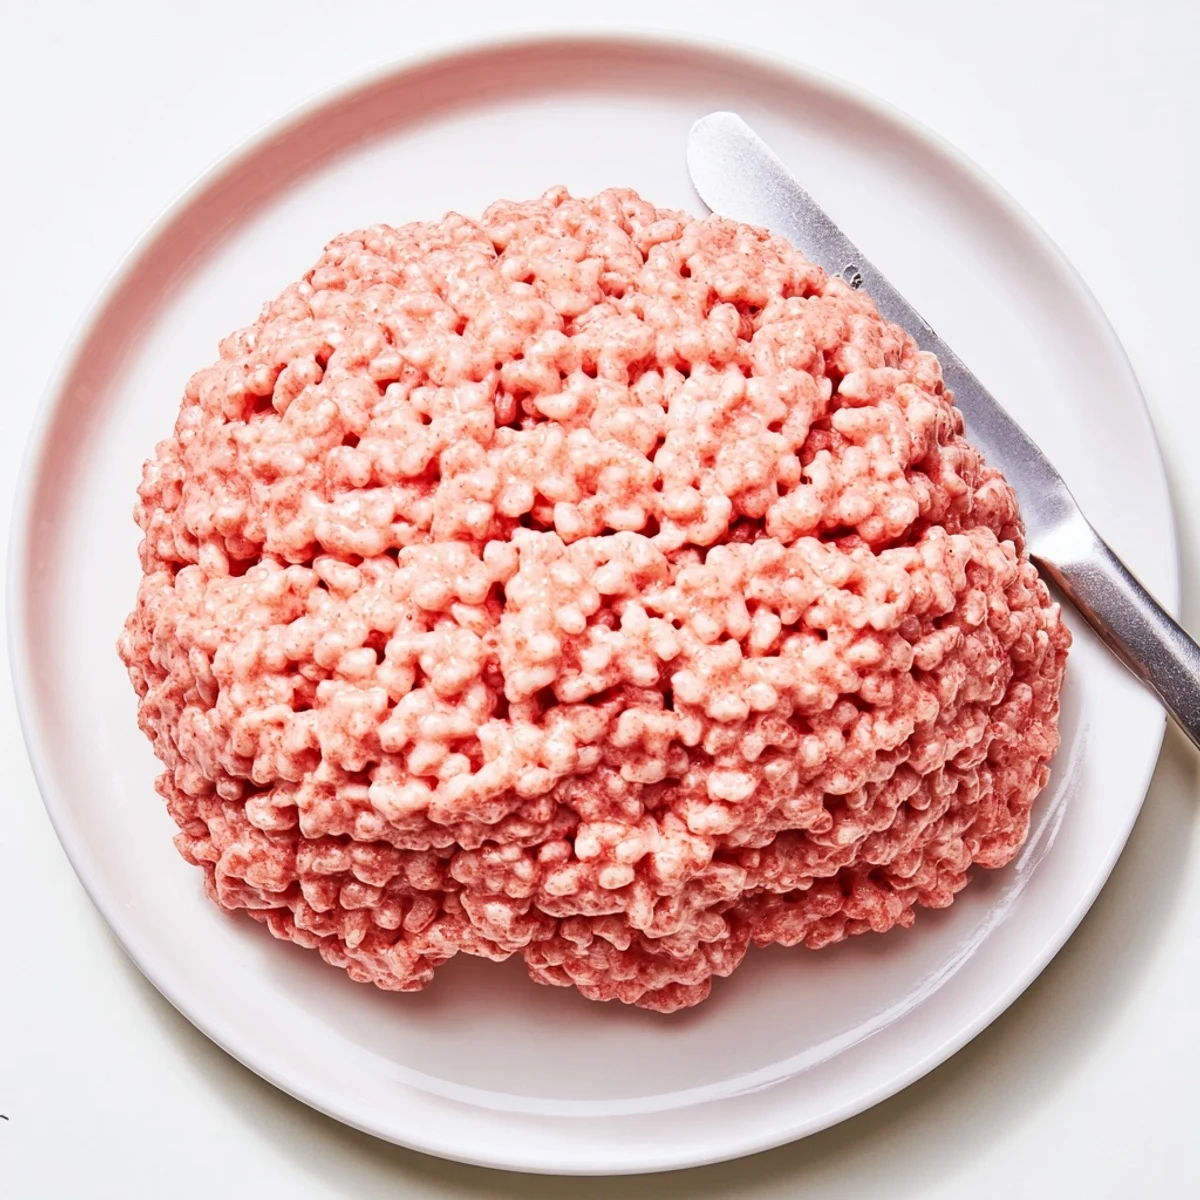
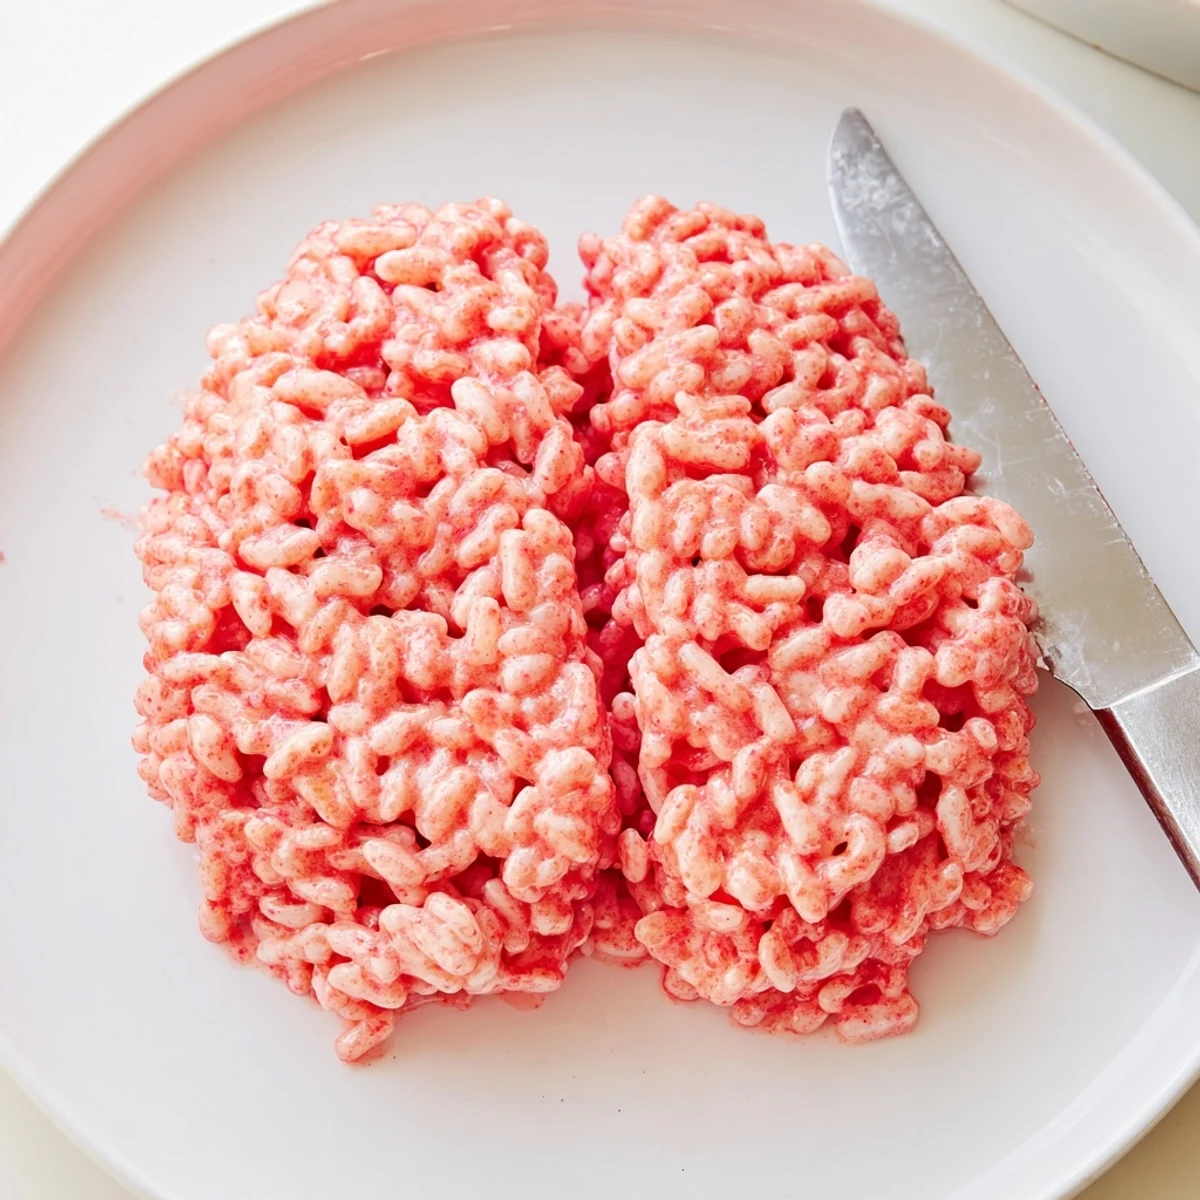
 Create a delightfully creepy Halloween dessert that combines nostalgic crispy rice treats with a spooky twist. This brain-shaped sweet features a vibrant pinkish-red exterior colored to resemble its namesake, while hiding a luscious berry filling that dramatically oozes when sliced. Perfect for adult and children's Halloween parties alike.
The process involves melting marshmallows with butter, tinting them to achieve that characteristic brain hue, then coating crispy rice cereal. You'll shape half the mixture to form a cavity, fill it with raspberry or strawberry jam plus optional coulis for extra gooeyness, then seal with remaining cereal.
Customization options include adding vanilla for depth, using gel coloring for more dramatic effect, or swapping to cherry preserves for darker oozing. The result serves eight and takes just 40 minutes total. Prepare to impress your guests with this frightfully delicious centerpiece that tastes as good as it looks.
The first time I made these brains, my roommate walked into the kitchen just as I was molding the pinkish cereal mixture and literally jumped backward. We served them at our Halloween party that night, and watching people hesitantly cut into them only to gasp at the red berry oozing out was absolutely worth every minute of the prep work.
Last year I made a batch for my nieces birthday, which happened to fall near Halloween, and she loved them so much she requested brains instead of a cake. The kids were delighted by how gross they looked, and the adults were secretly obsessed with that nostalgic marshmallow cereal flavor.
Ingredients
- Crispy Rice Cereal: Use fresh cereal for the best texture, since stale cereal makes the brains feel dense instead of light and crispy
- Mini Marshmallows: These melt faster and more evenly than full-sized marshmallows, giving you that perfect sticky coating
- Unsalted Butter: Butter adds richness and helps prevent the marshmallow mixture from sticking to everything
- Raspberry Jam: Seedless jam creates the most convincingly gross oozing effect when you cut into the brain
- Red Food Coloring: Gel coloring gives you that realistic pinkish brain hue without making the mixture too wet
Instructions
- Prepare your brain mold:
- Line a medium mixing bowl with plastic wrap, leaving plenty of overhang so you can easily lift out the brain later, or use a brain-shaped mold if you have one
- Melt the marshmallows:
- Melt the butter in a large saucepan over medium heat, then add the marshmallows and stir constantly until completely melted and smooth
- Add the brain color:
- Stir in a few drops of red or pink food coloring until you reach a light pinkish hue that looks appropriately brain-like
- Coat the cereal:
- Remove from heat and fold in the crispy rice cereal, stirring until every piece is evenly coated with the marshmallow mixture
- Create the cavity:
- Let the mixture cool just enough to handle, then press half into the prepared mold, pressing up the sides to create a hollow center for the filling
- Add the bloody filling:
- Spoon the jam and coulis into the cavity, keeping it centered so it does not leak out when you add the top layer
- Seal it up:
- Cover the filling with the remaining cereal mixture, pressing gently to seal the edges and shape the surface to look like a brain
- Let it set:
- Let the brain sit at room temperature for 20 to 30 minutes until firm enough to hold its shape when unmolded
- Add the gory details:
- Unmold onto a serving plate and use additional food coloring and a small brush to paint on brain cell ridges or highlight lines for extra realism
 Save to Pinterest
 My favorite moment was serving these at a potluck where one guest genuinely asked if they were real brains before laughing and taking the biggest slice of anyone. Something about the combination of childhood nostalgia and grown-up humor just makes these impossibly fun to share.
Getting That Brain Texture Right
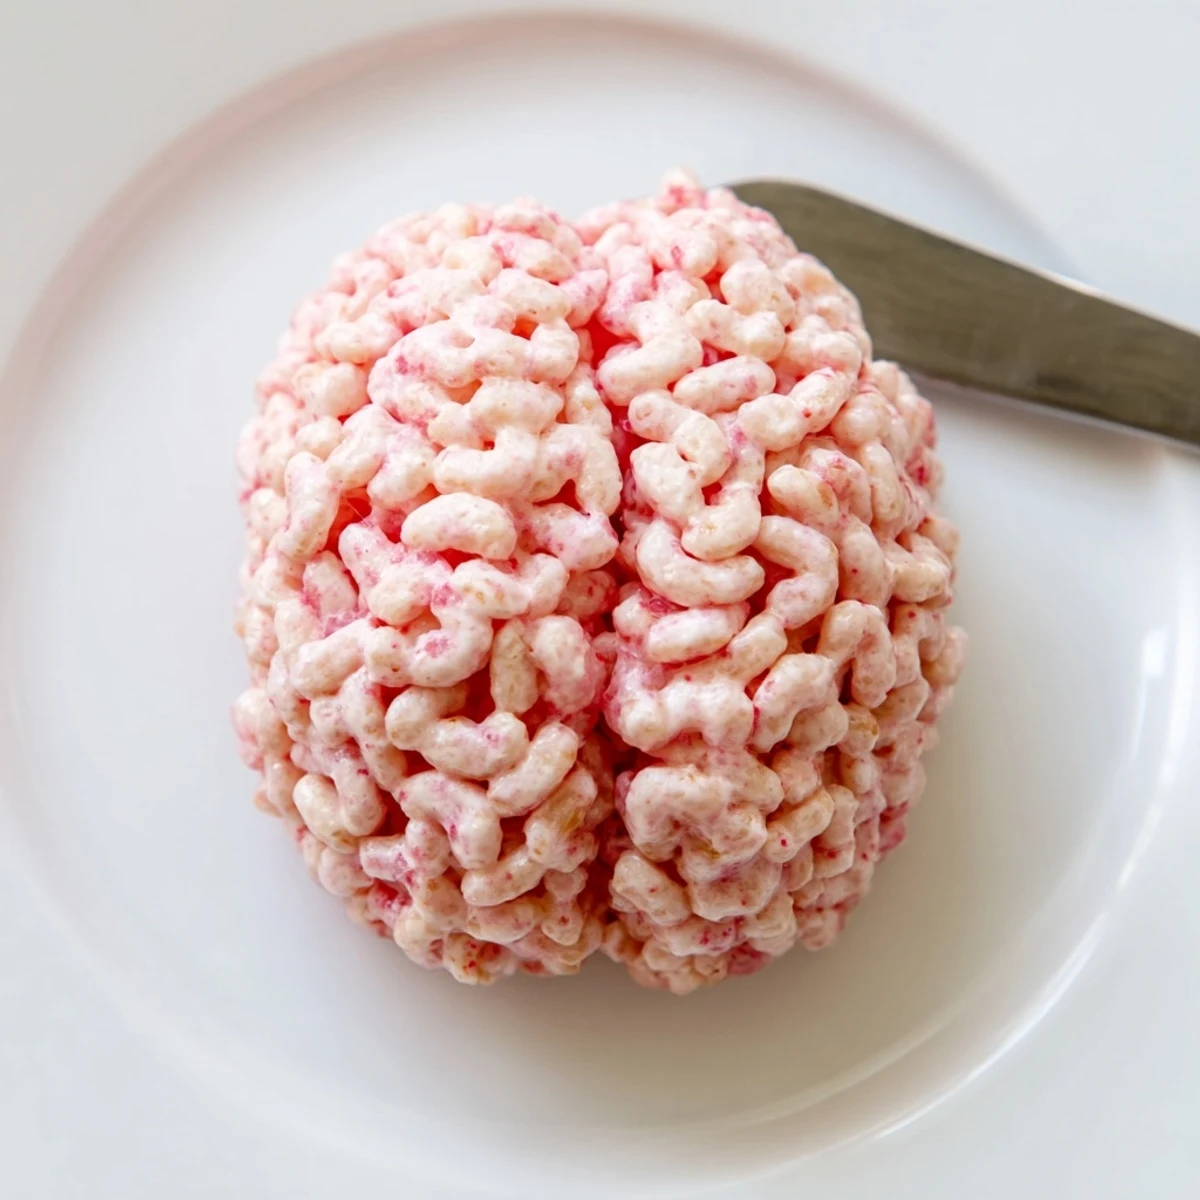
The key to making these look convincing is pressing the cereal mixture gently but firmly enough to create those characteristic brain folds and ridges. I use the back of a buttered spoon to create squiggly lines while the mixture is still slightly warm and pliable.
Making It Even More Disgusting
For maximum gross-out factor, mix a little red gel food coloring with a drop of water and paint it into the crevices after unmolding. This makes it look like fresh blood pooling in the brain folds, which is terrible and amazing simultaneously.
Serving And Storage Tips
These brains are best served the same day they are made since the cereal starts to soften after 24 hours. If you need to make them ahead, wait to add the painted details until just before serving.
- Cut with a sharp knife wiped clean between slices for the cleanest presentation
- Place the brain on a bed of crushed red velvet cake crumbs or crumbled brownies for extra gore
- Keep away from direct sunlight or the food coloring might fade unevenly
 Save to Pinterest
 These spooky brains have become such a Halloween tradition that I cannot imagine the holiday without them now. Watching guests squeal with delight while eating something so silly and delicious is exactly what holiday food should be about.
Recipe Questions
- → How do I achieve the brain-like color?
-
Add red or pink food coloring drop by drop to the melted marshmallow mixture until you reach a realistic brain hue. Gel food coloring provides more intense, vibrant color than liquid versions.
- → Can I make this gluten-free?
-
Yes, simply use certified gluten-free crispy rice cereal and verify your marshmallows are gluten-free. Most marshmallows are naturally gluten-free, but always check labels to be certain.
- → How far in advance can I prepare this?
-
Best served the same day for optimal texture and freshness, but you can make it up to 24 hours ahead. Store tightly covered at room temperature to prevent the cereal from becoming stale or soggy.
- → What other fillings work well?
-
Try cherry preserves for darker dramatic oozing, strawberry-rhubarb jam for tart contrast, or even Nutella for a chocolate variation. Any thick spreadable fruit filling will create that satisfying goo effect.
- → Do I need a brain-shaped mold?
-
No special mold required. Simply line a medium bowl with plastic wrap and press the cereal mixture up the sides to create a hollow cavity. The natural ridges from shaping create convincing brain-like texture.
- → Can I double this recipe?
-
Absolutely. The proportions scale easily. Use a larger bowl or two standard bowls to create multiple brains. Adjust cooking time slightly when melting larger batches of marshmallows to prevent scorching.
